I made two lamps from discarded outdoor light fixtures.
With cool light bulb:
Beginning
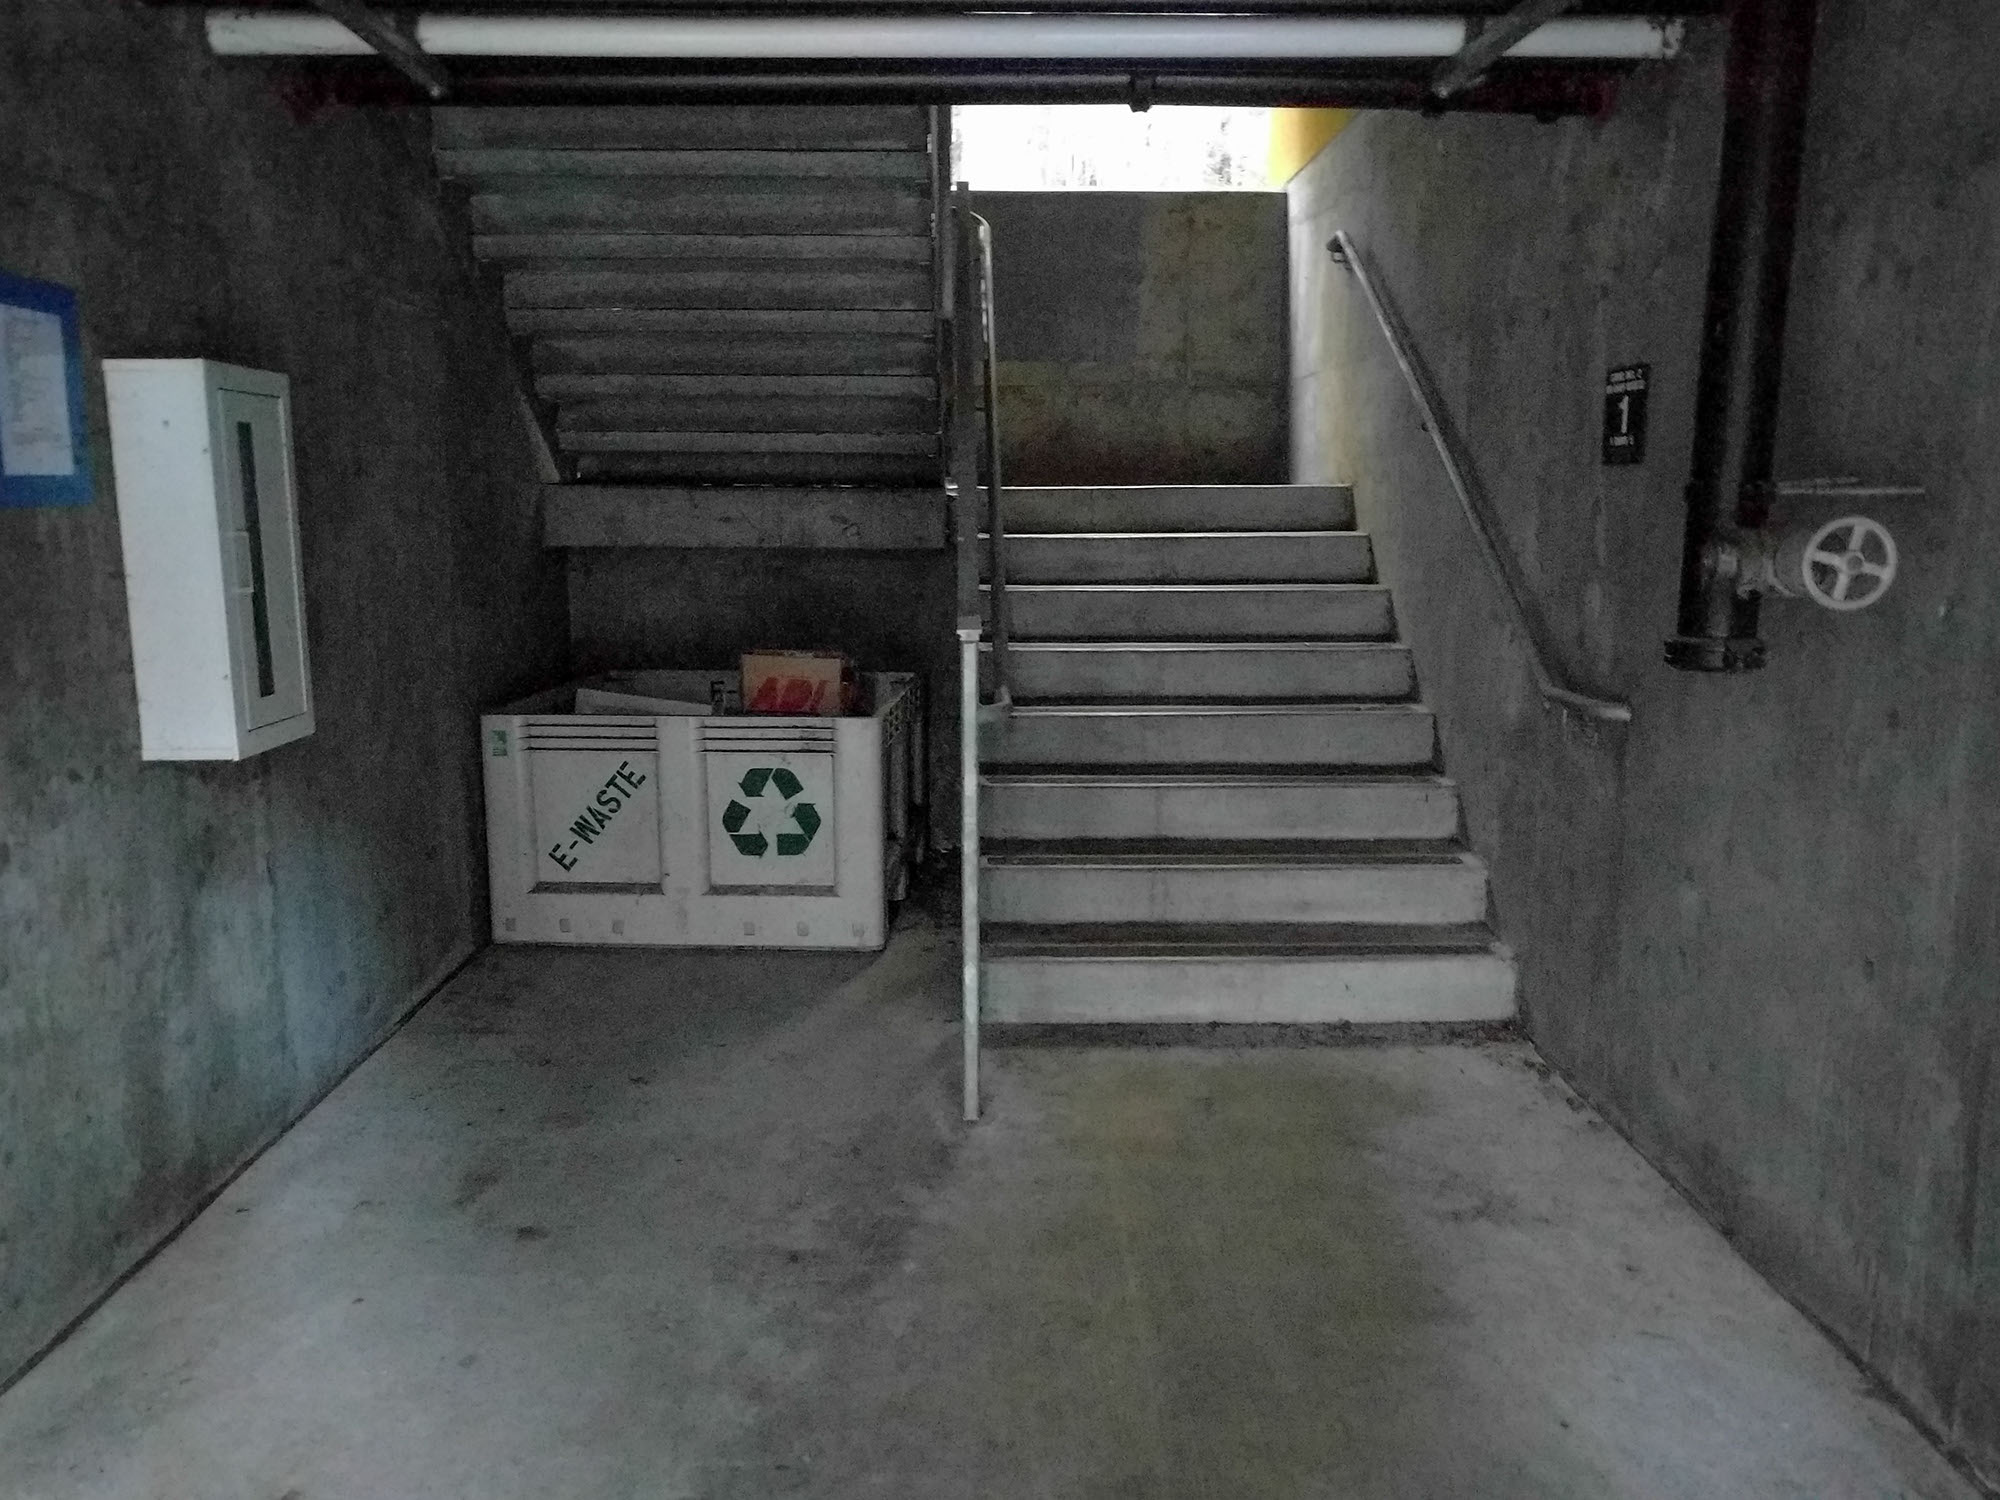
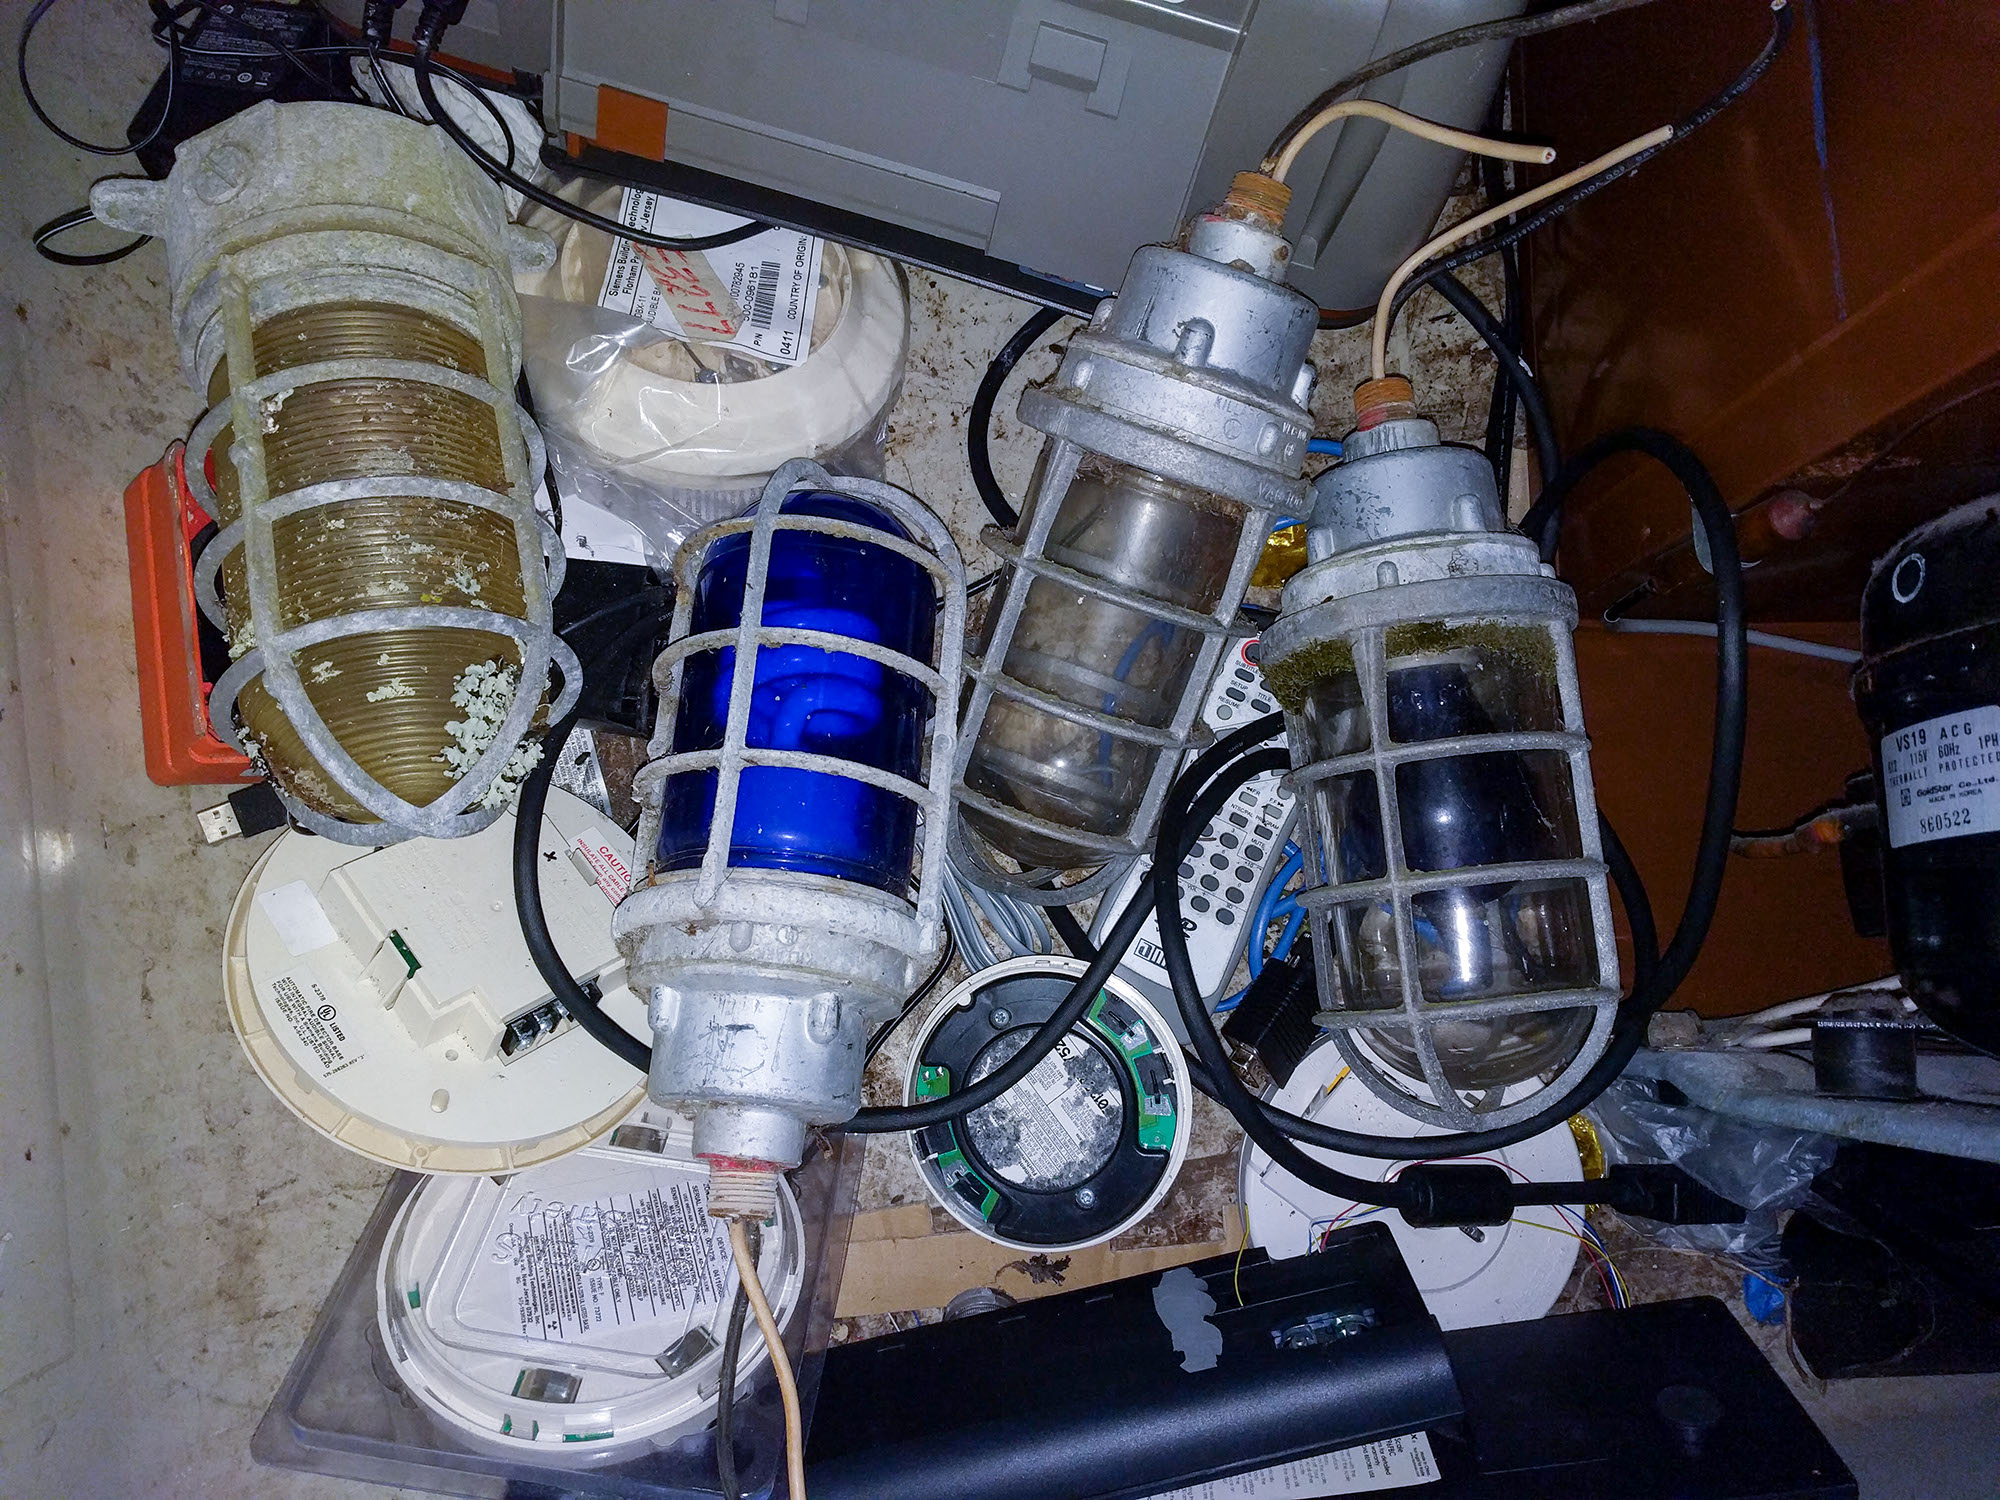
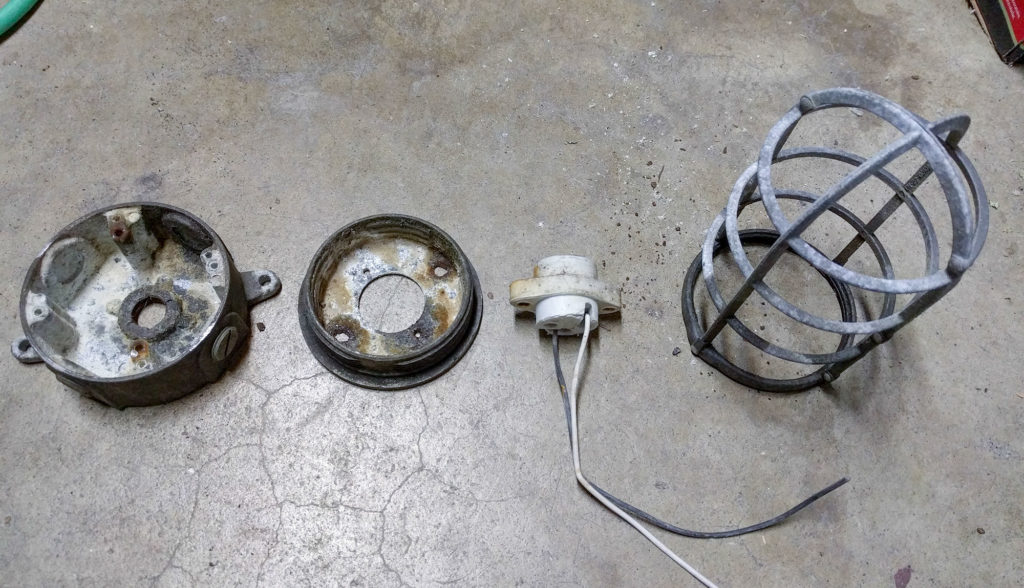
In November 2015, I found an e-waste bin (below left) at UCSC with four discarded light fixtures (below right). I took two of them, thinking I could make something interesting.
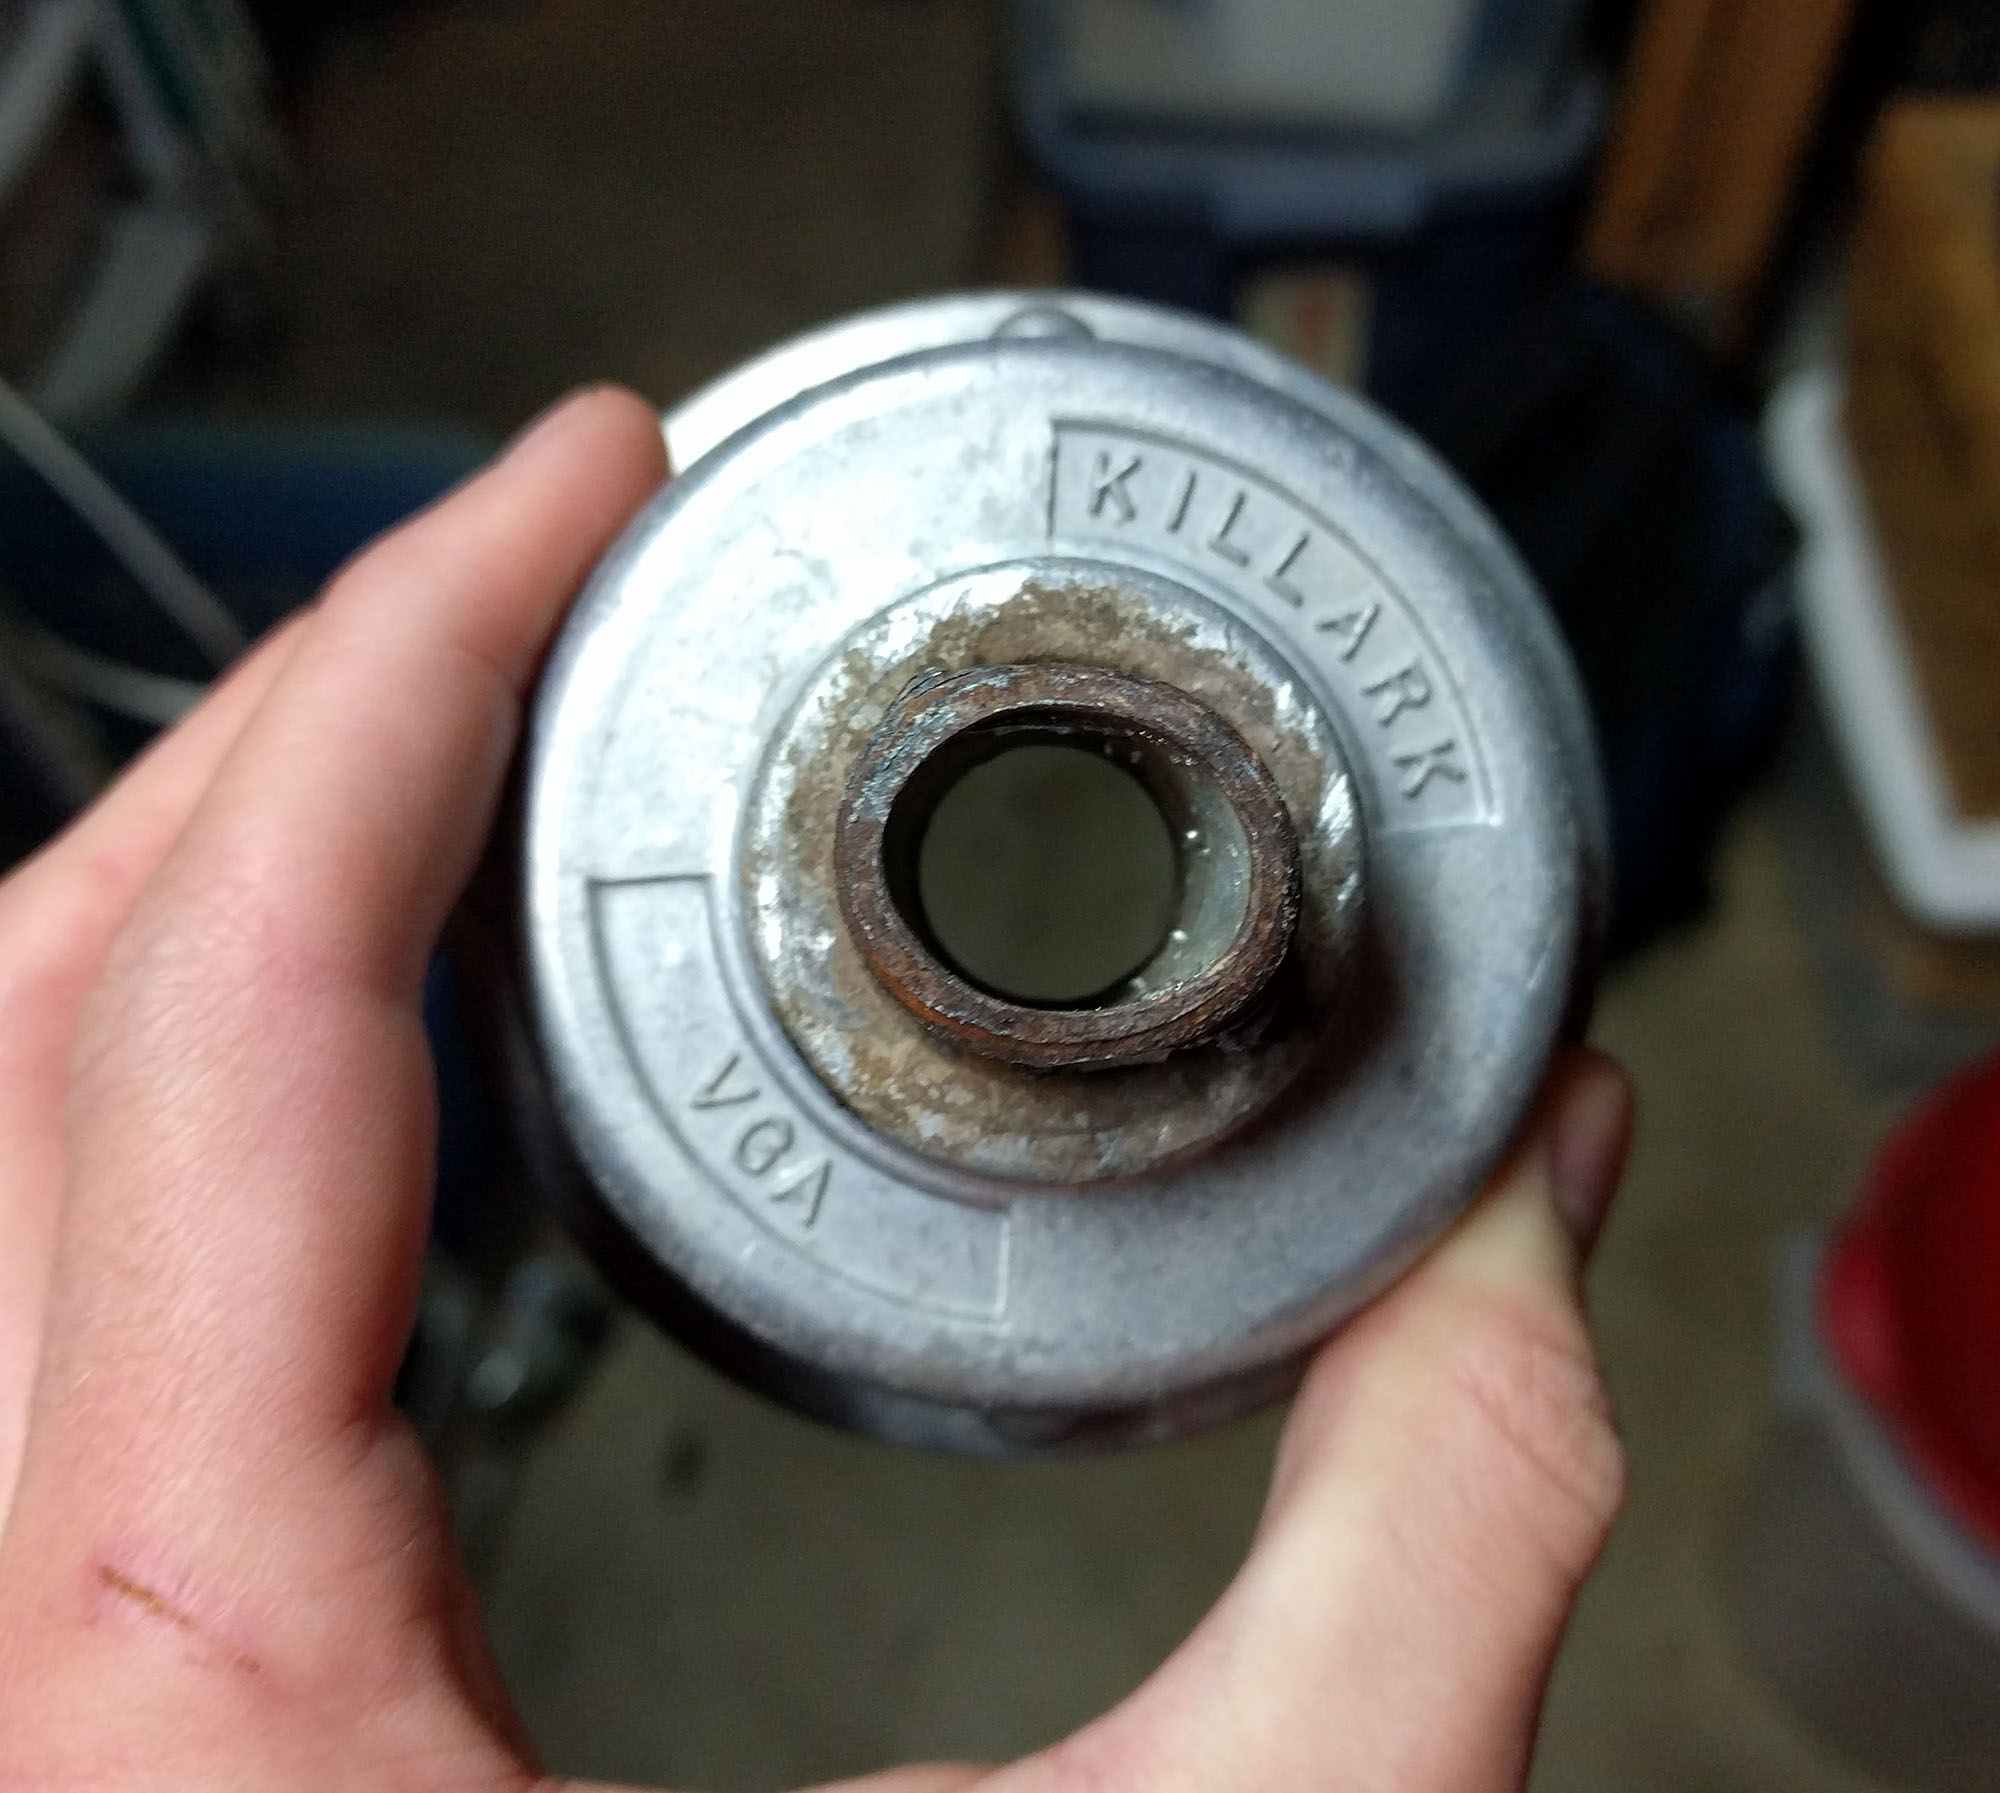
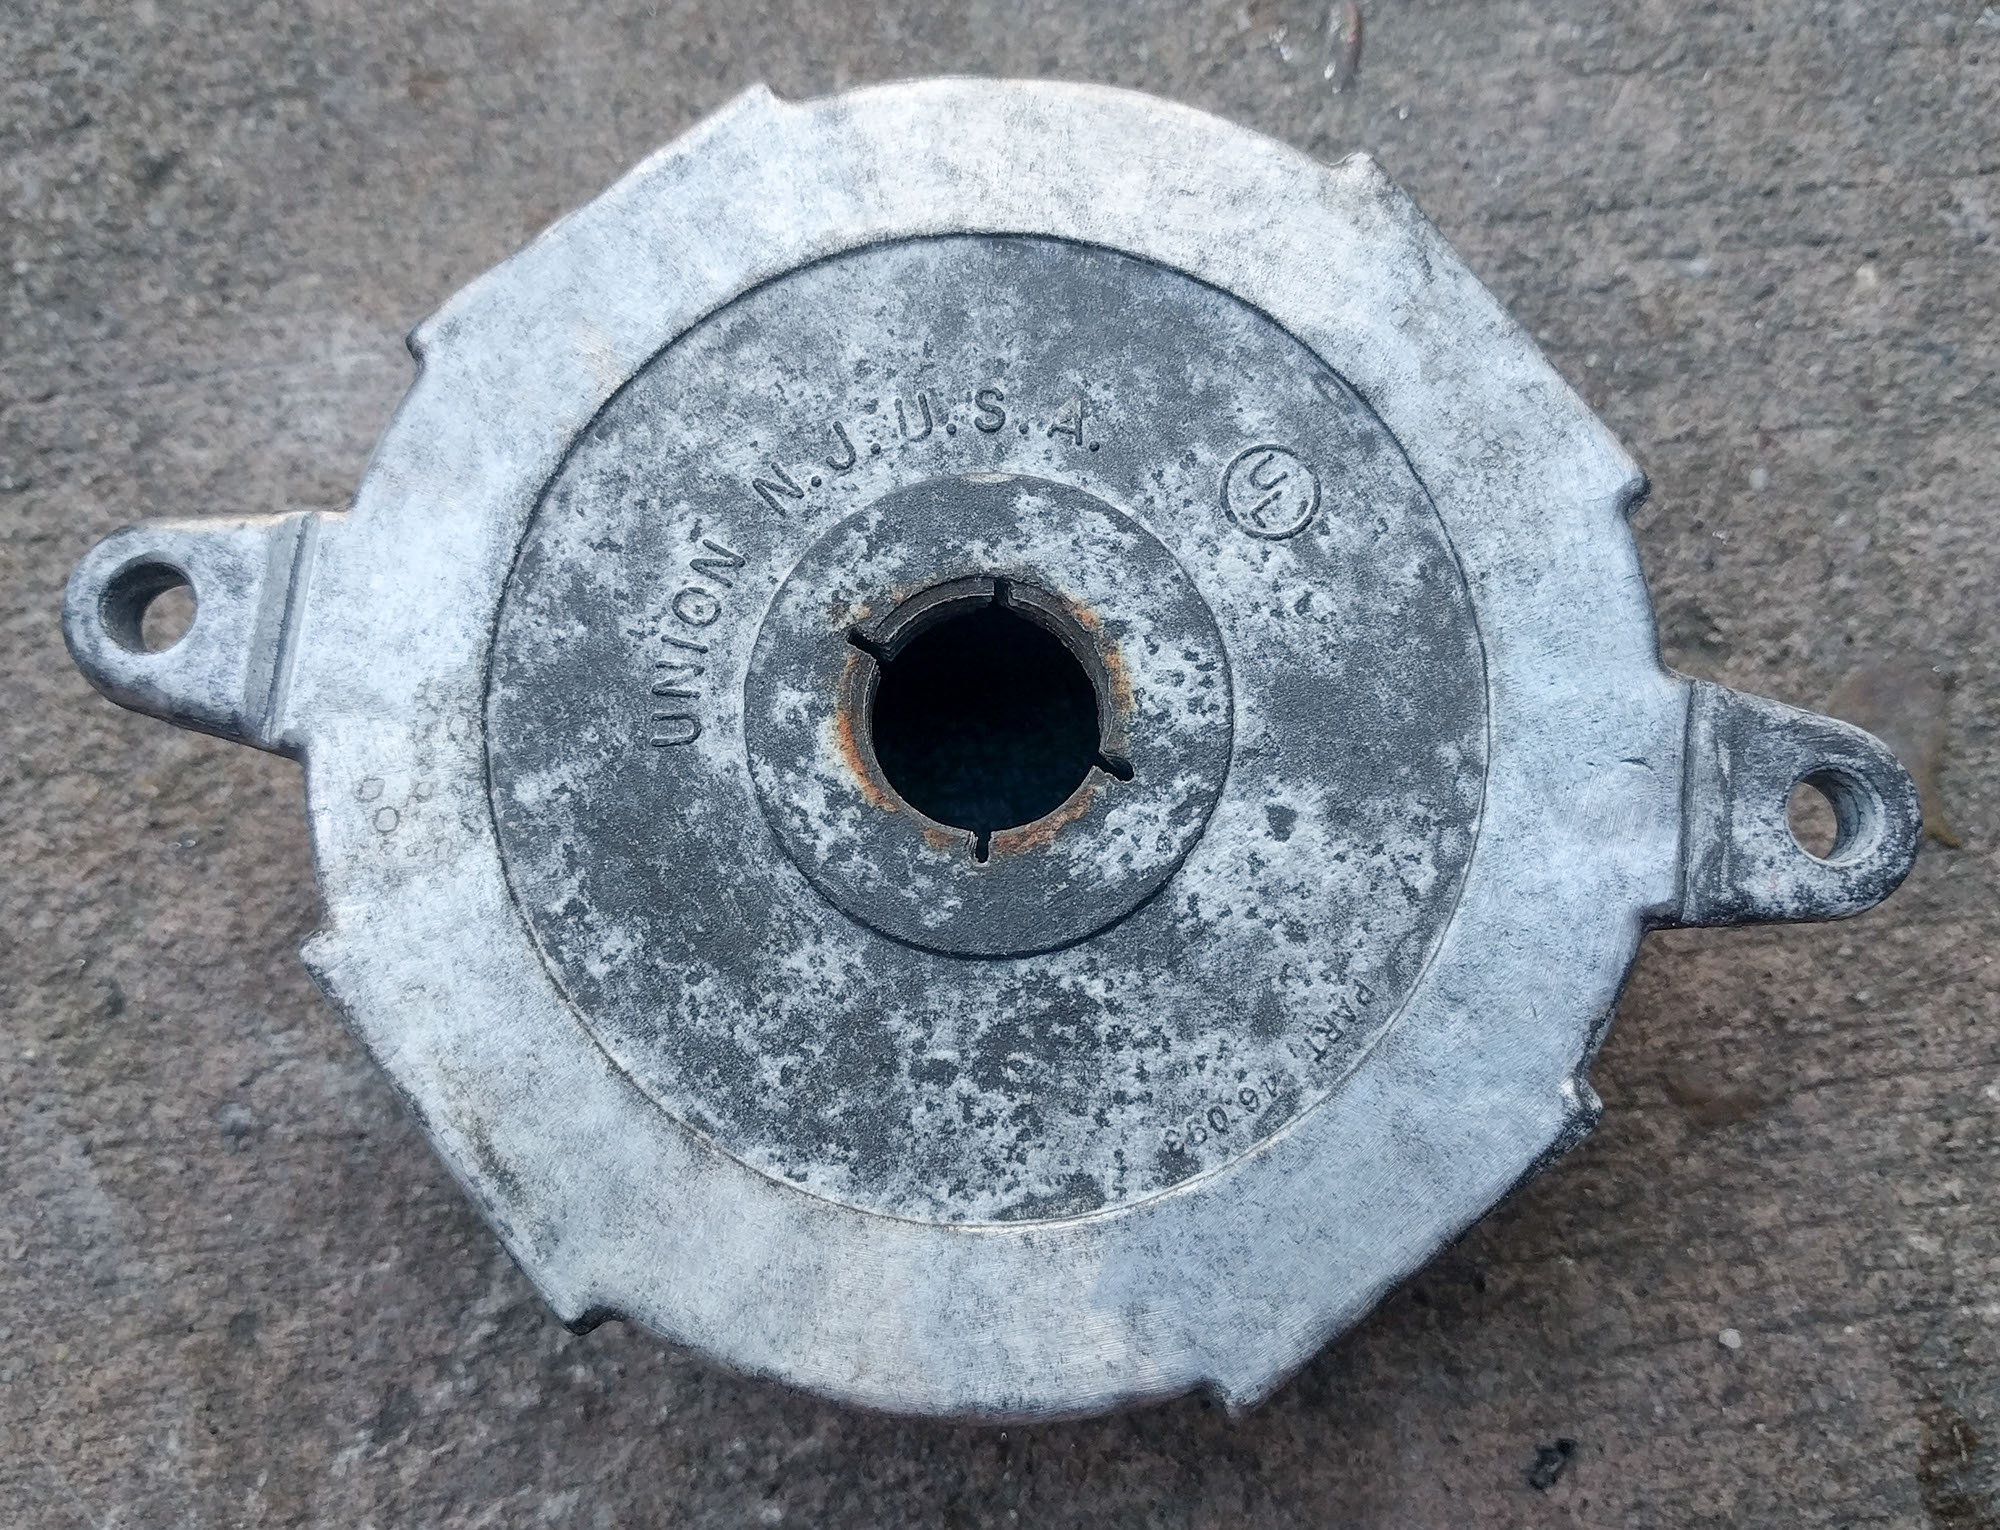
Visual inspection and some research revealed the fixtures are part of the Killark V Series. View the relevant catalog excerpt. Currently, ‘Killark lamp’ is the only name I have for this project.
The fixtures needed disassembly (very hard) and cleaning (fairly hard) before they could be lamps for the home. Read about how I did that in the sections below.
Not surprisingly, I’m not the only person who’s thought of making lamps from this style of light fixture. MillerLights’ Etsy shop prominently features nearly identical fixtures, and this DIY guide from The Shabby Creek Cottage shows how to make one yourself.
Terminology
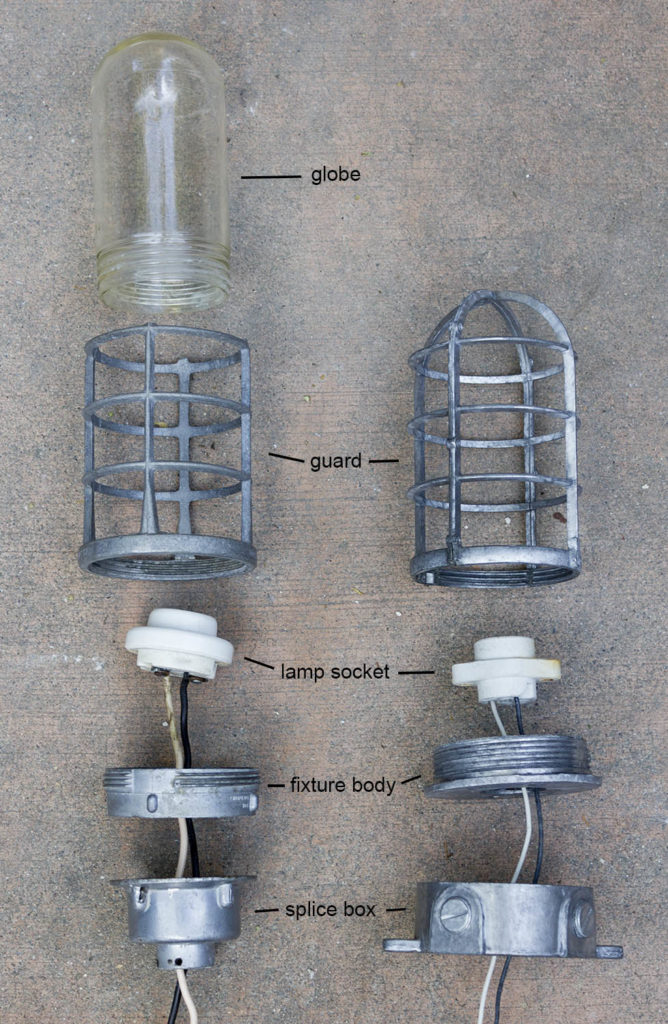
On this page I use part names, shown below, from Killark’s catalog.
Disassembly
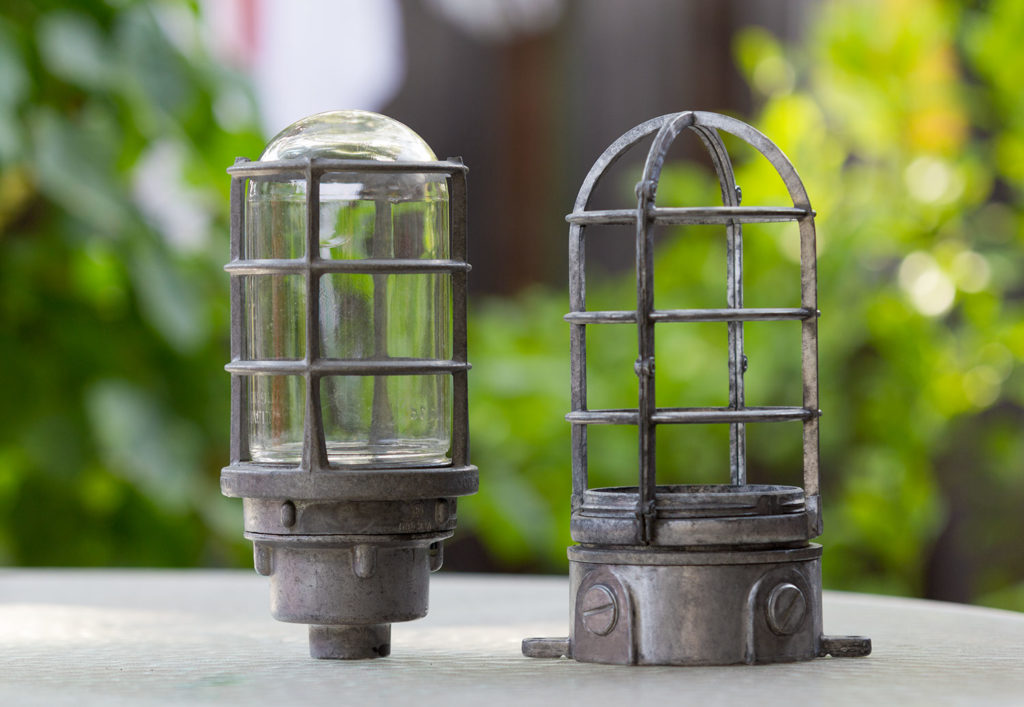
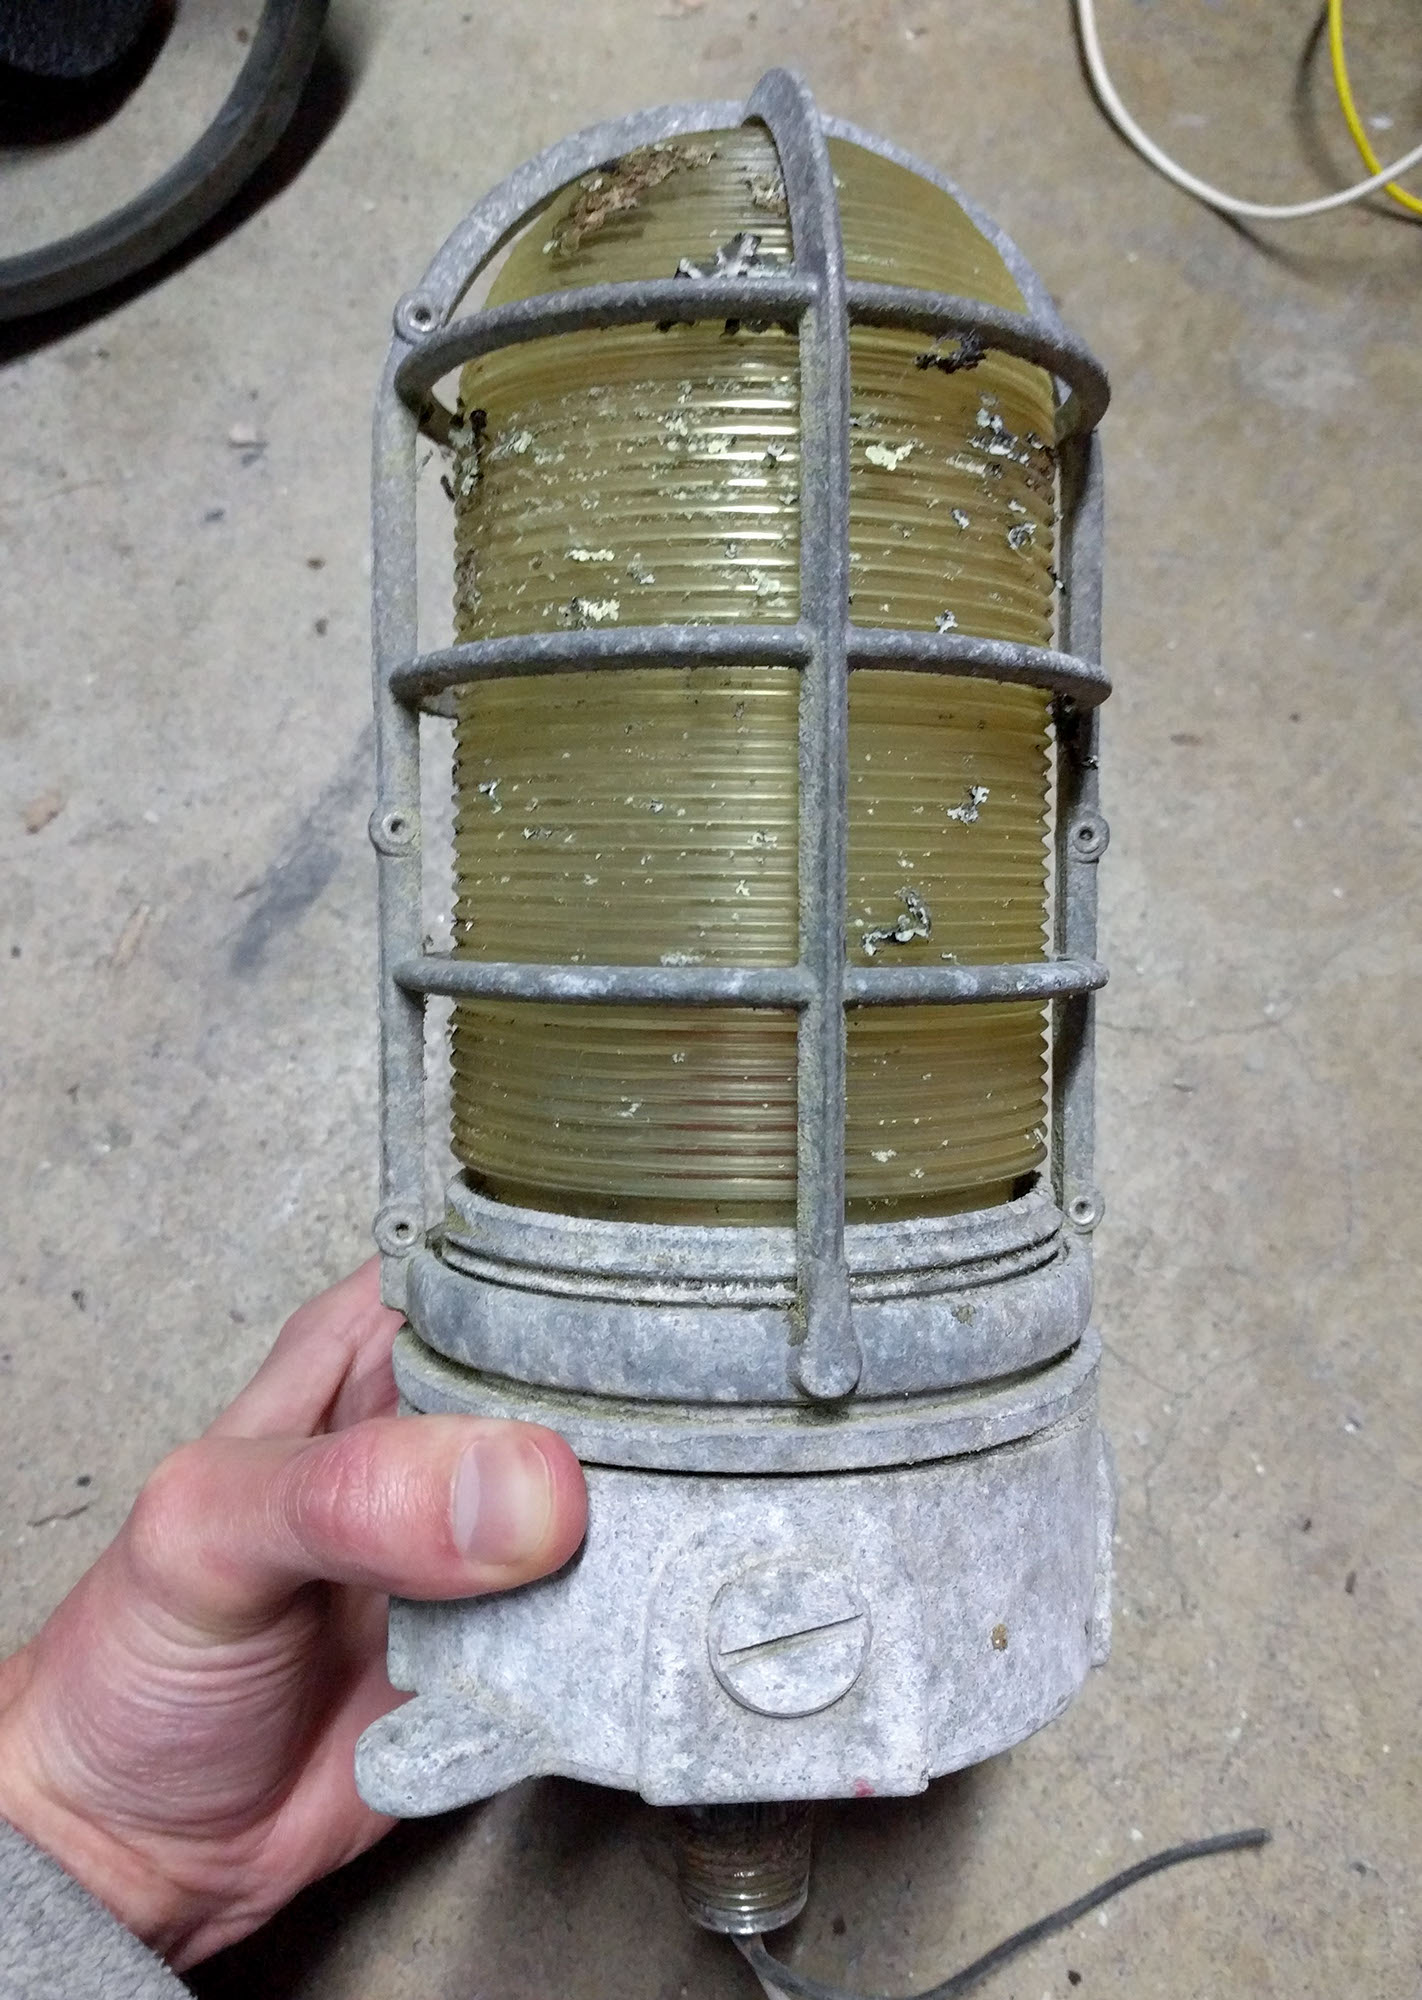
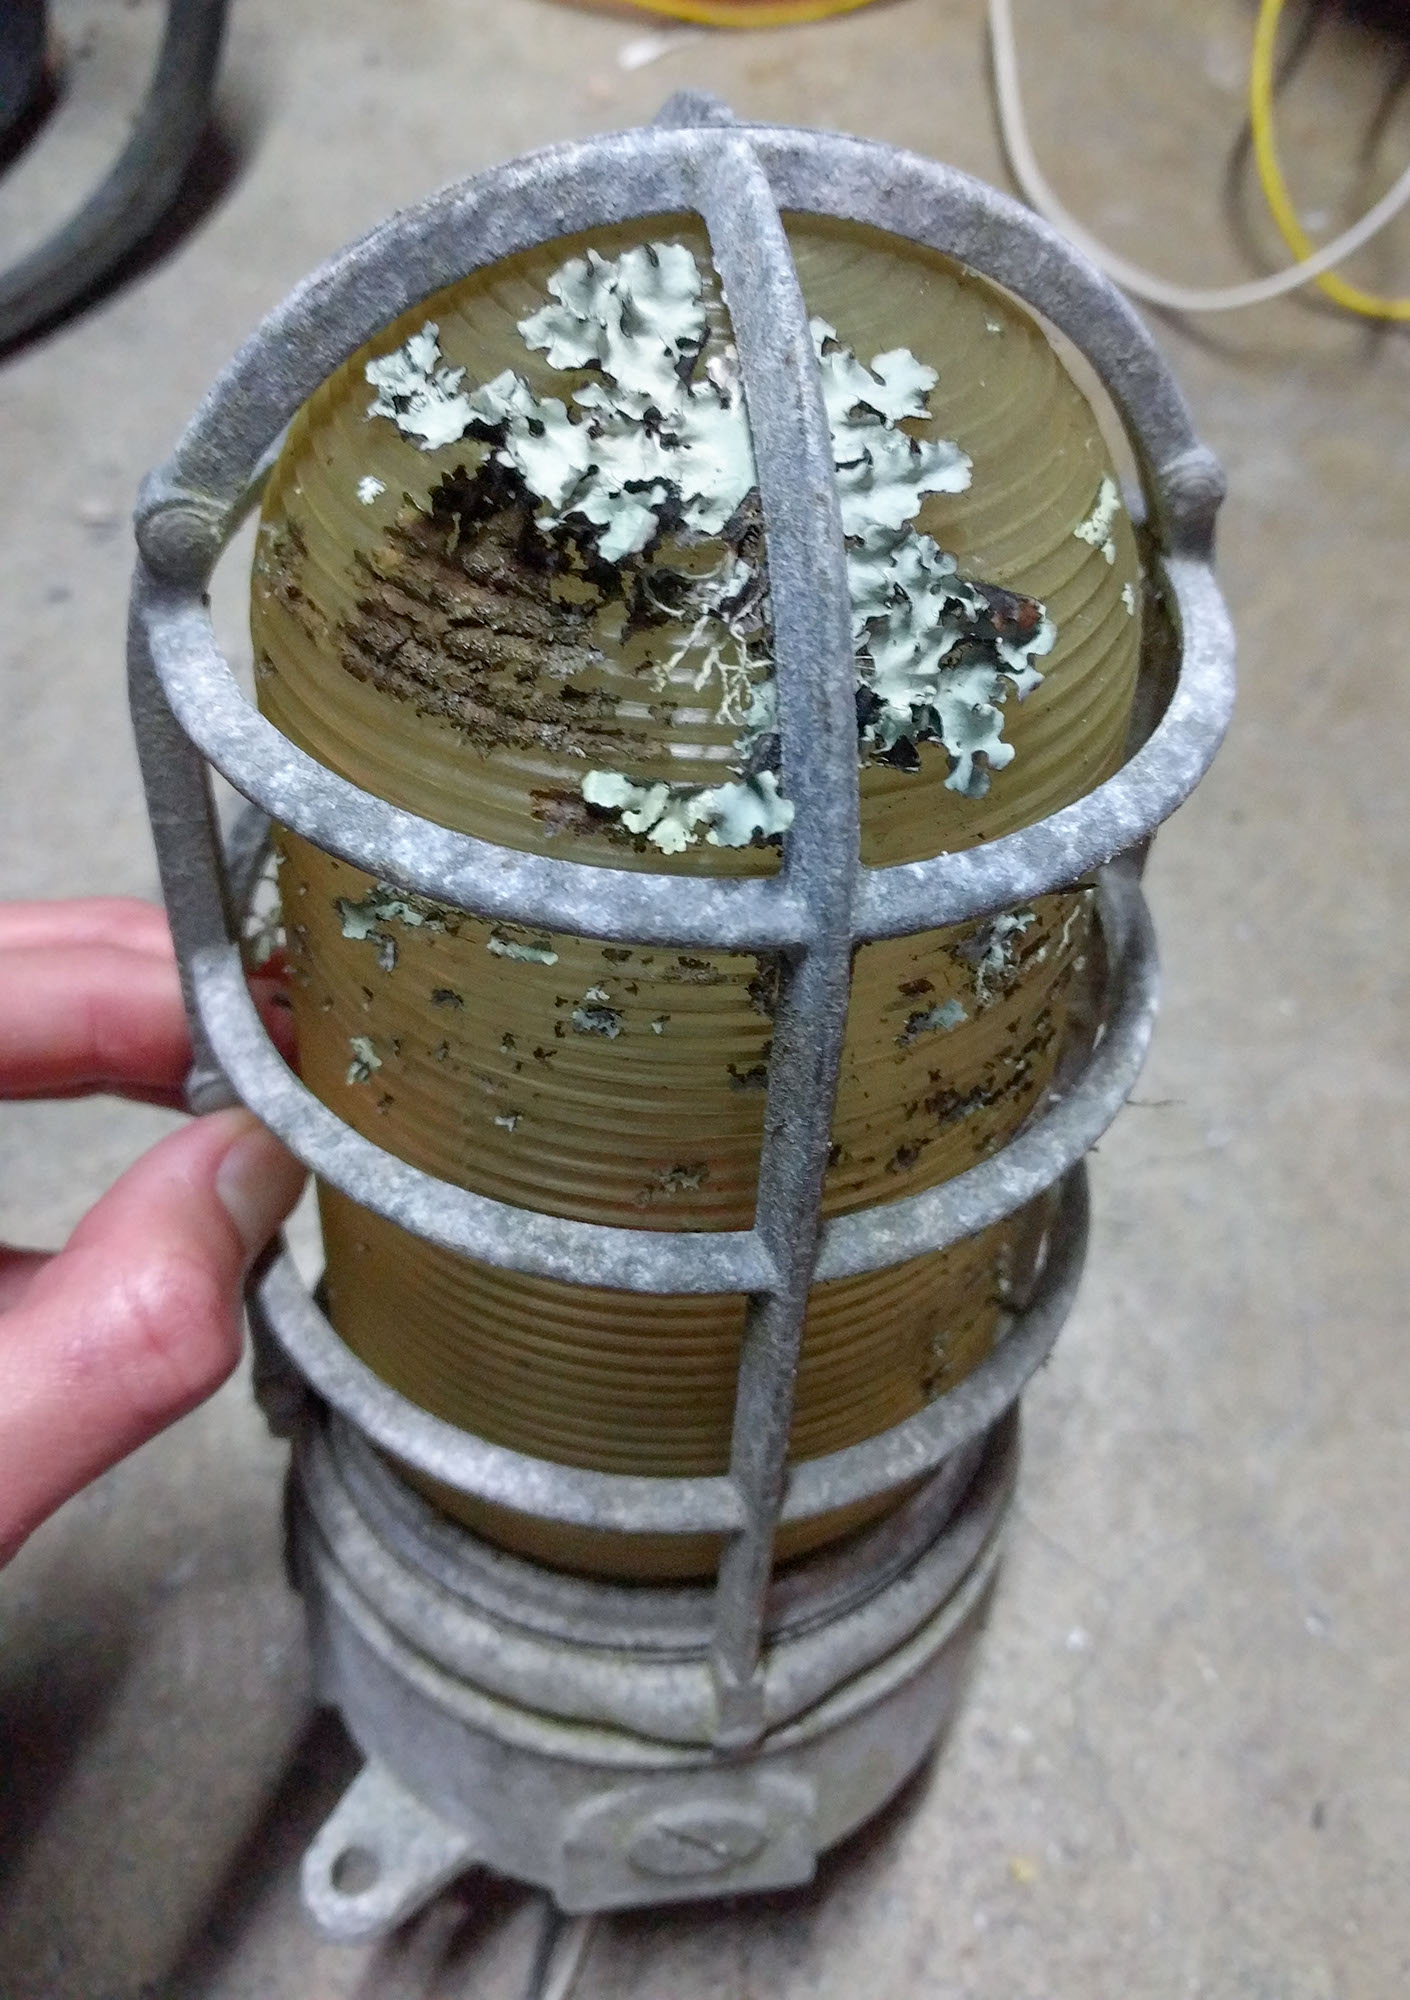
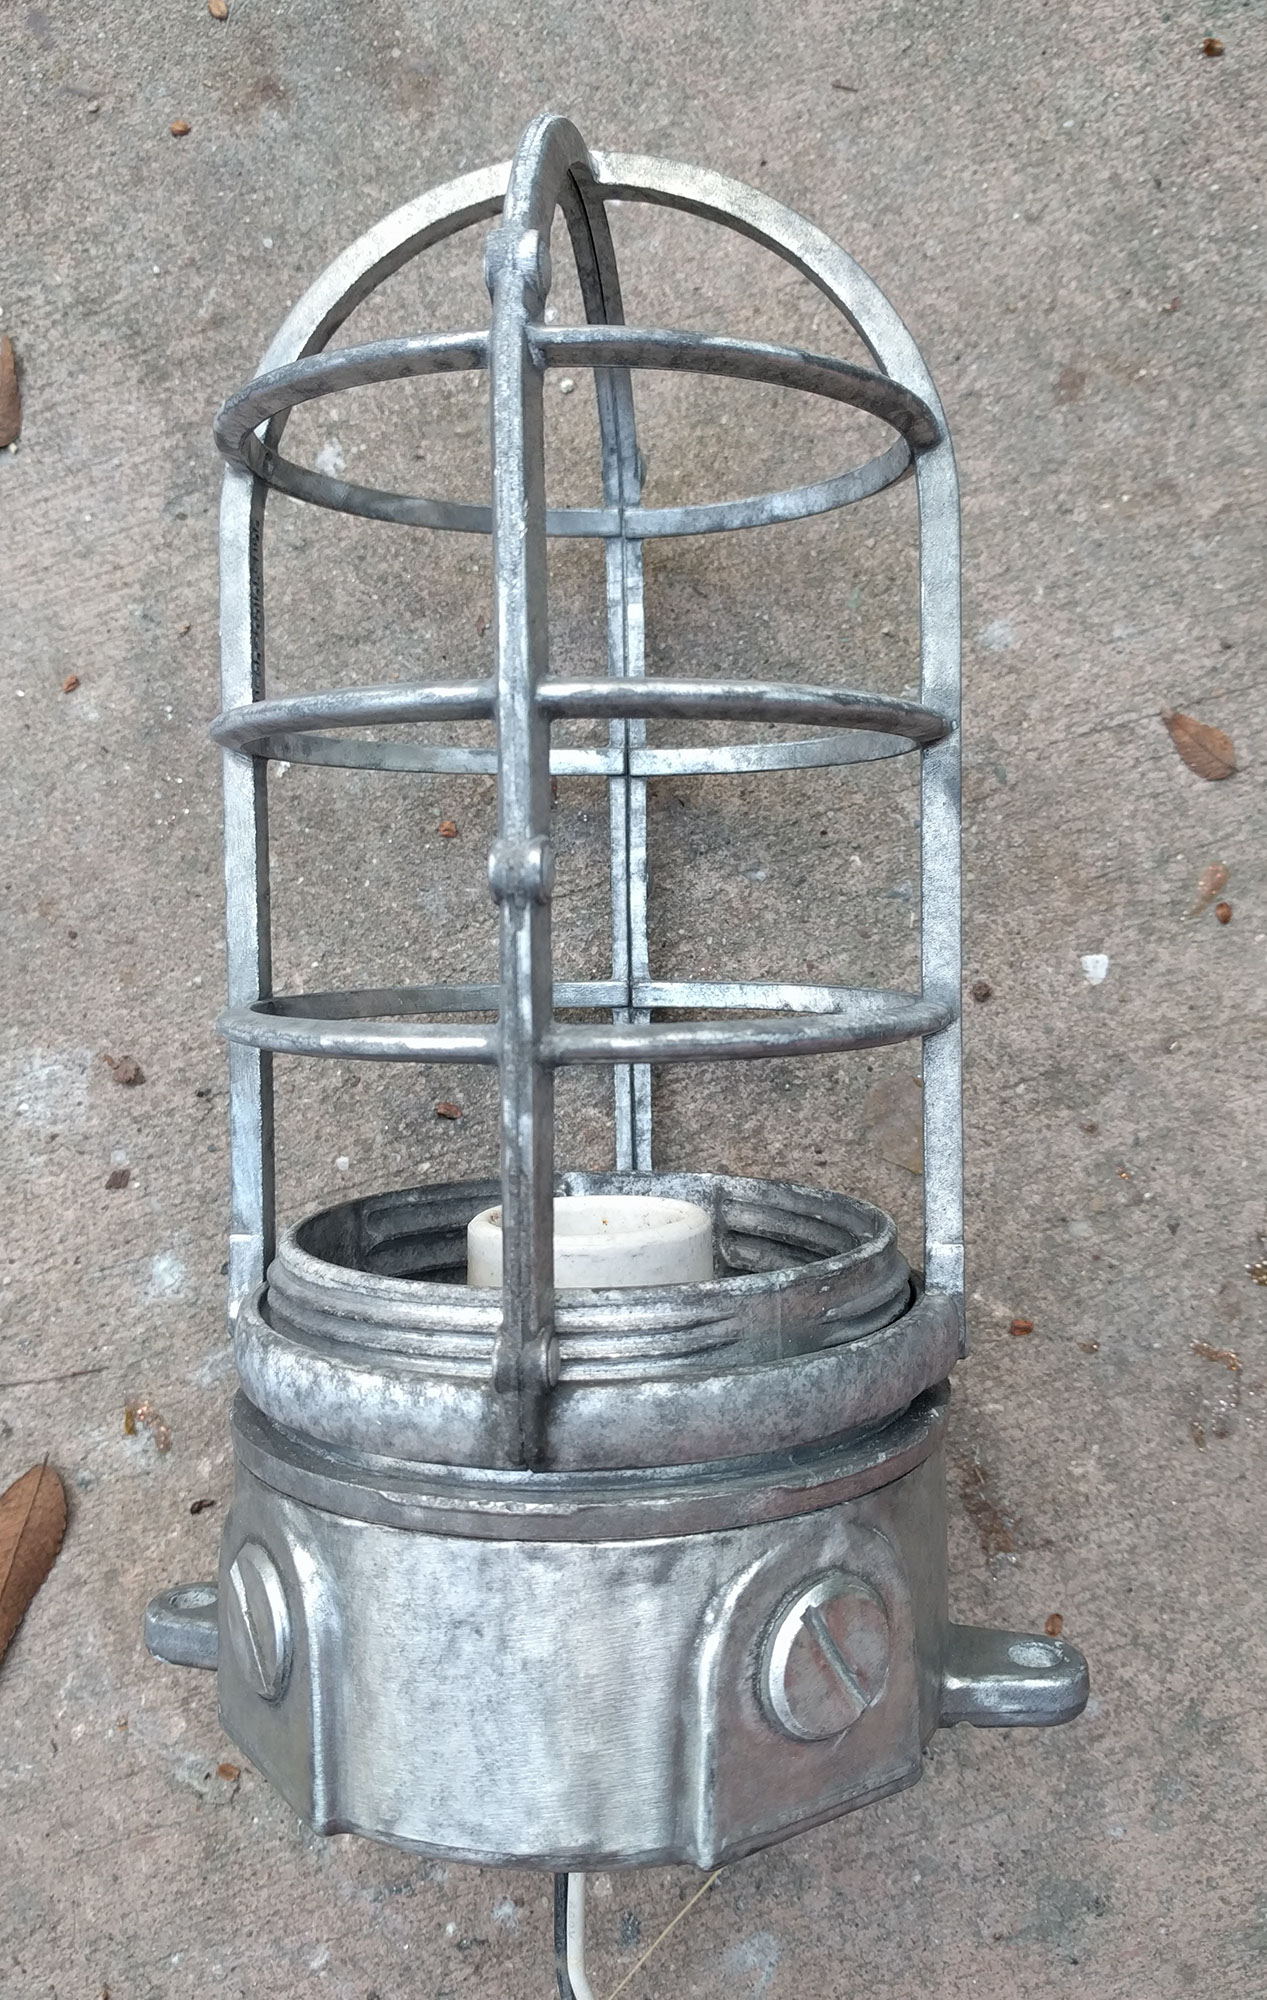
Here’s the second lamp before work. Every aluminum surface is corroded, there’s lichen on the plastic globe, and essentially dirt everywhere. I don’t have any photos of the first lamp before work.

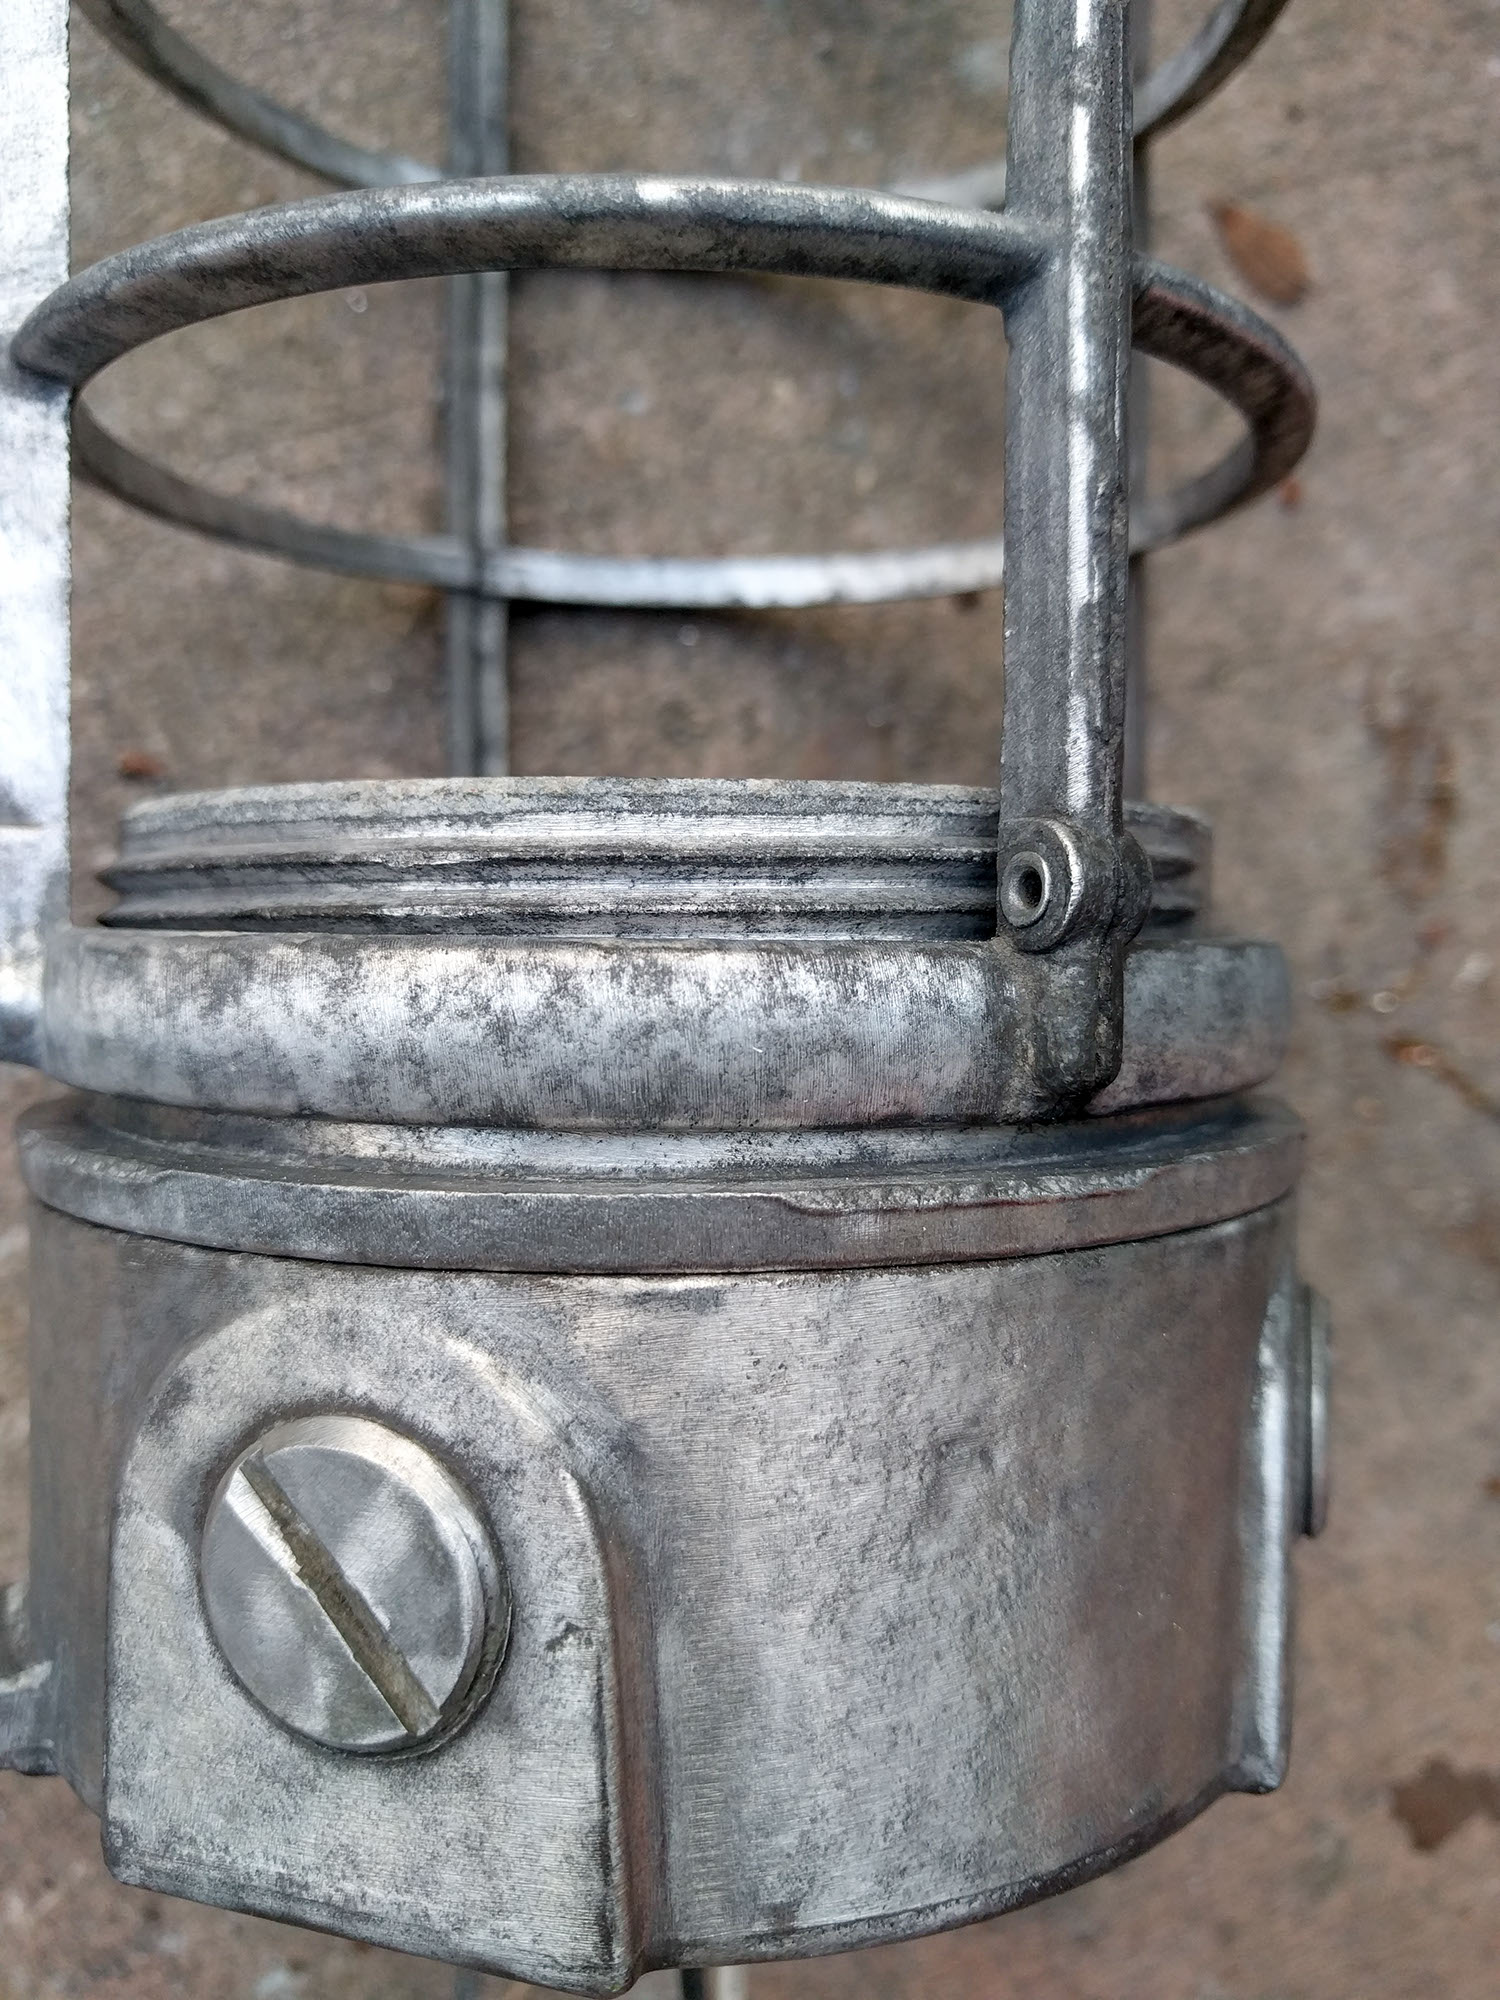
Unscrewing the guard
The guard is a metal cage screwed onto the fixture body to protect the globe. Here are the guard from the two lamps removed:
On the first lamp, the guard (above left) has an open top. I unscrewed the glass globe then unscrewed the guard using a 15-inch pry bar for leverage:
On the second lamp, the guard (above right) fully enclosed the globe. I couldn’t unscrew the guard without using the pry bar for leverage, but I couldn’t stick the pry bar through the guard with the globe in place, and I couldn’t unscrew the globe because the guard held it in.
The first lamp’s globe is thick clear glass, but the second lamp’s globe was an unappealing opaque yellowed plastic. I didn’t want to keep the globe anyway, so I smashed it into smallish pieces that fit though the guard then used the pry bar for leverage to unscrew the guard.
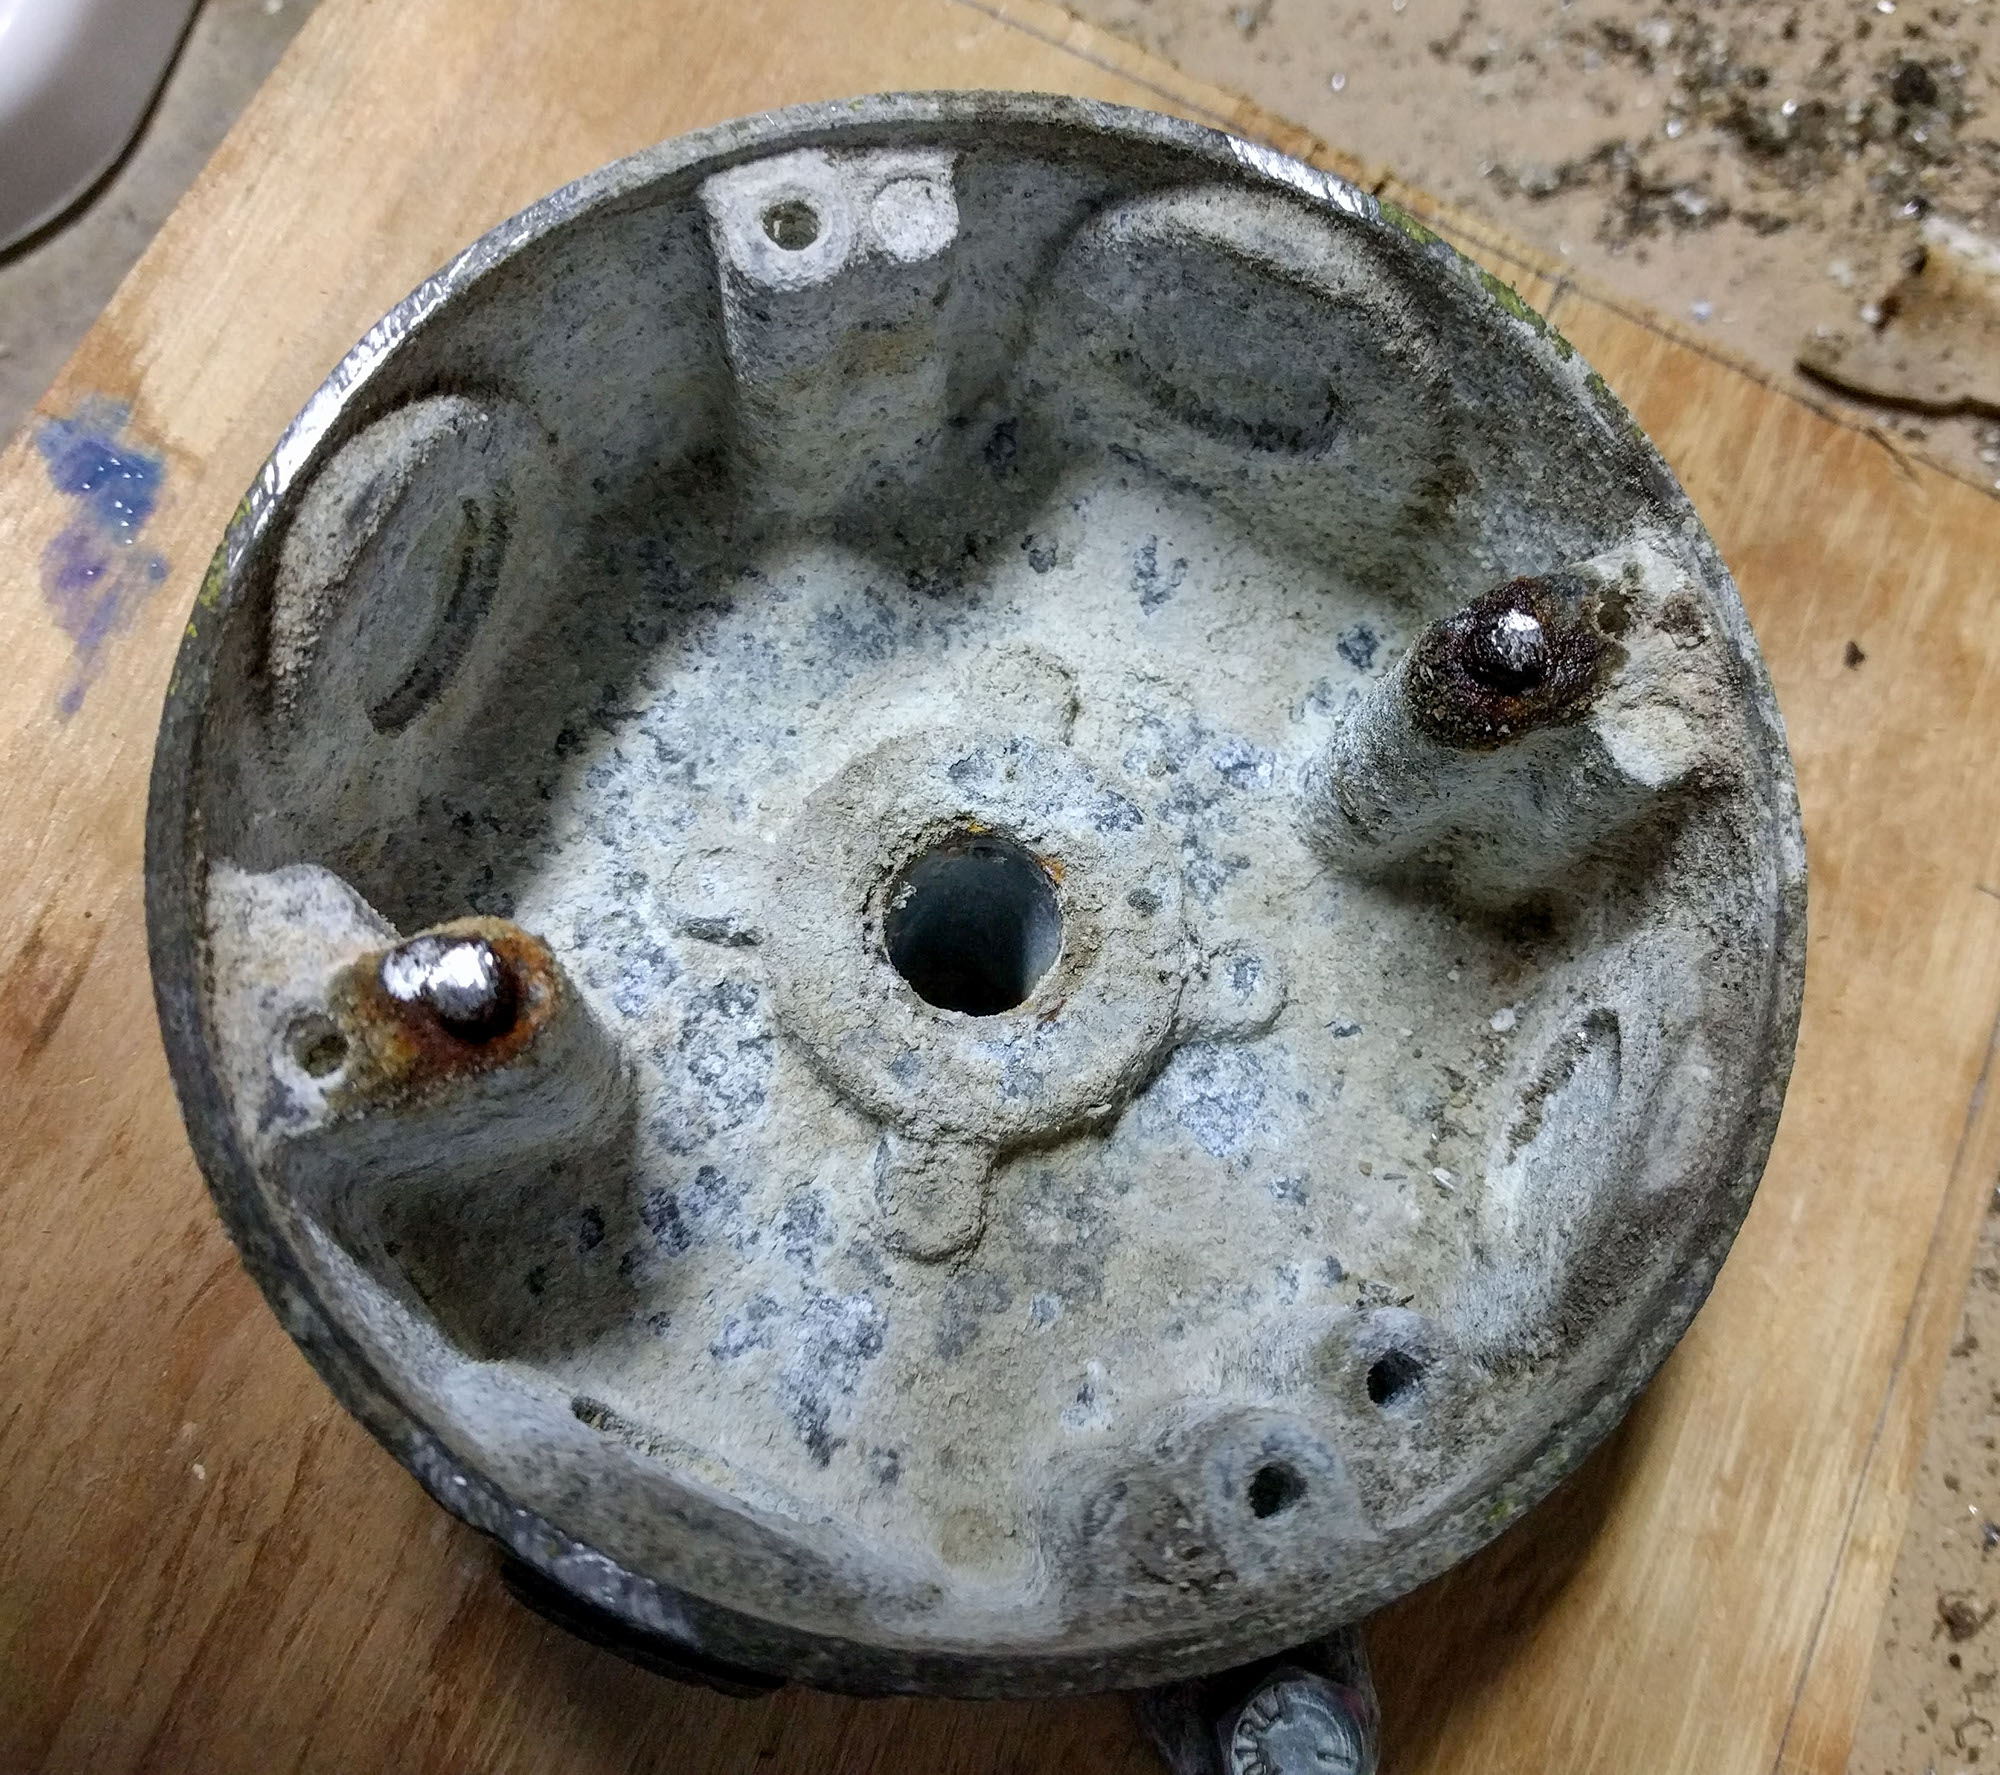
Removing rusted screws
A number of screws held the fixture bodies to the splice boxes. Many of them were so rusted the heads had become powder.
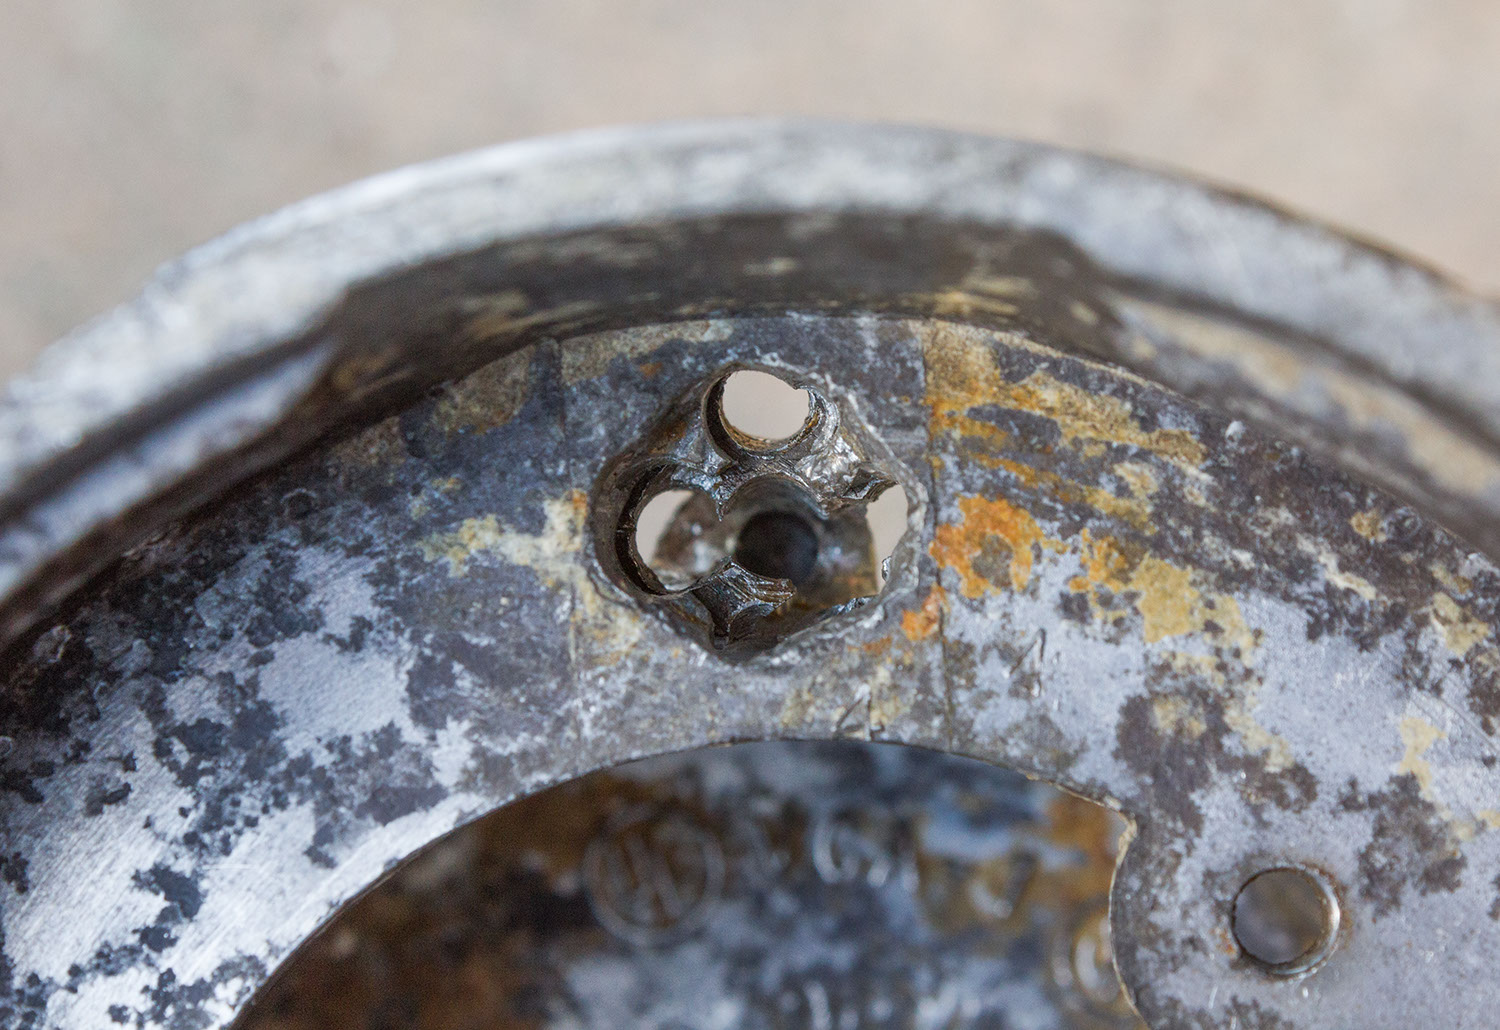
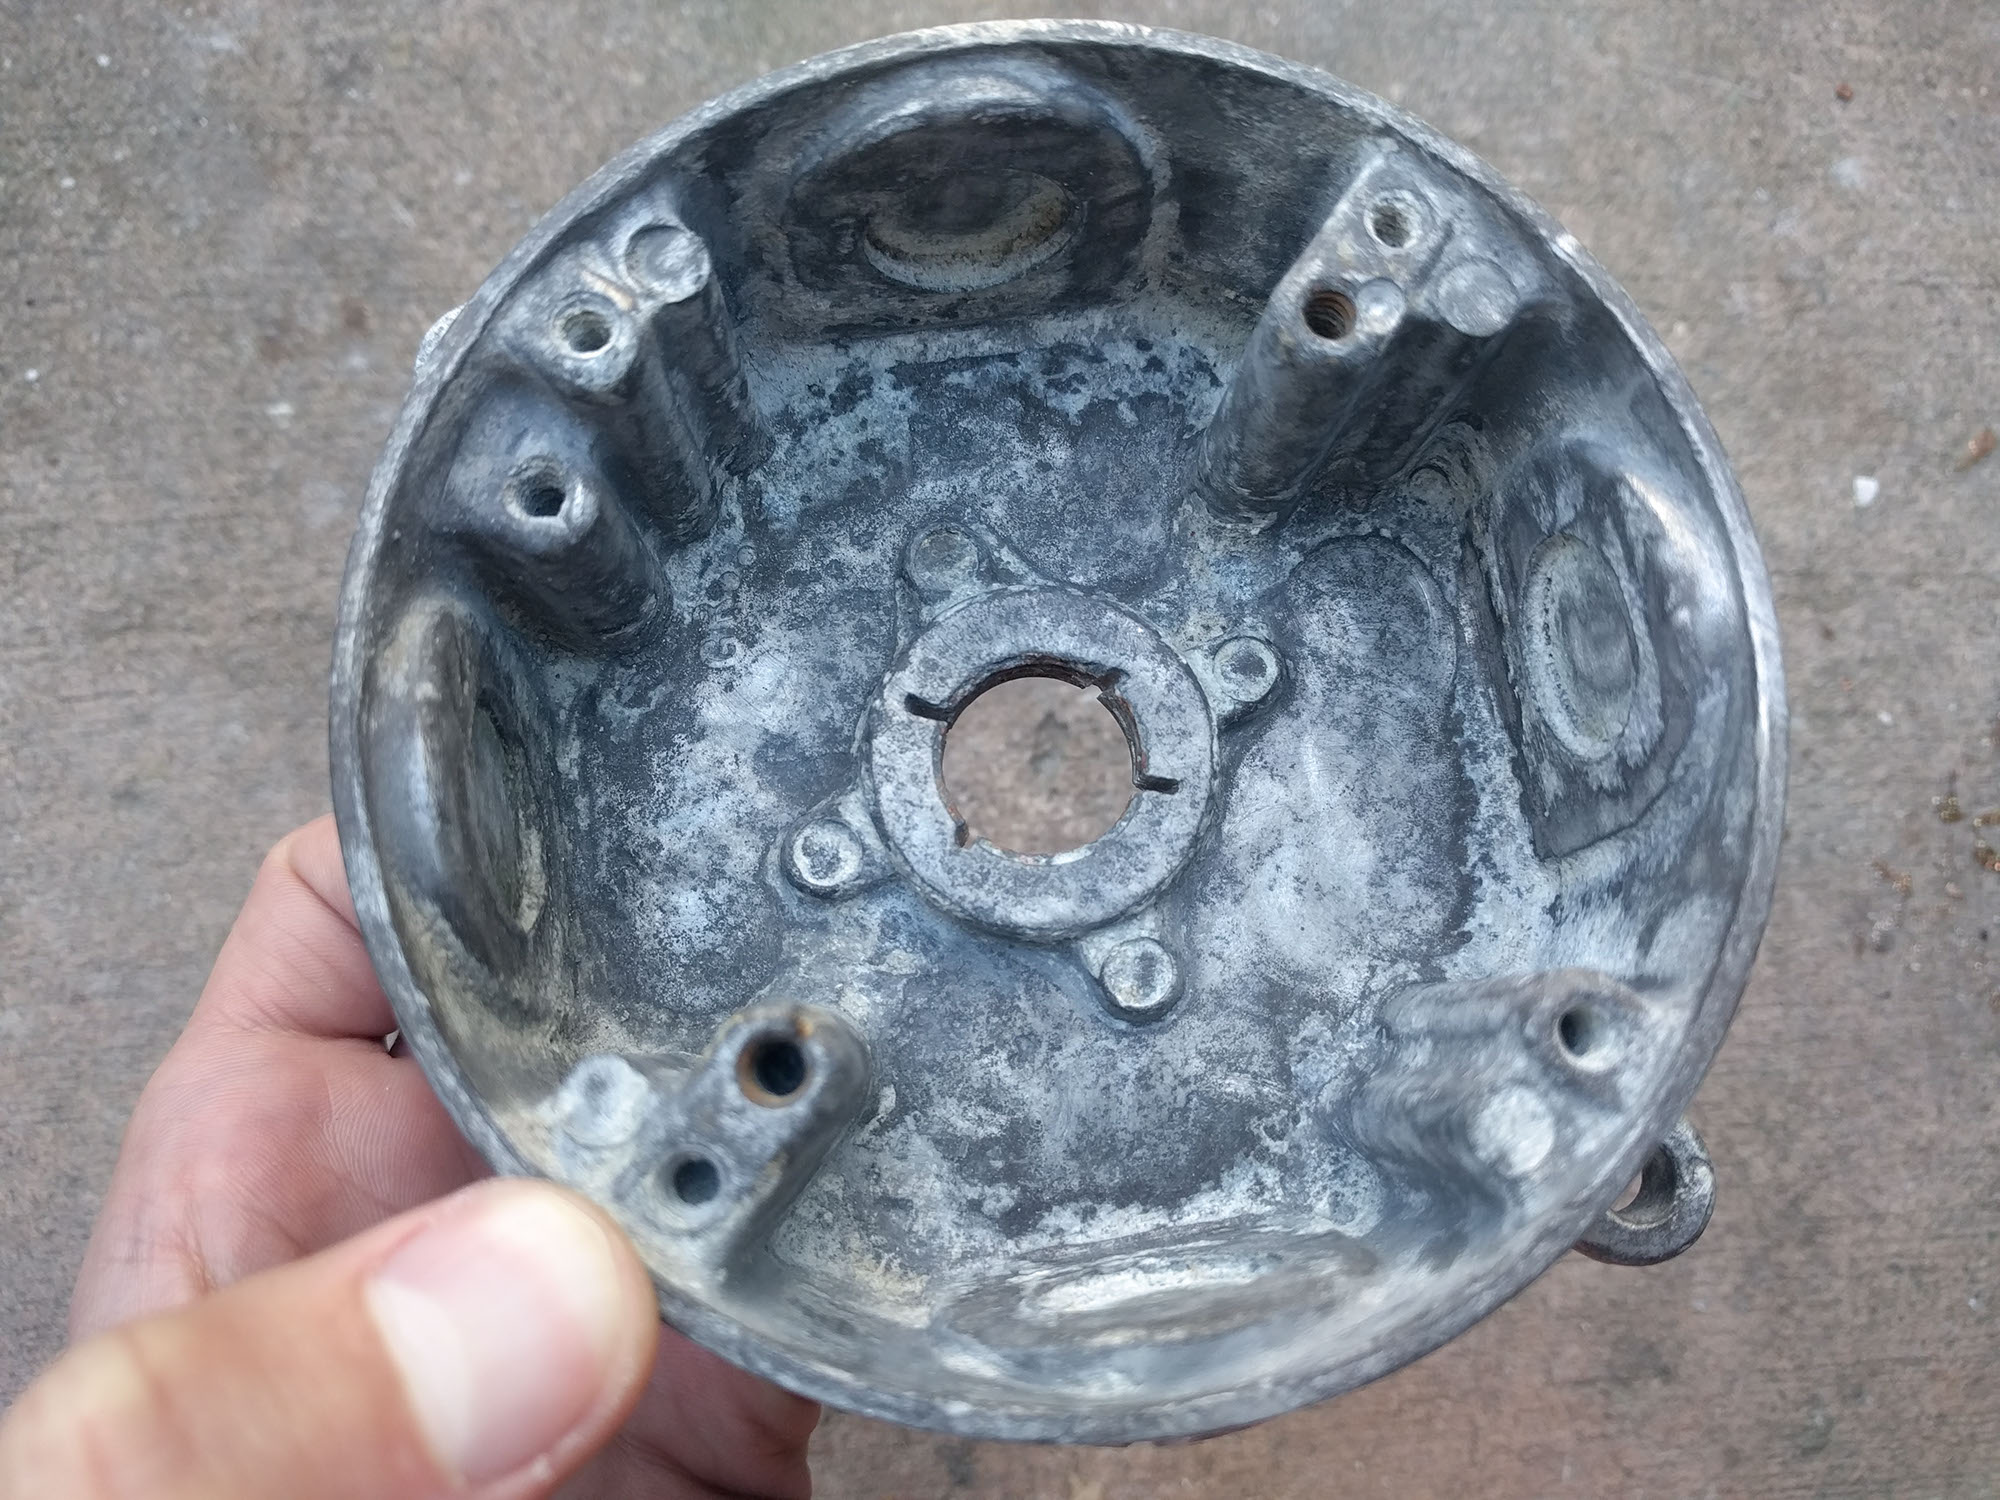
I tried to drill through the screws, but the drill bit always slid off the hard steel screws onto the soft aluminum lamp. Consequently there are a bunch of holes going through the splice box all around where the screws were.

I ended up hacksawing across the screws, between the fixture body and splice box, which was inelegant but effective.
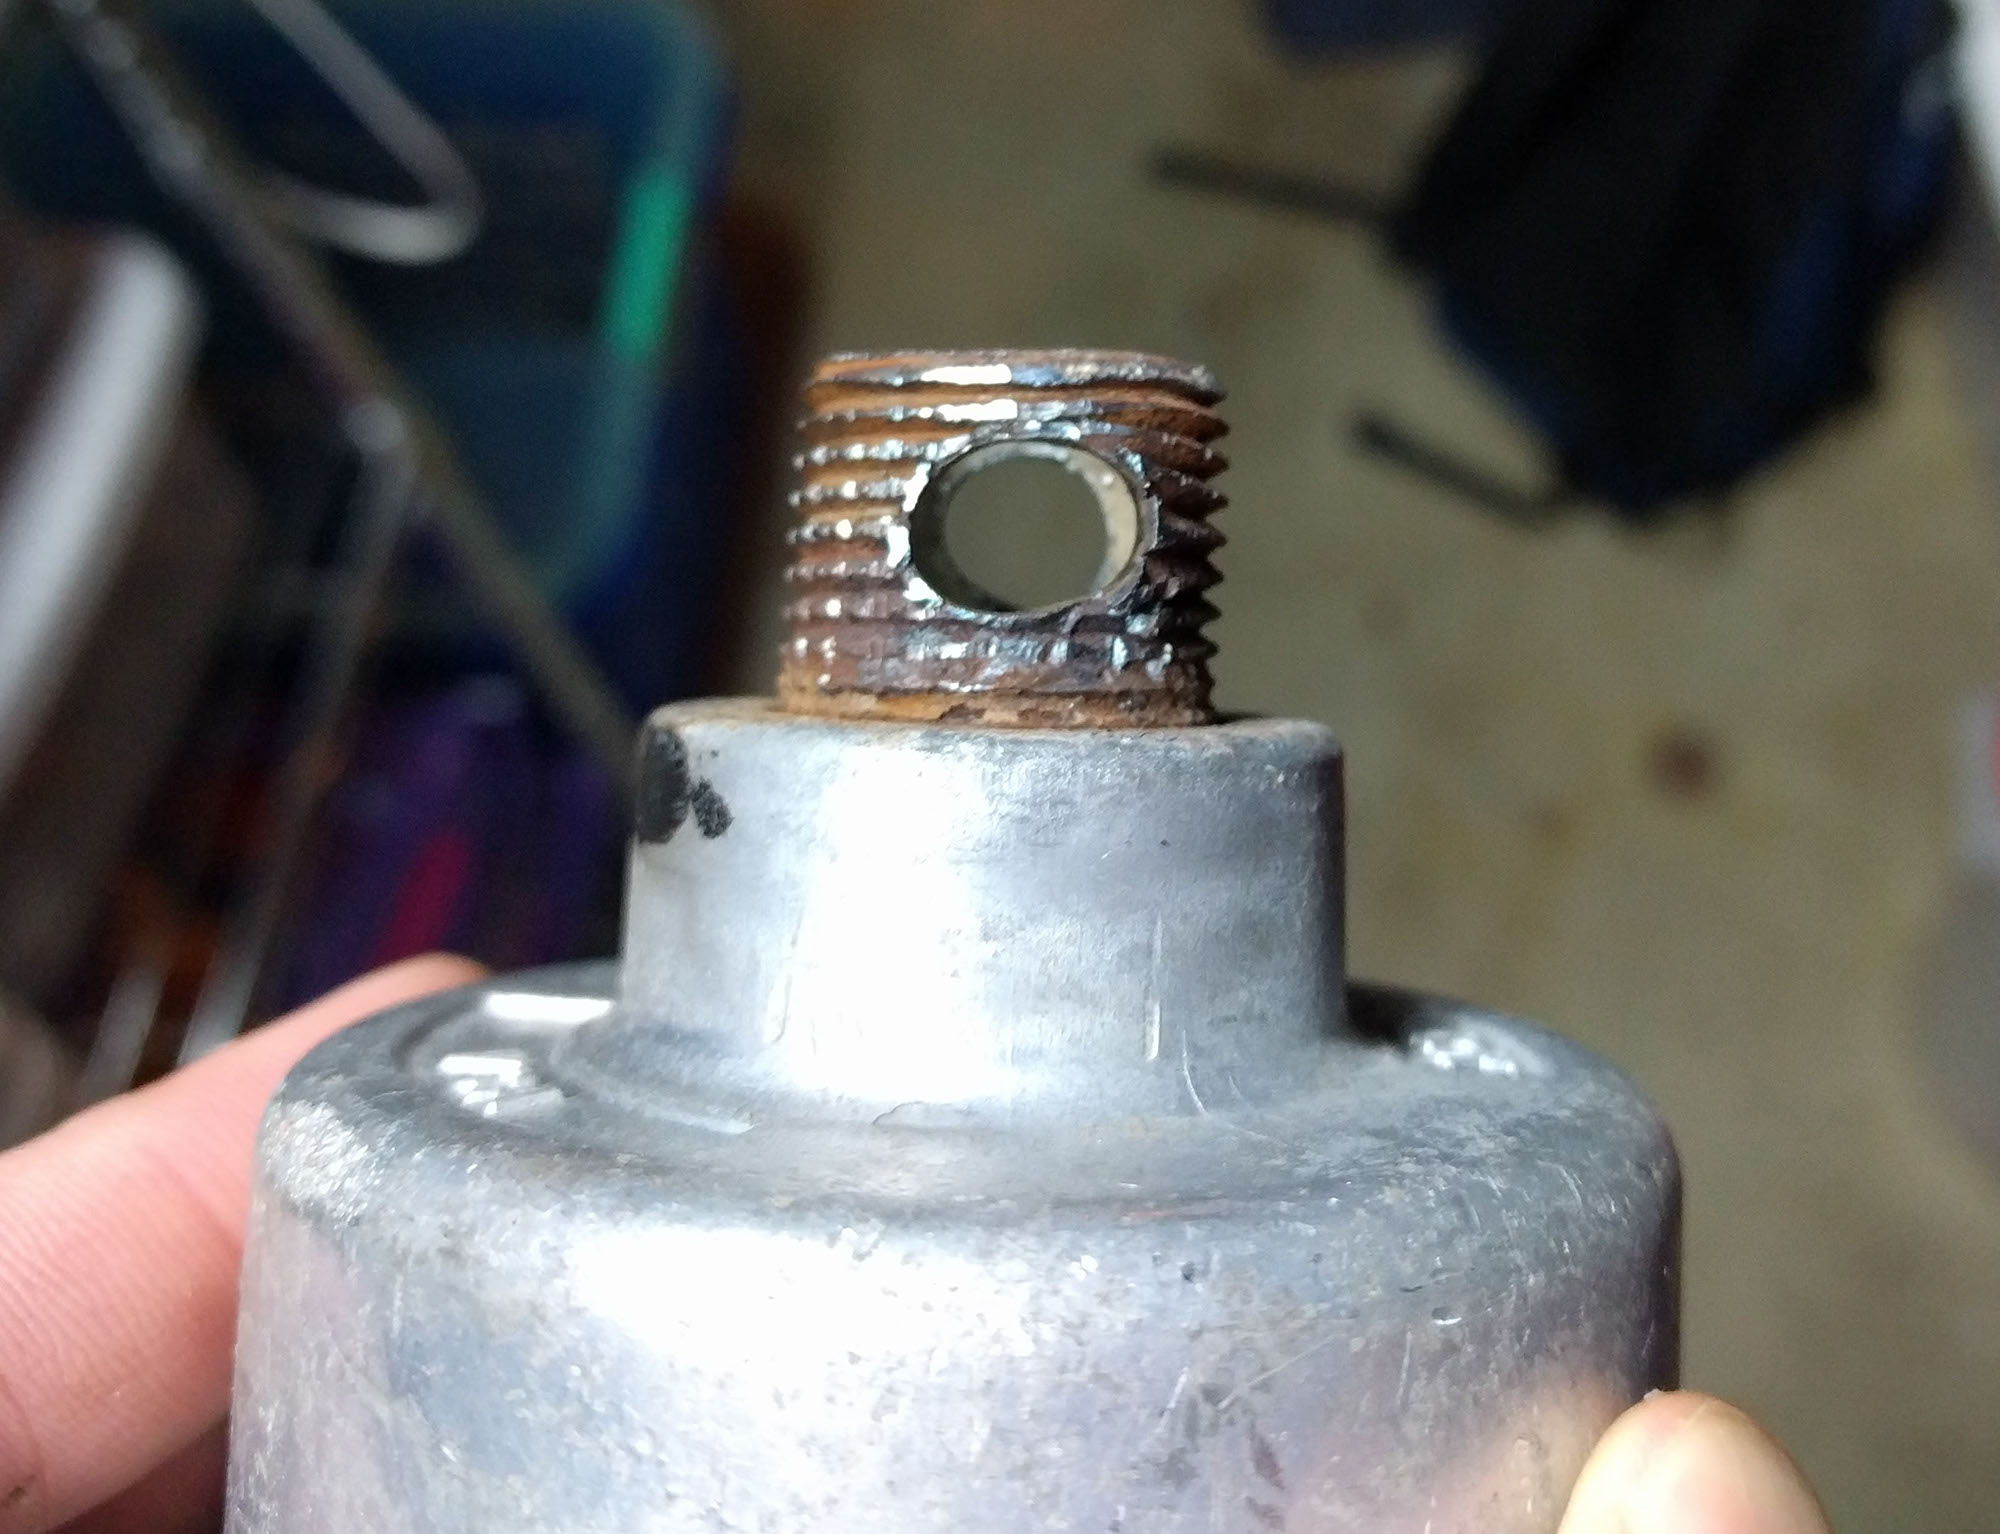
Removing rusted pipe
A small piece of 1/2-inch NPT pipe was screwed into the bottom of the splice boxes. It was impossible to unscrew.
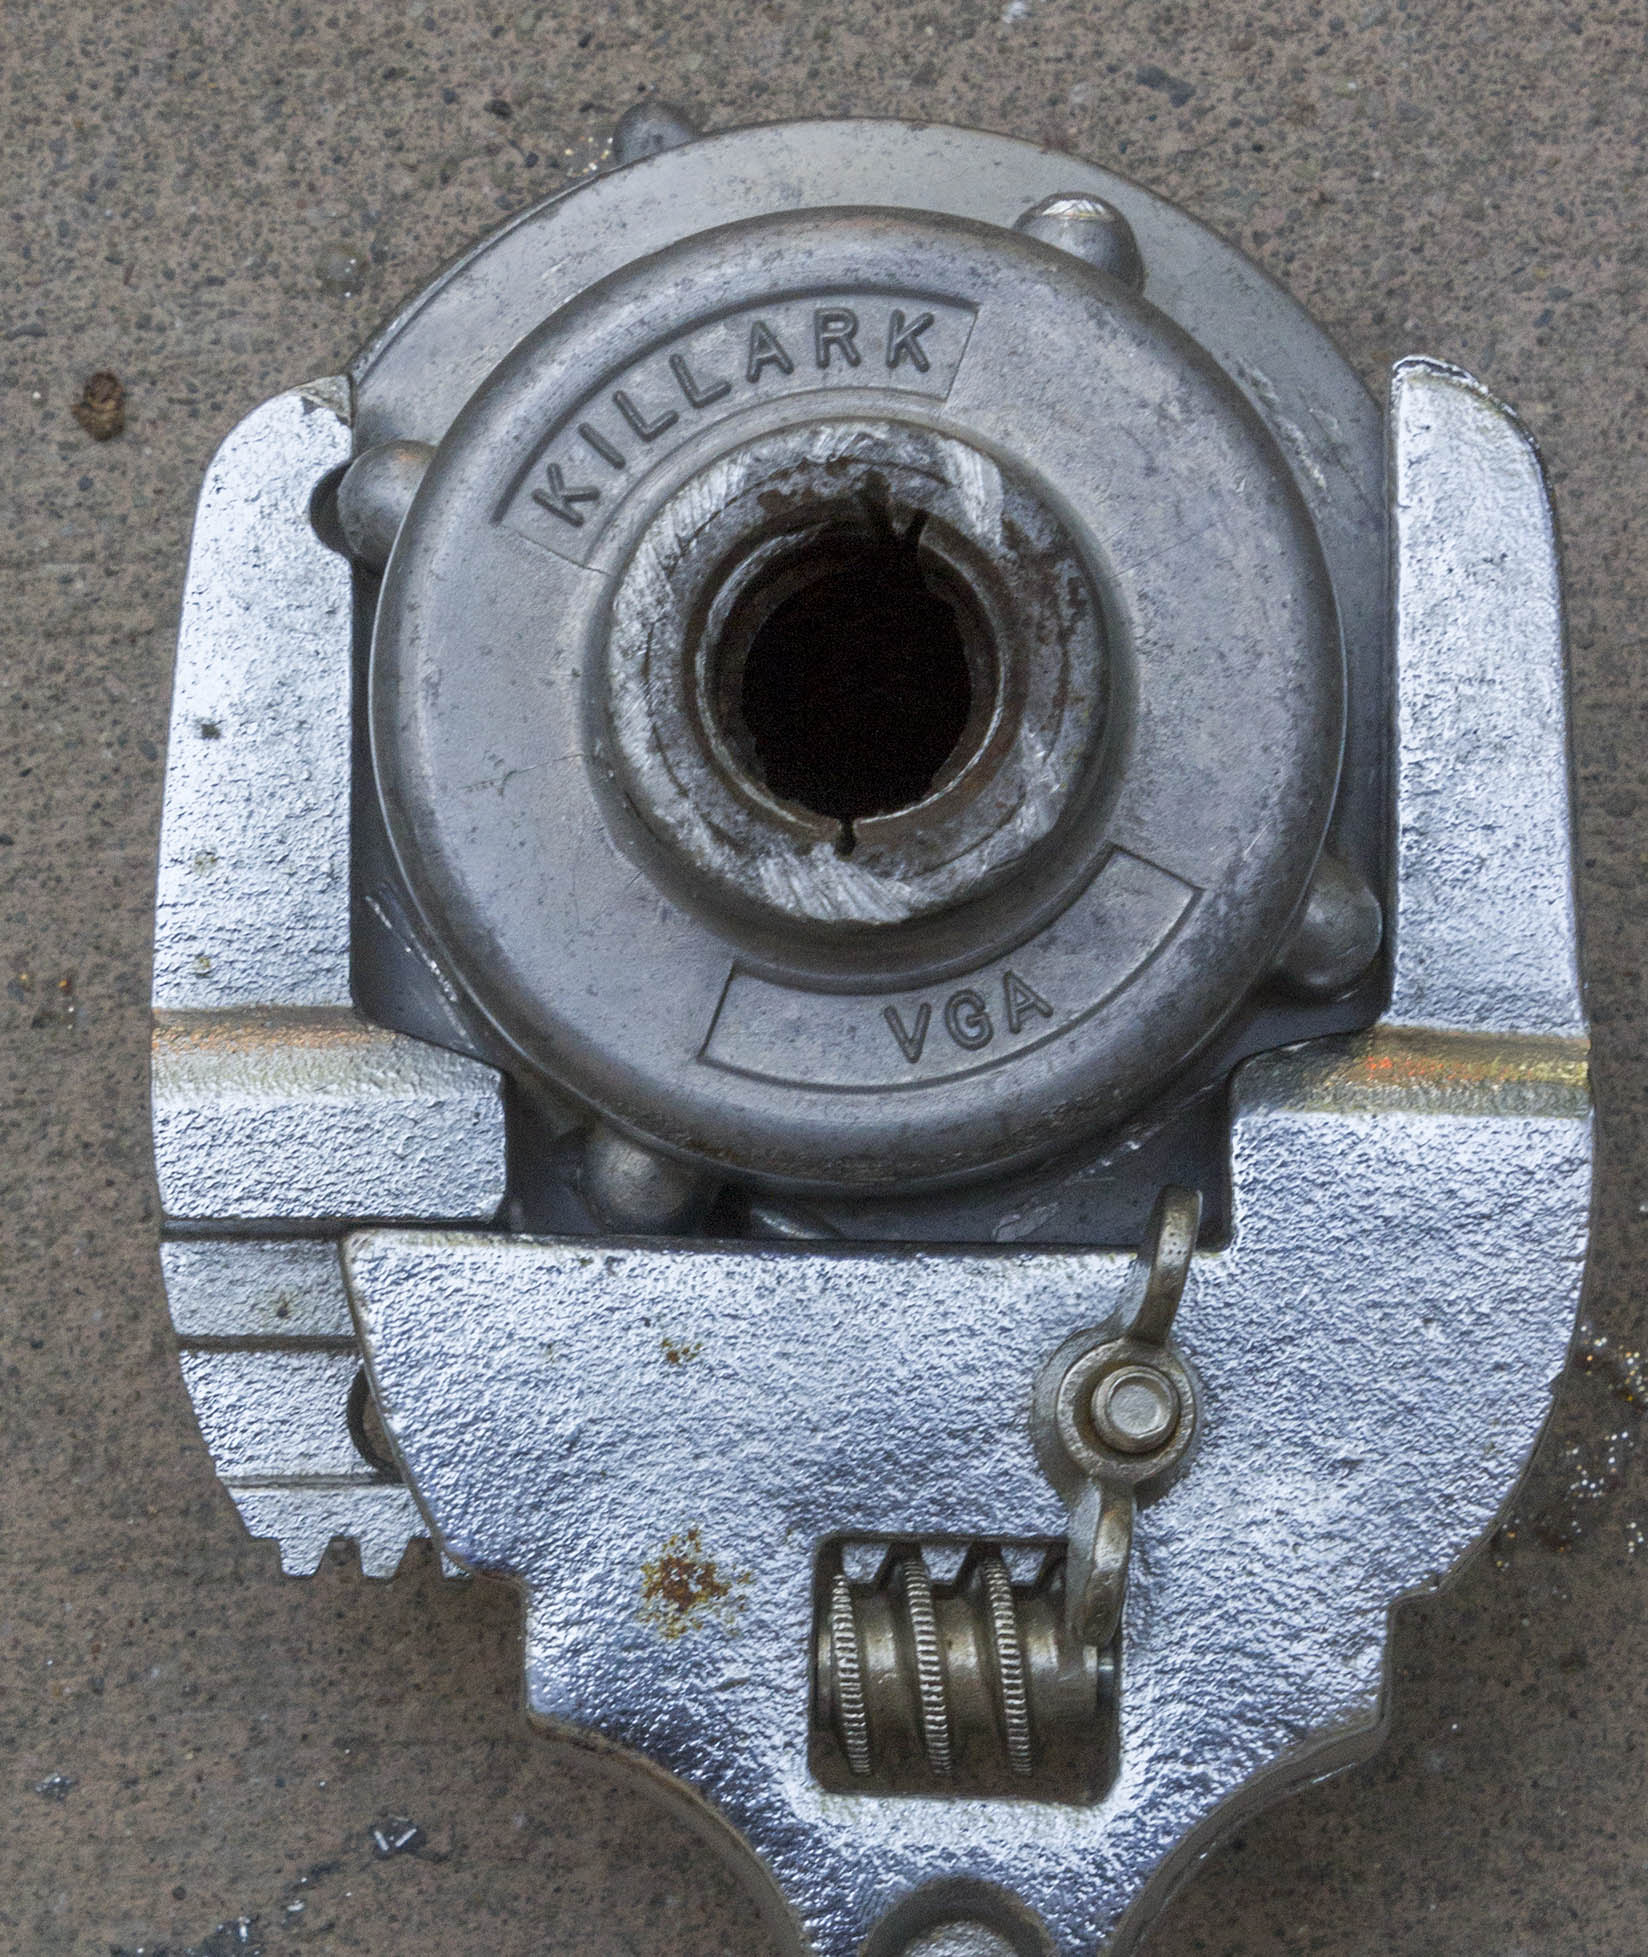
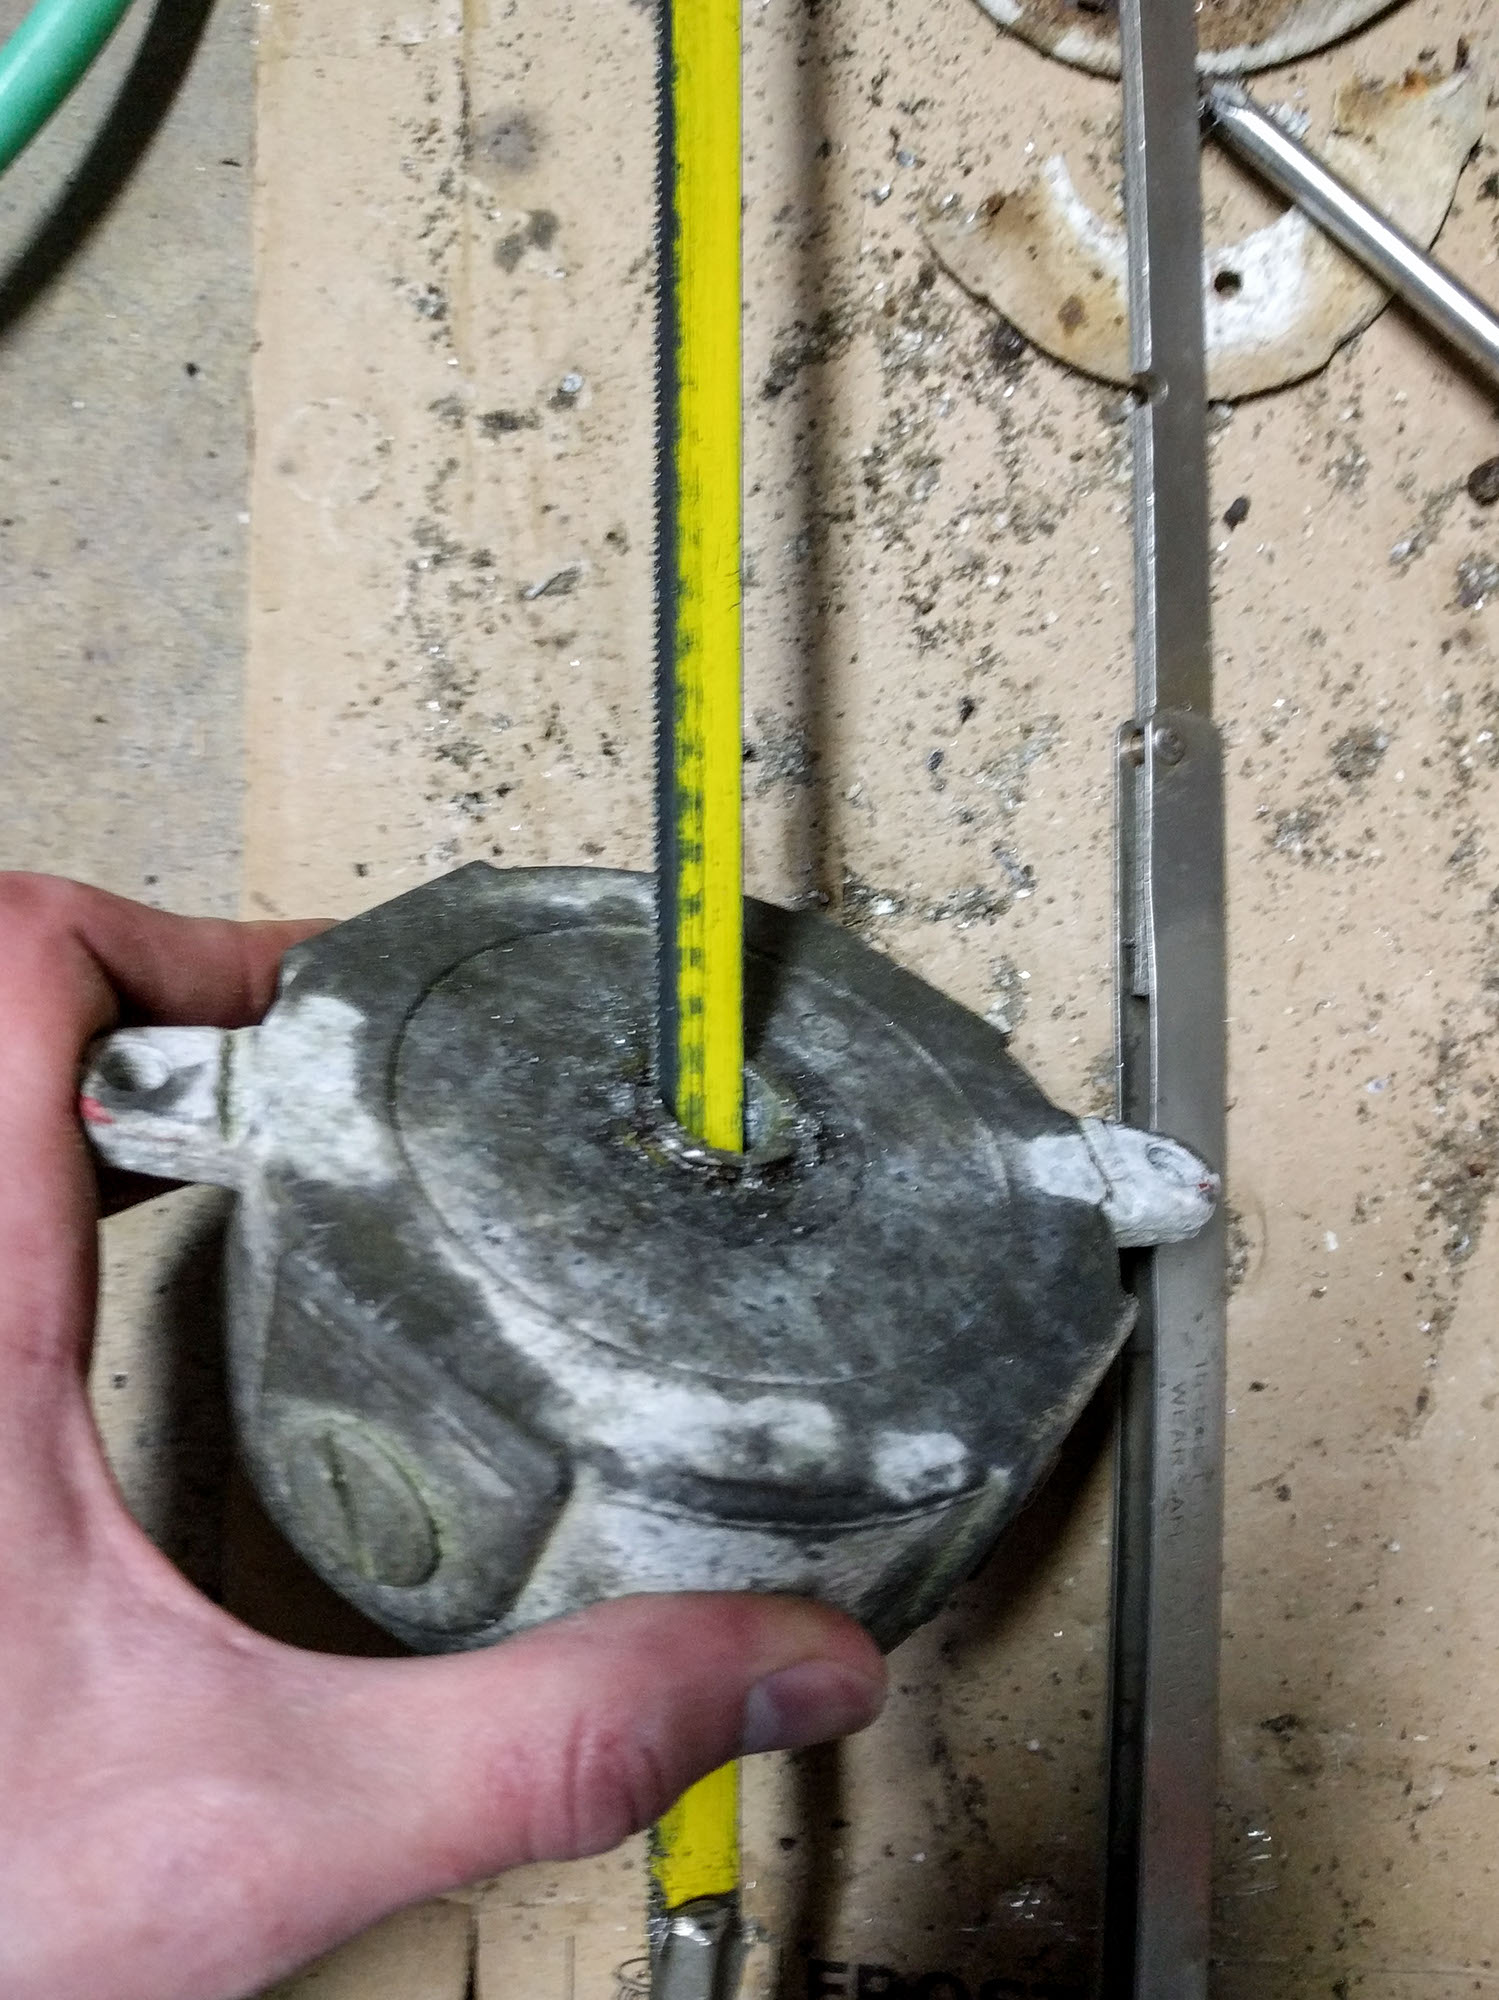
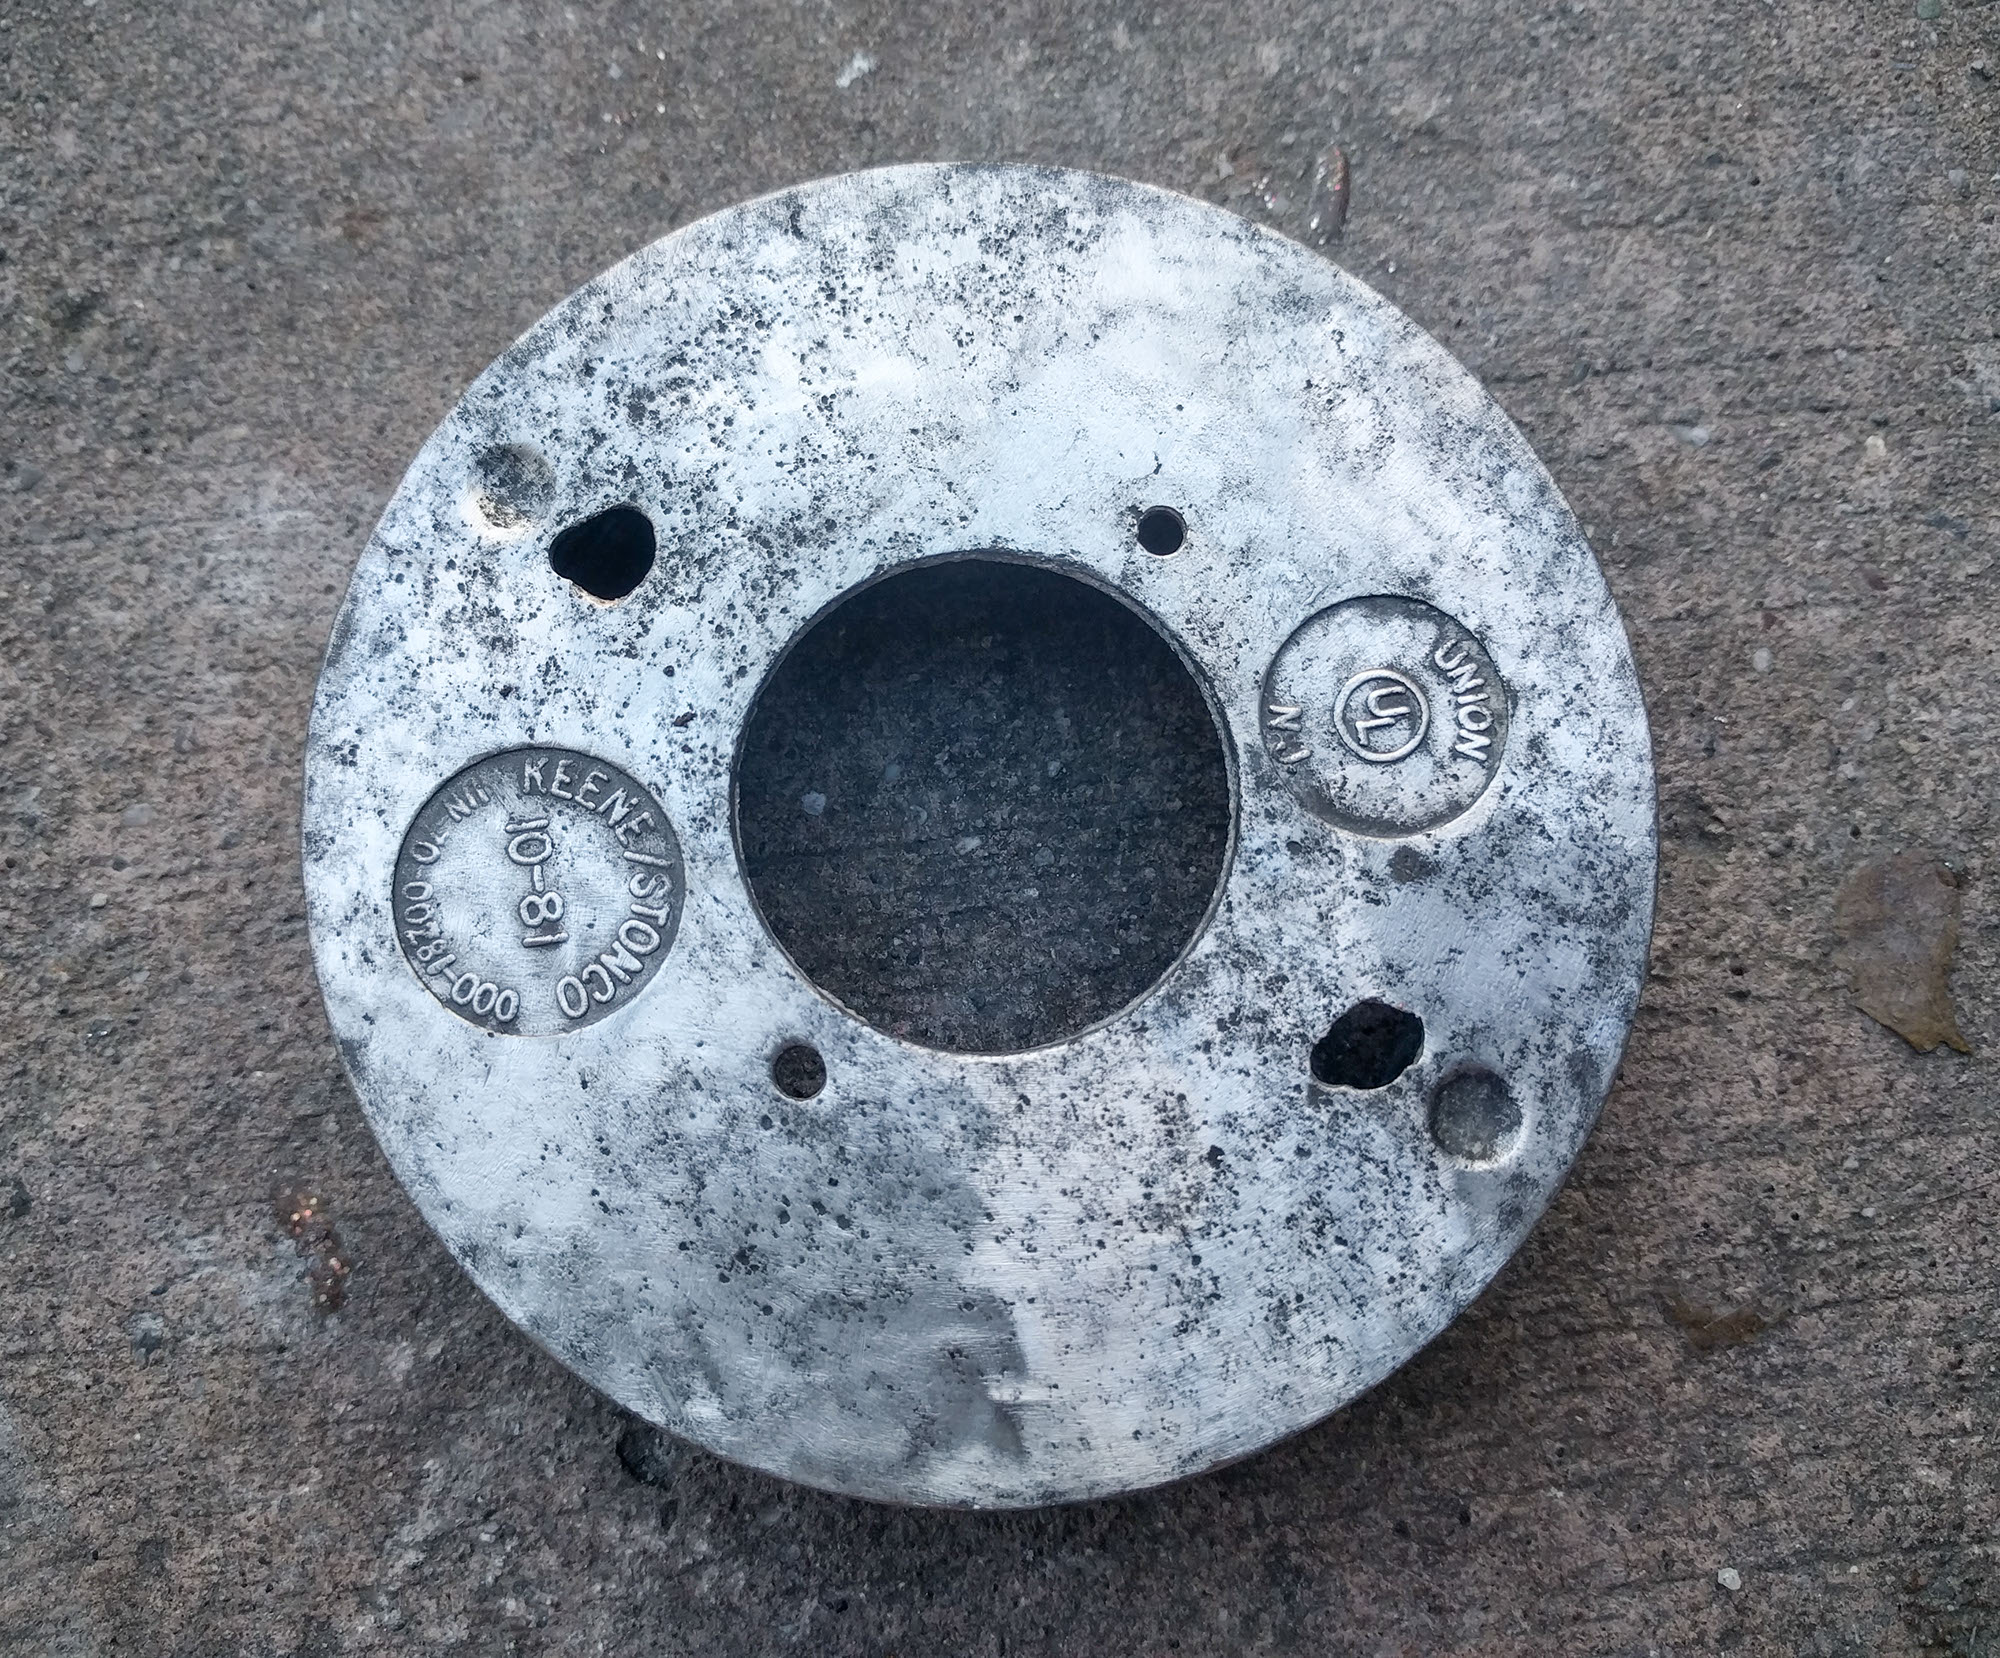
Getting a good grip on the lamp was most of the challenge. The first lamp’s splice box is round, with four evenly-spaced protrusions for screws to go into. I first tried using a slip-nut wrench, which has a semicircular cutout on one of the blades about the same radius as the protrusions.
That cutout is meant for unscrewing sink strainer nuts. Apparently, those strainer nuts are really hard to unscrew because the two best pictures I could find are of one being sawed or cut through.
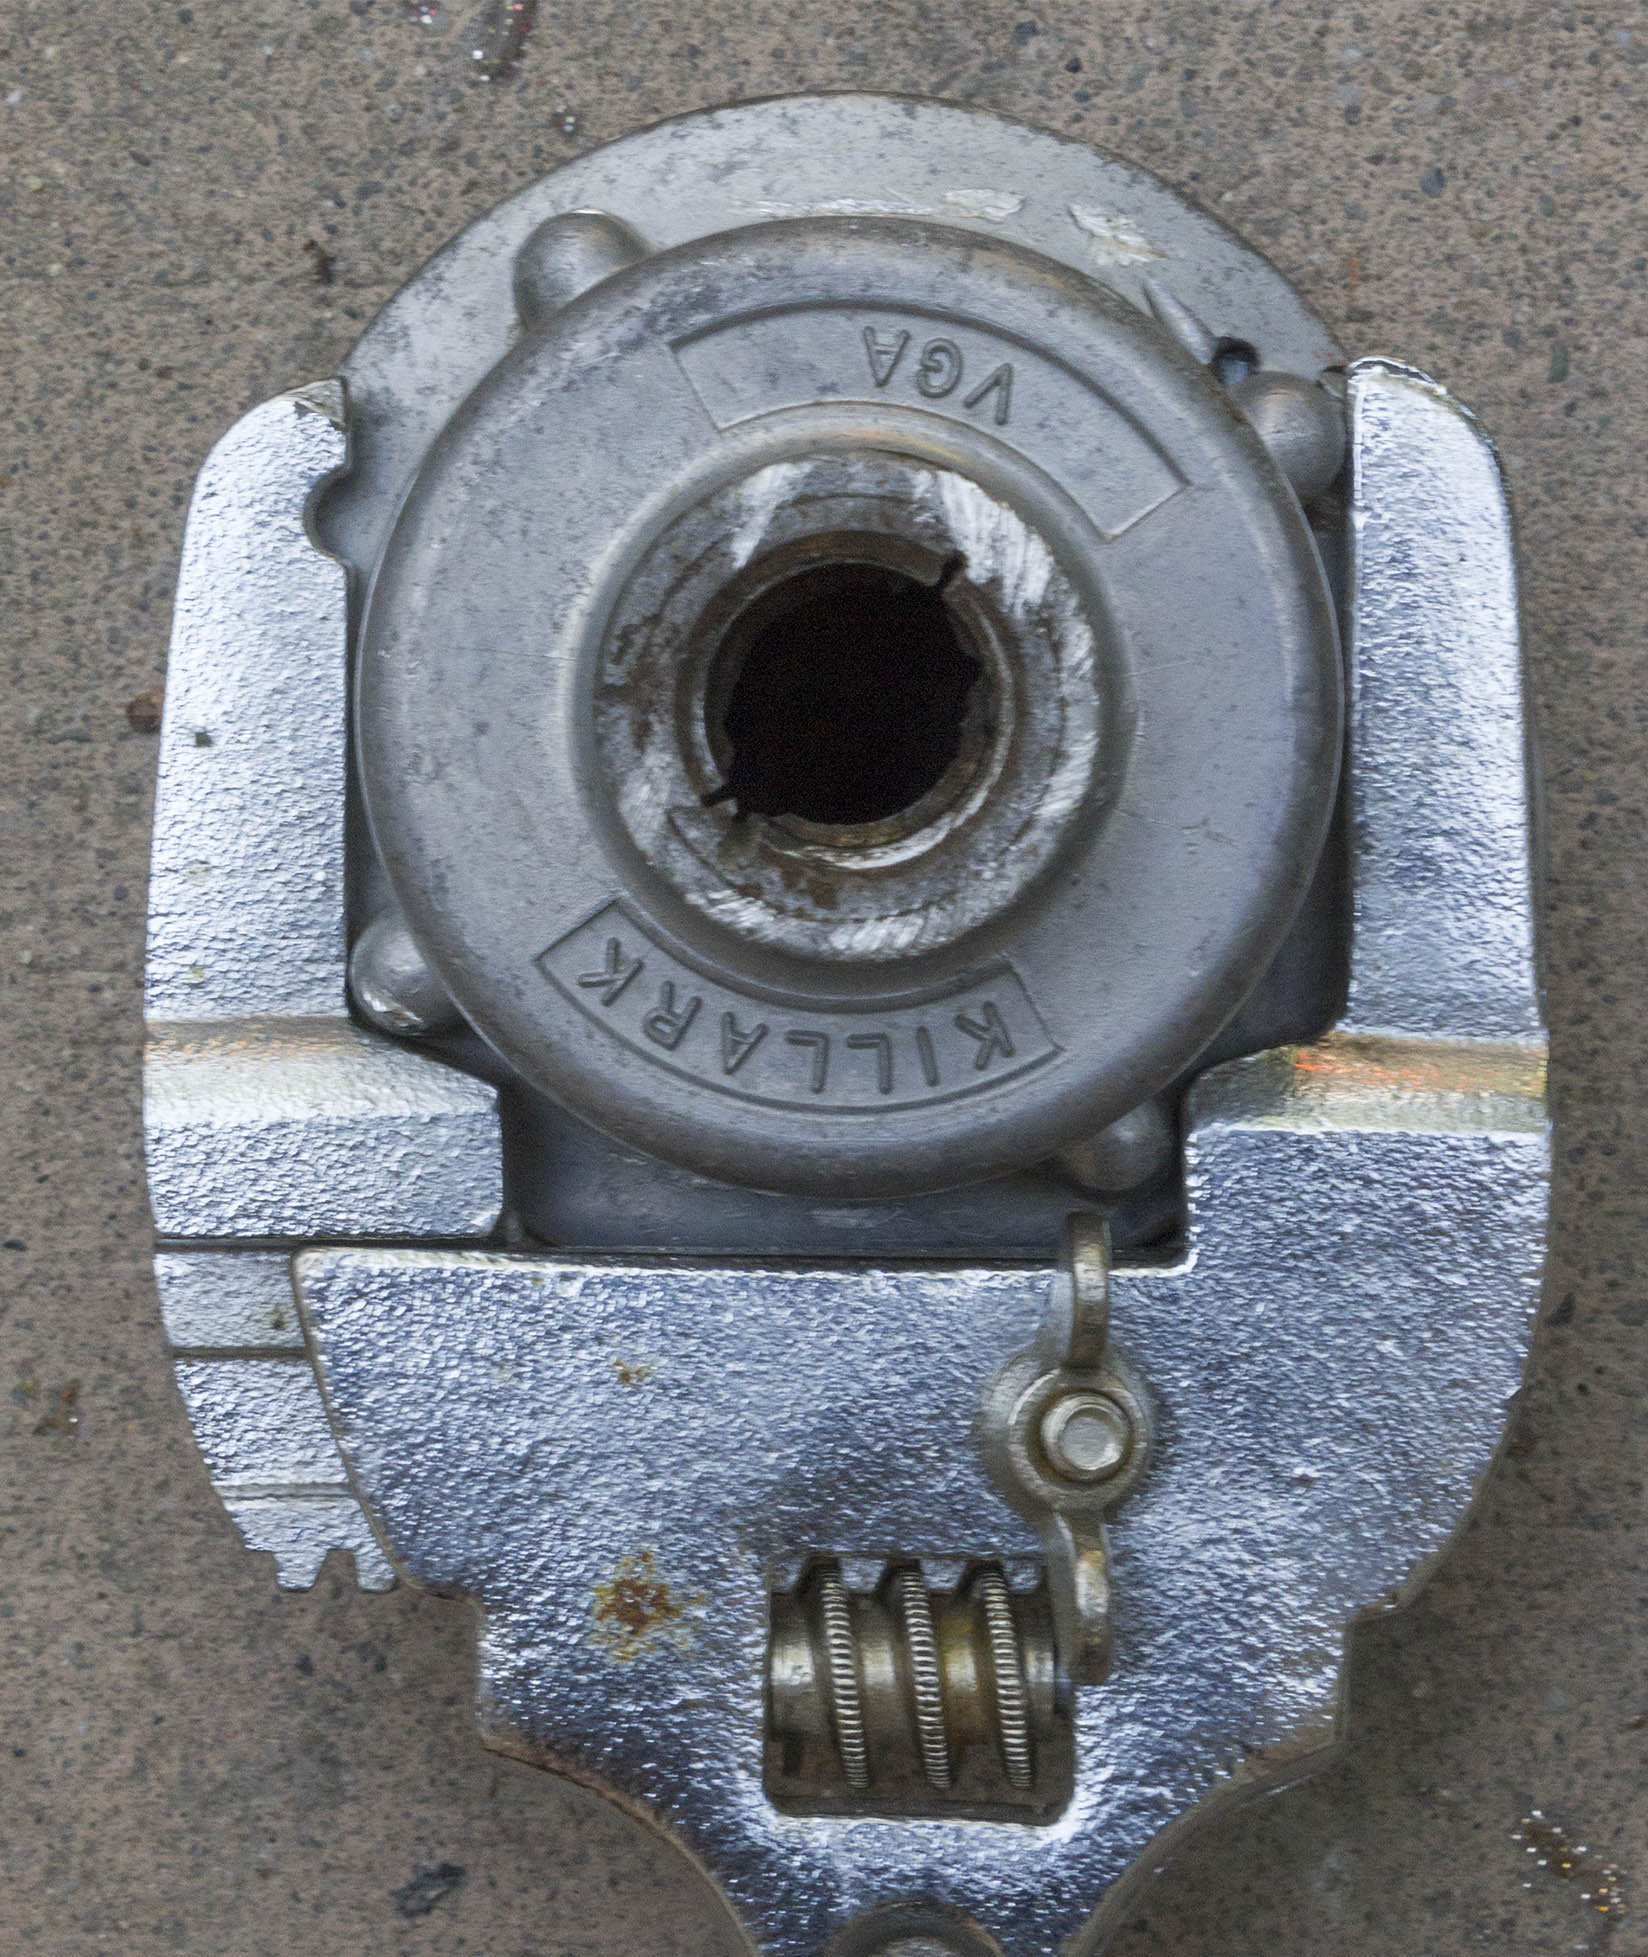
Below-left shows how I tried using the slip-nut wrench with the protrusions, which didn’t work, and below-right shows the other way I tried using the same tool, which also didn’t work.
I also tried using a strap wrench to grip the splice box with similarly limited results.
To grip the pipe, I tried locking pliers (aka IRWIN® VISE-GRIP©®™) which didn’t work, and then a proper pipe wrench which also didn’t work.
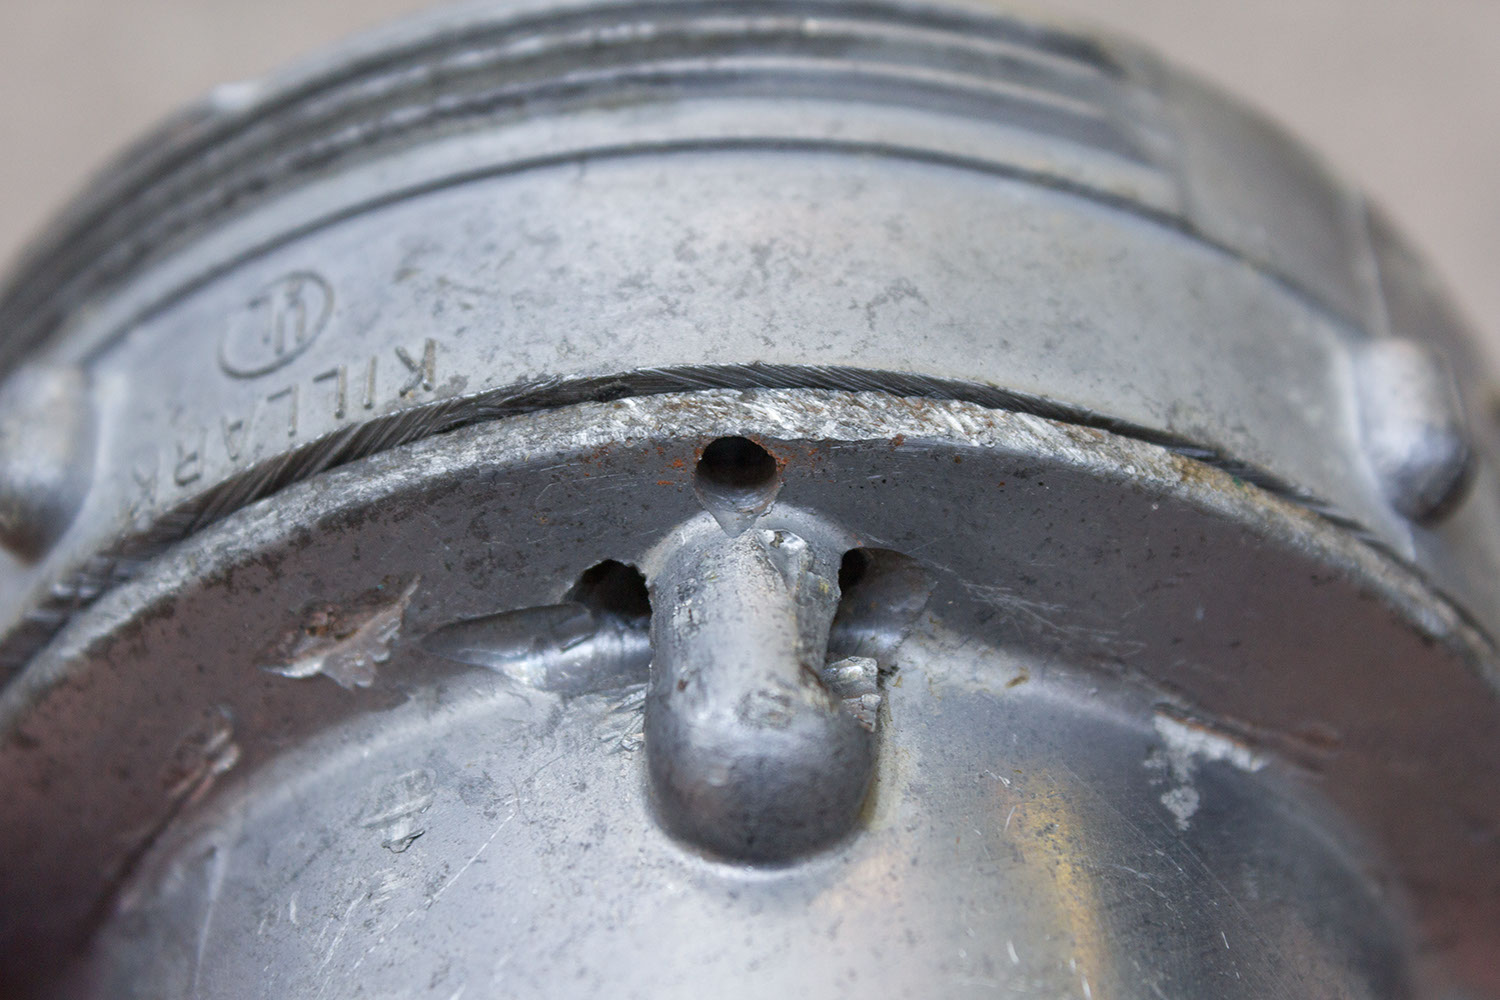
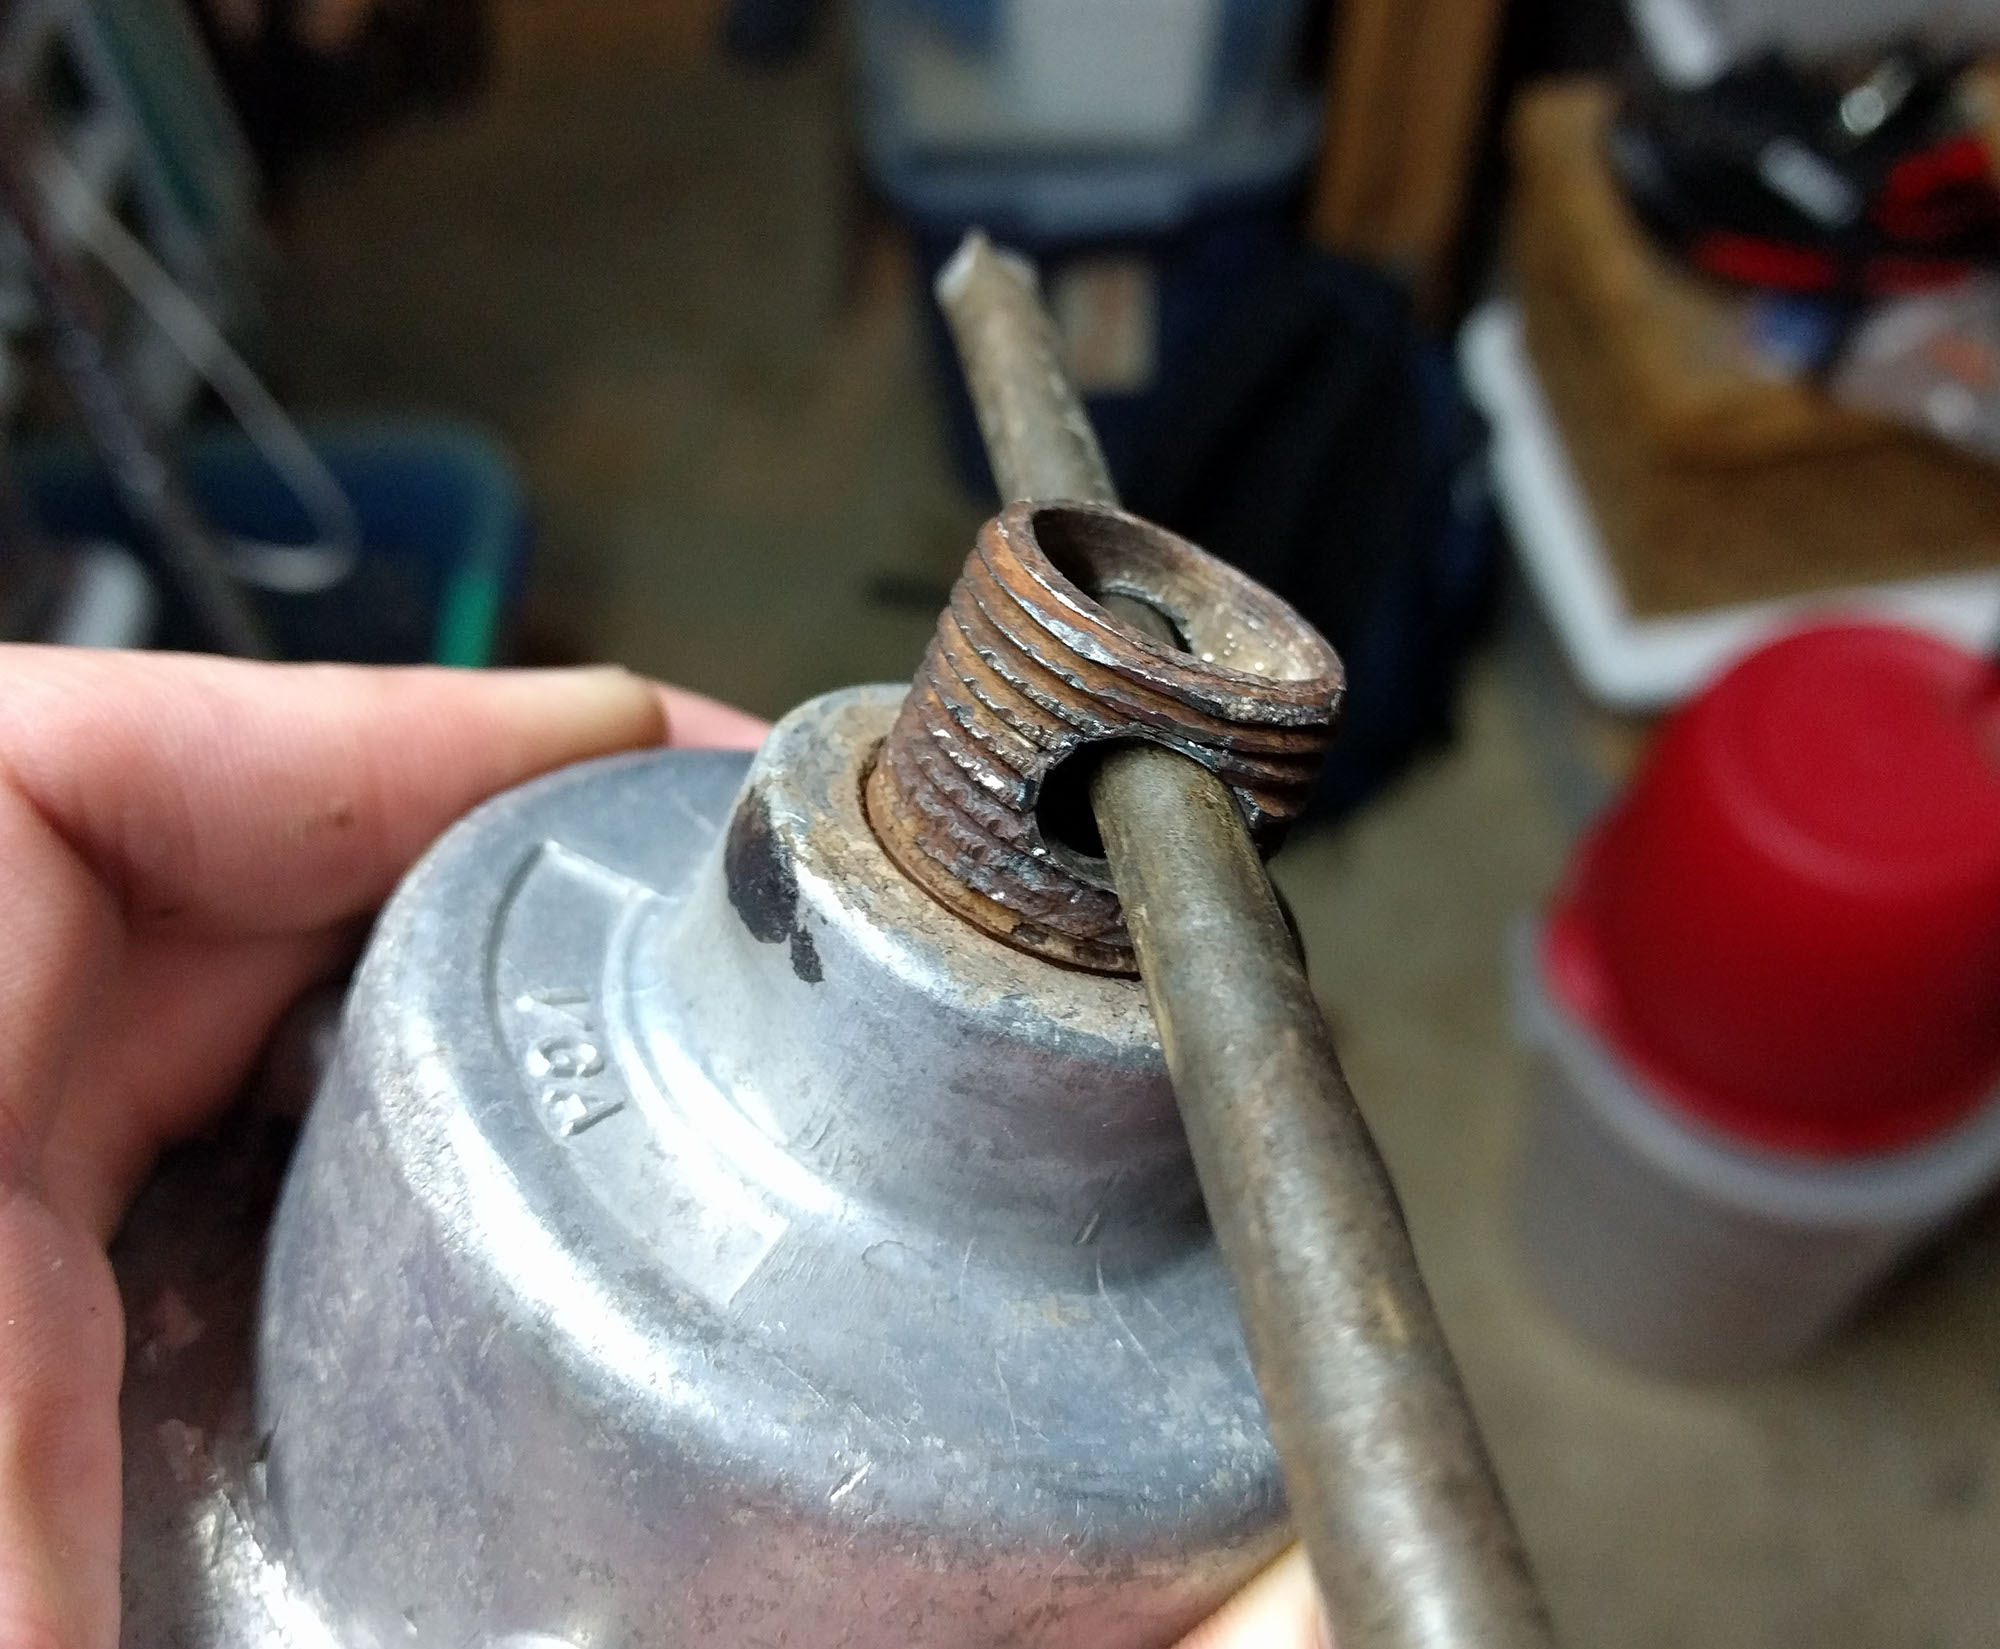
Next, I drilled a hole through the pipe and stuck the thickest screwdriver I had (a bit less than 5/16in diameter) through it. I hit the end of the screwdriver with a hammer to try to apply impact to the pipe. The pipe deformed (shown below), the screwdriver bent slightly, and the pipe did not loosen.
Then, I used a propane blowtorch to heat the splice box to try to make it expand. I think I heated it too slowly, and didn’t have anything to sink heat from the pipe, so it had no effect. But it was scary.
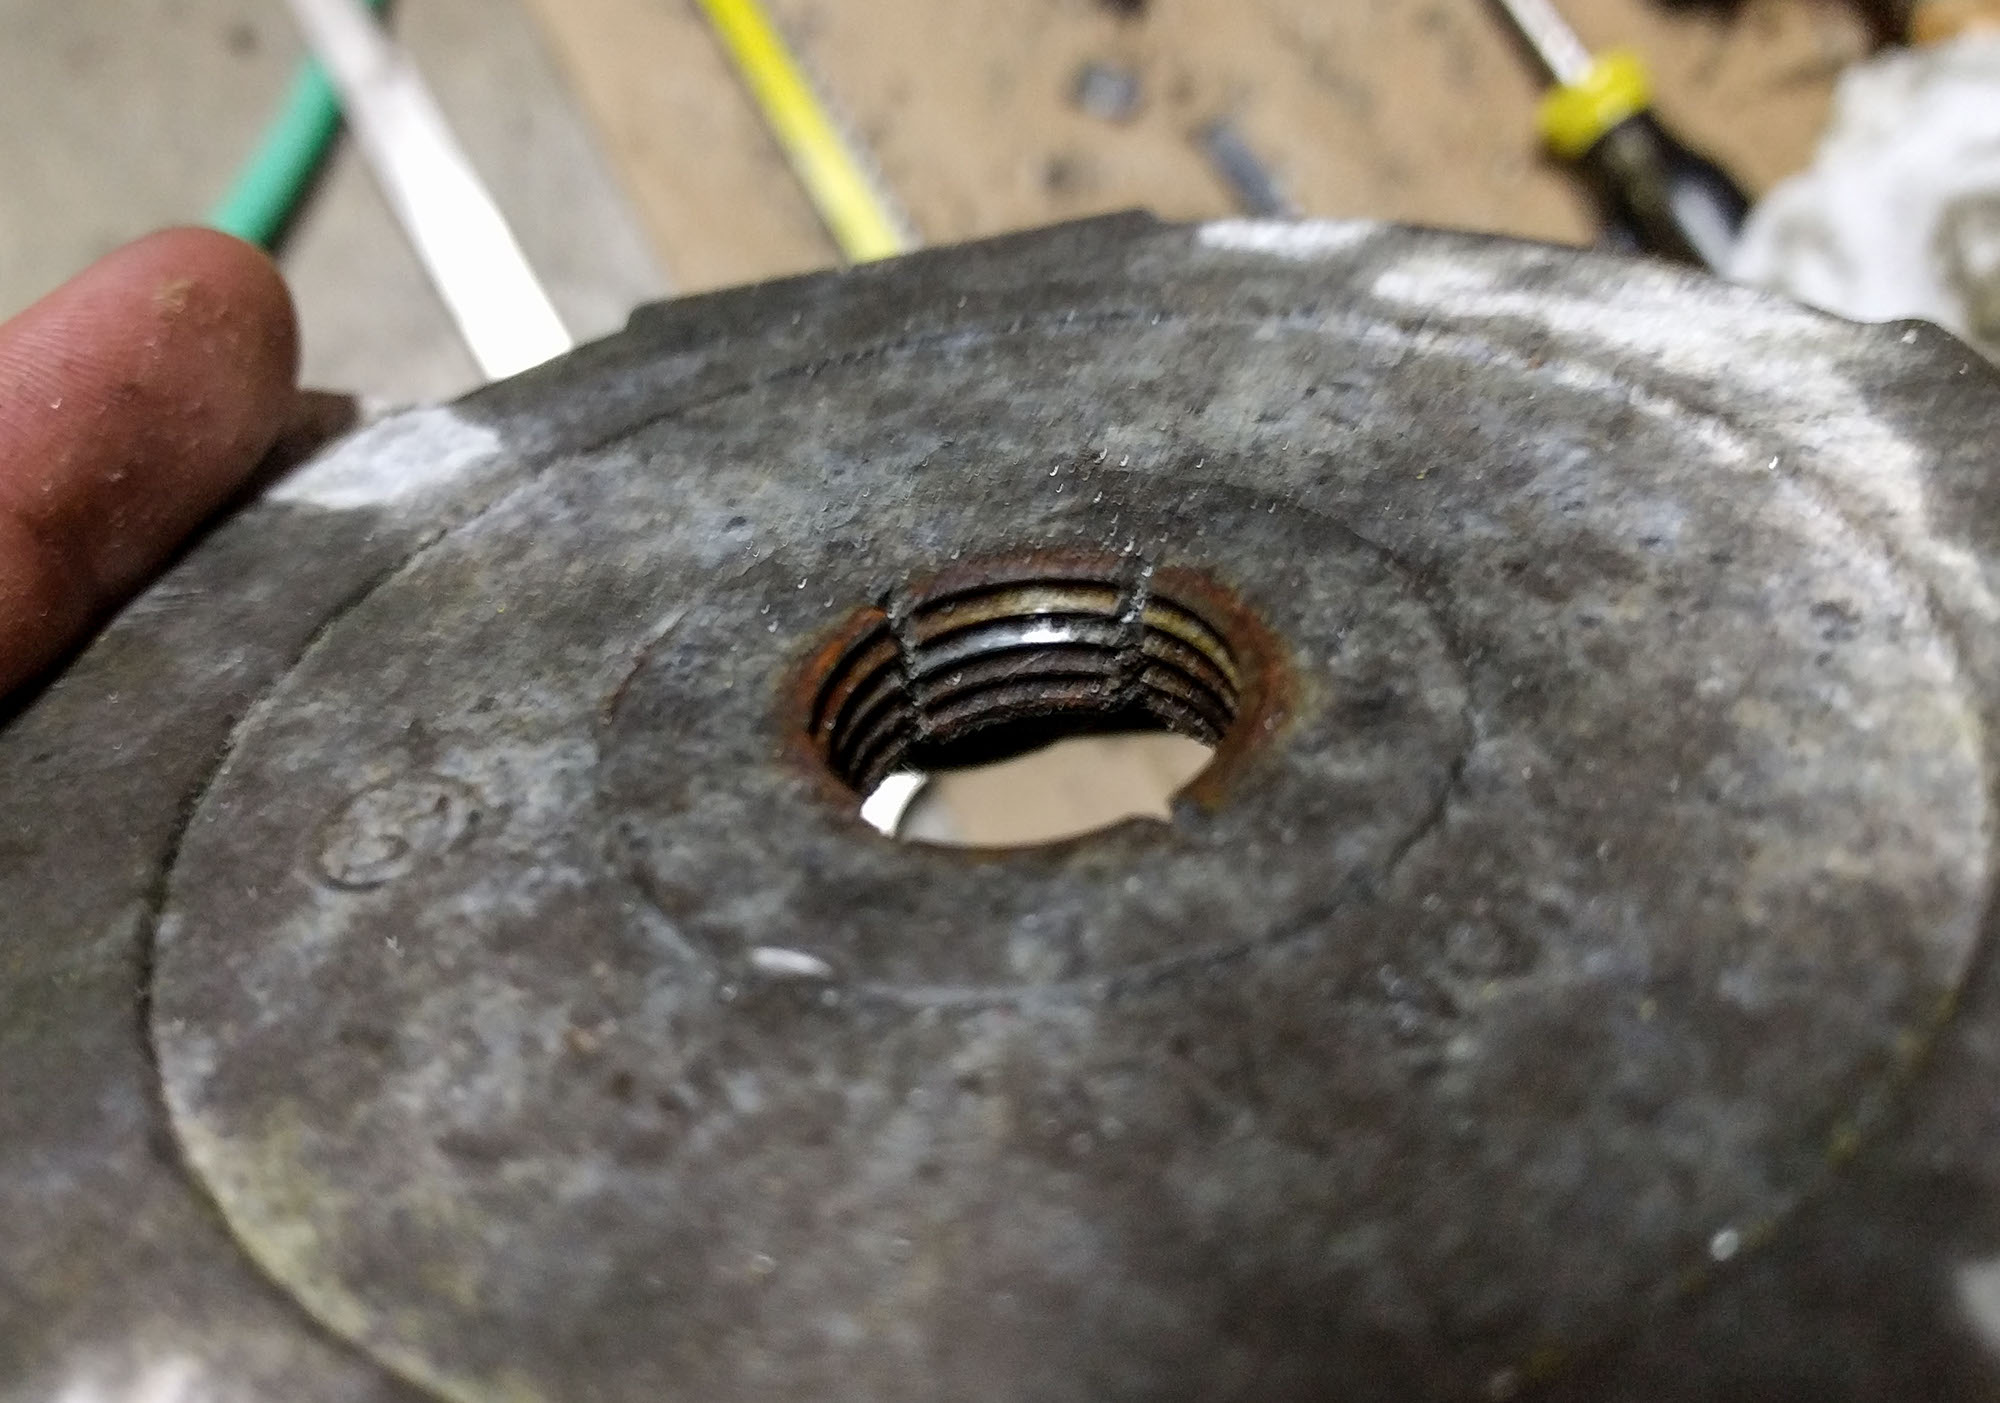
Finally, I gave up trying to unscrewing the pipe. I put a hacksaw blade through the pipe (below left) and made four cuts through the pipe’s walls (below center) to remove it. I cut a little bit through the female threads too (below right) but it’s still usable.
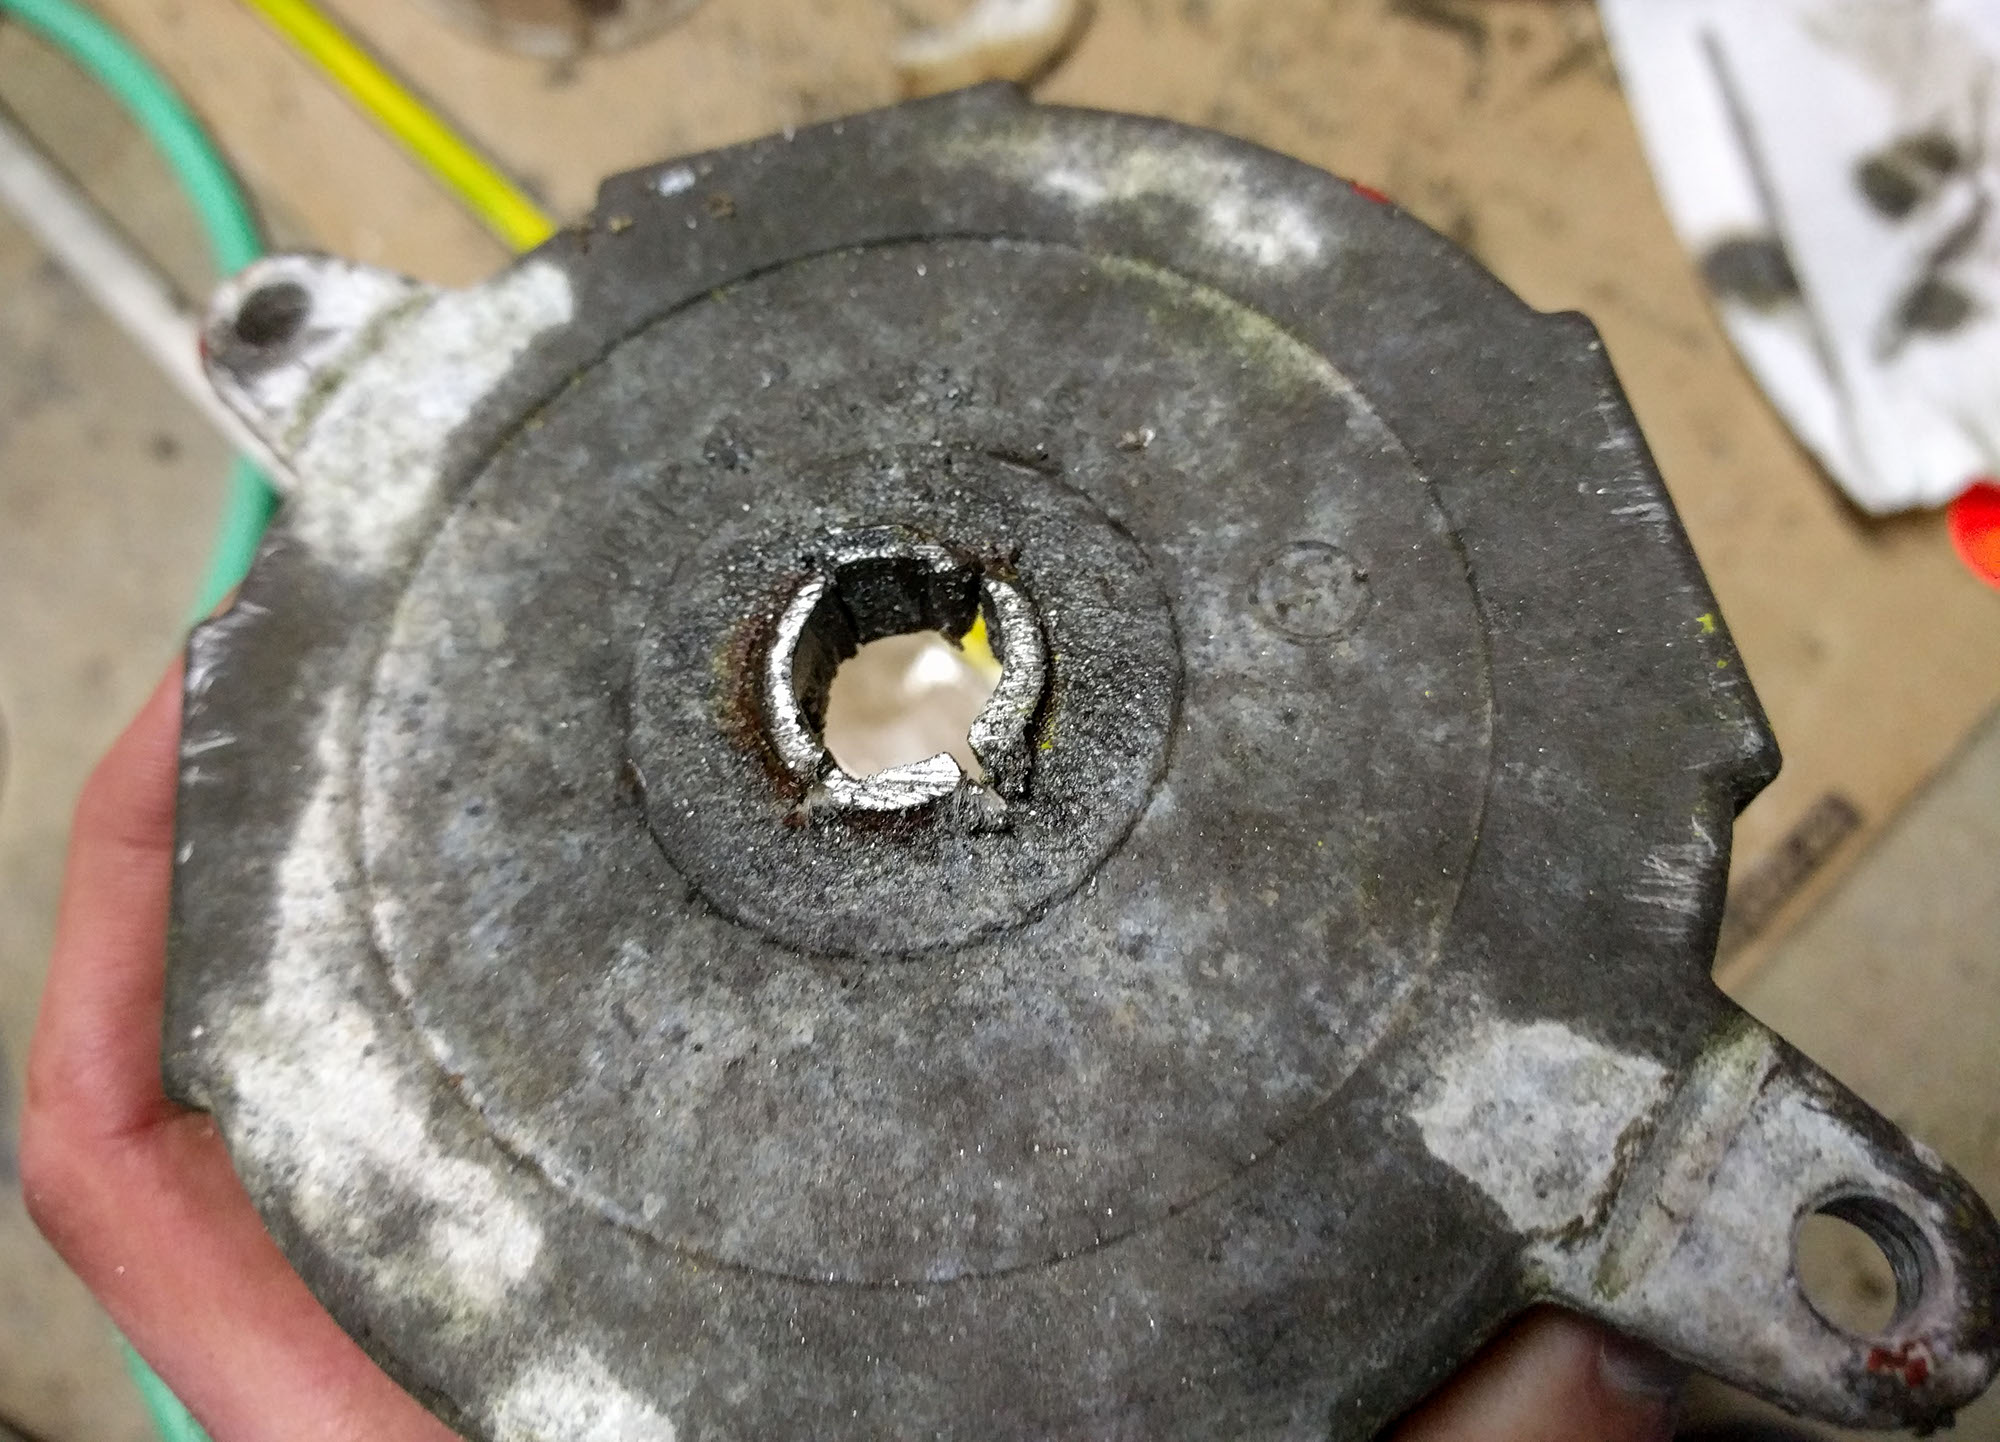
The dark parts of the lamp in the pictures above are from a lot of 3-in-1 oil, which also had no effect.
Cleaning & refurbishing
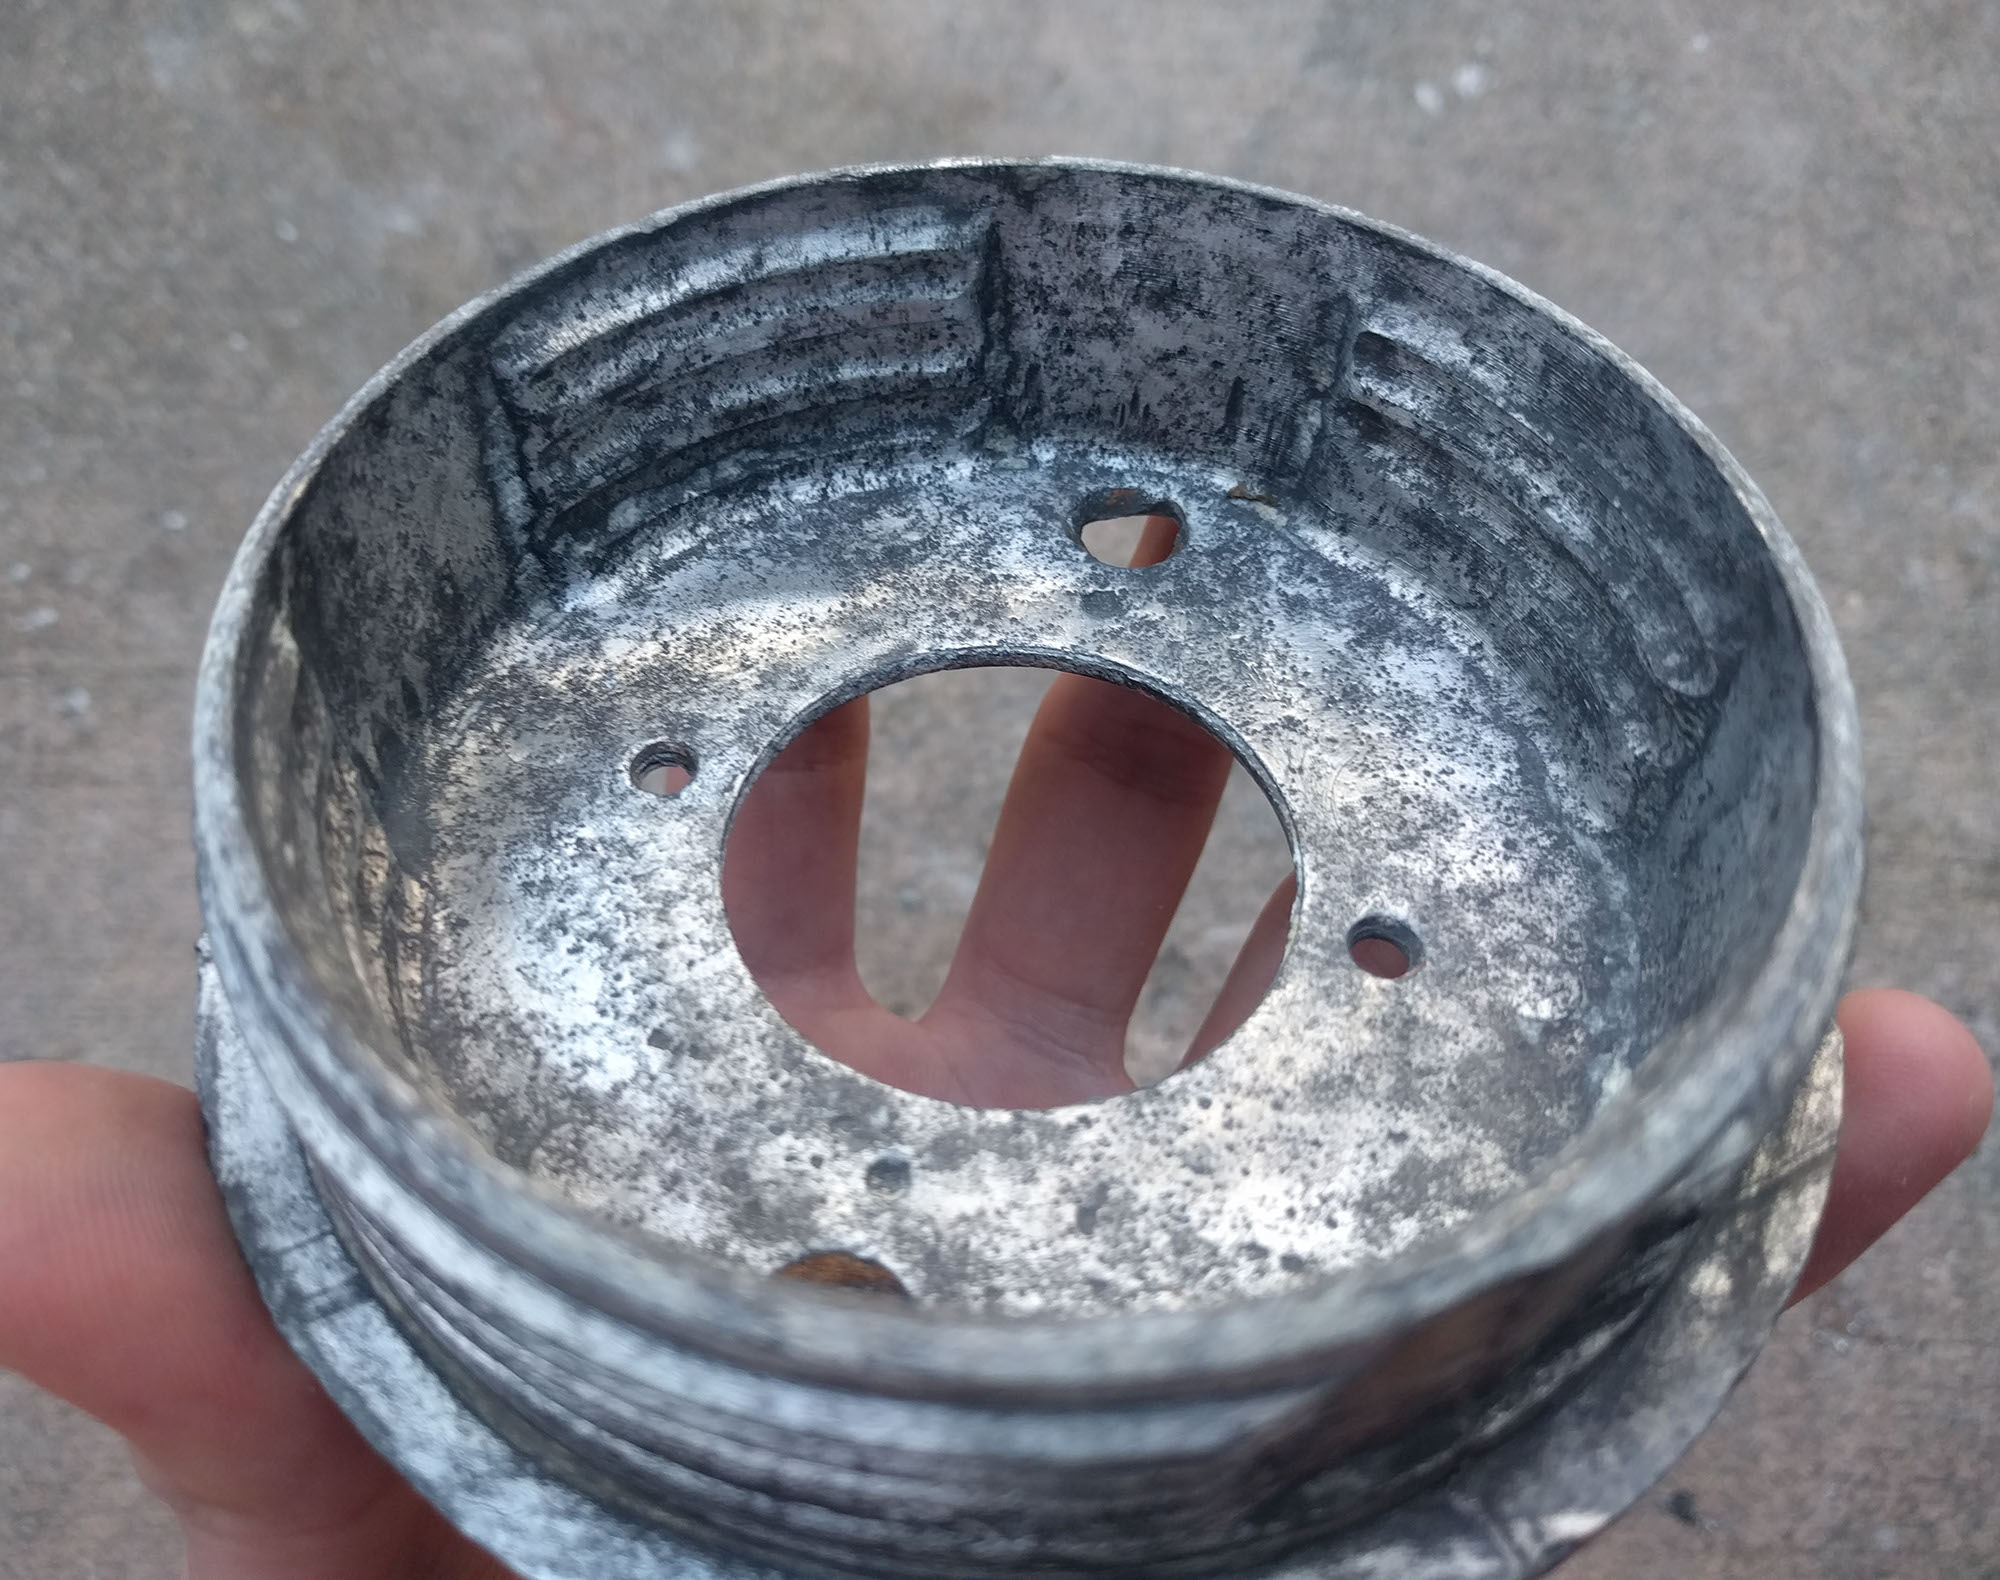
Even though (or maybe because) these fixtures are vapor-tight, the insides were filthy.
The first lamp just needed washing. The second lamp also had significant corrosion, which is all the white parts in the pictures below.
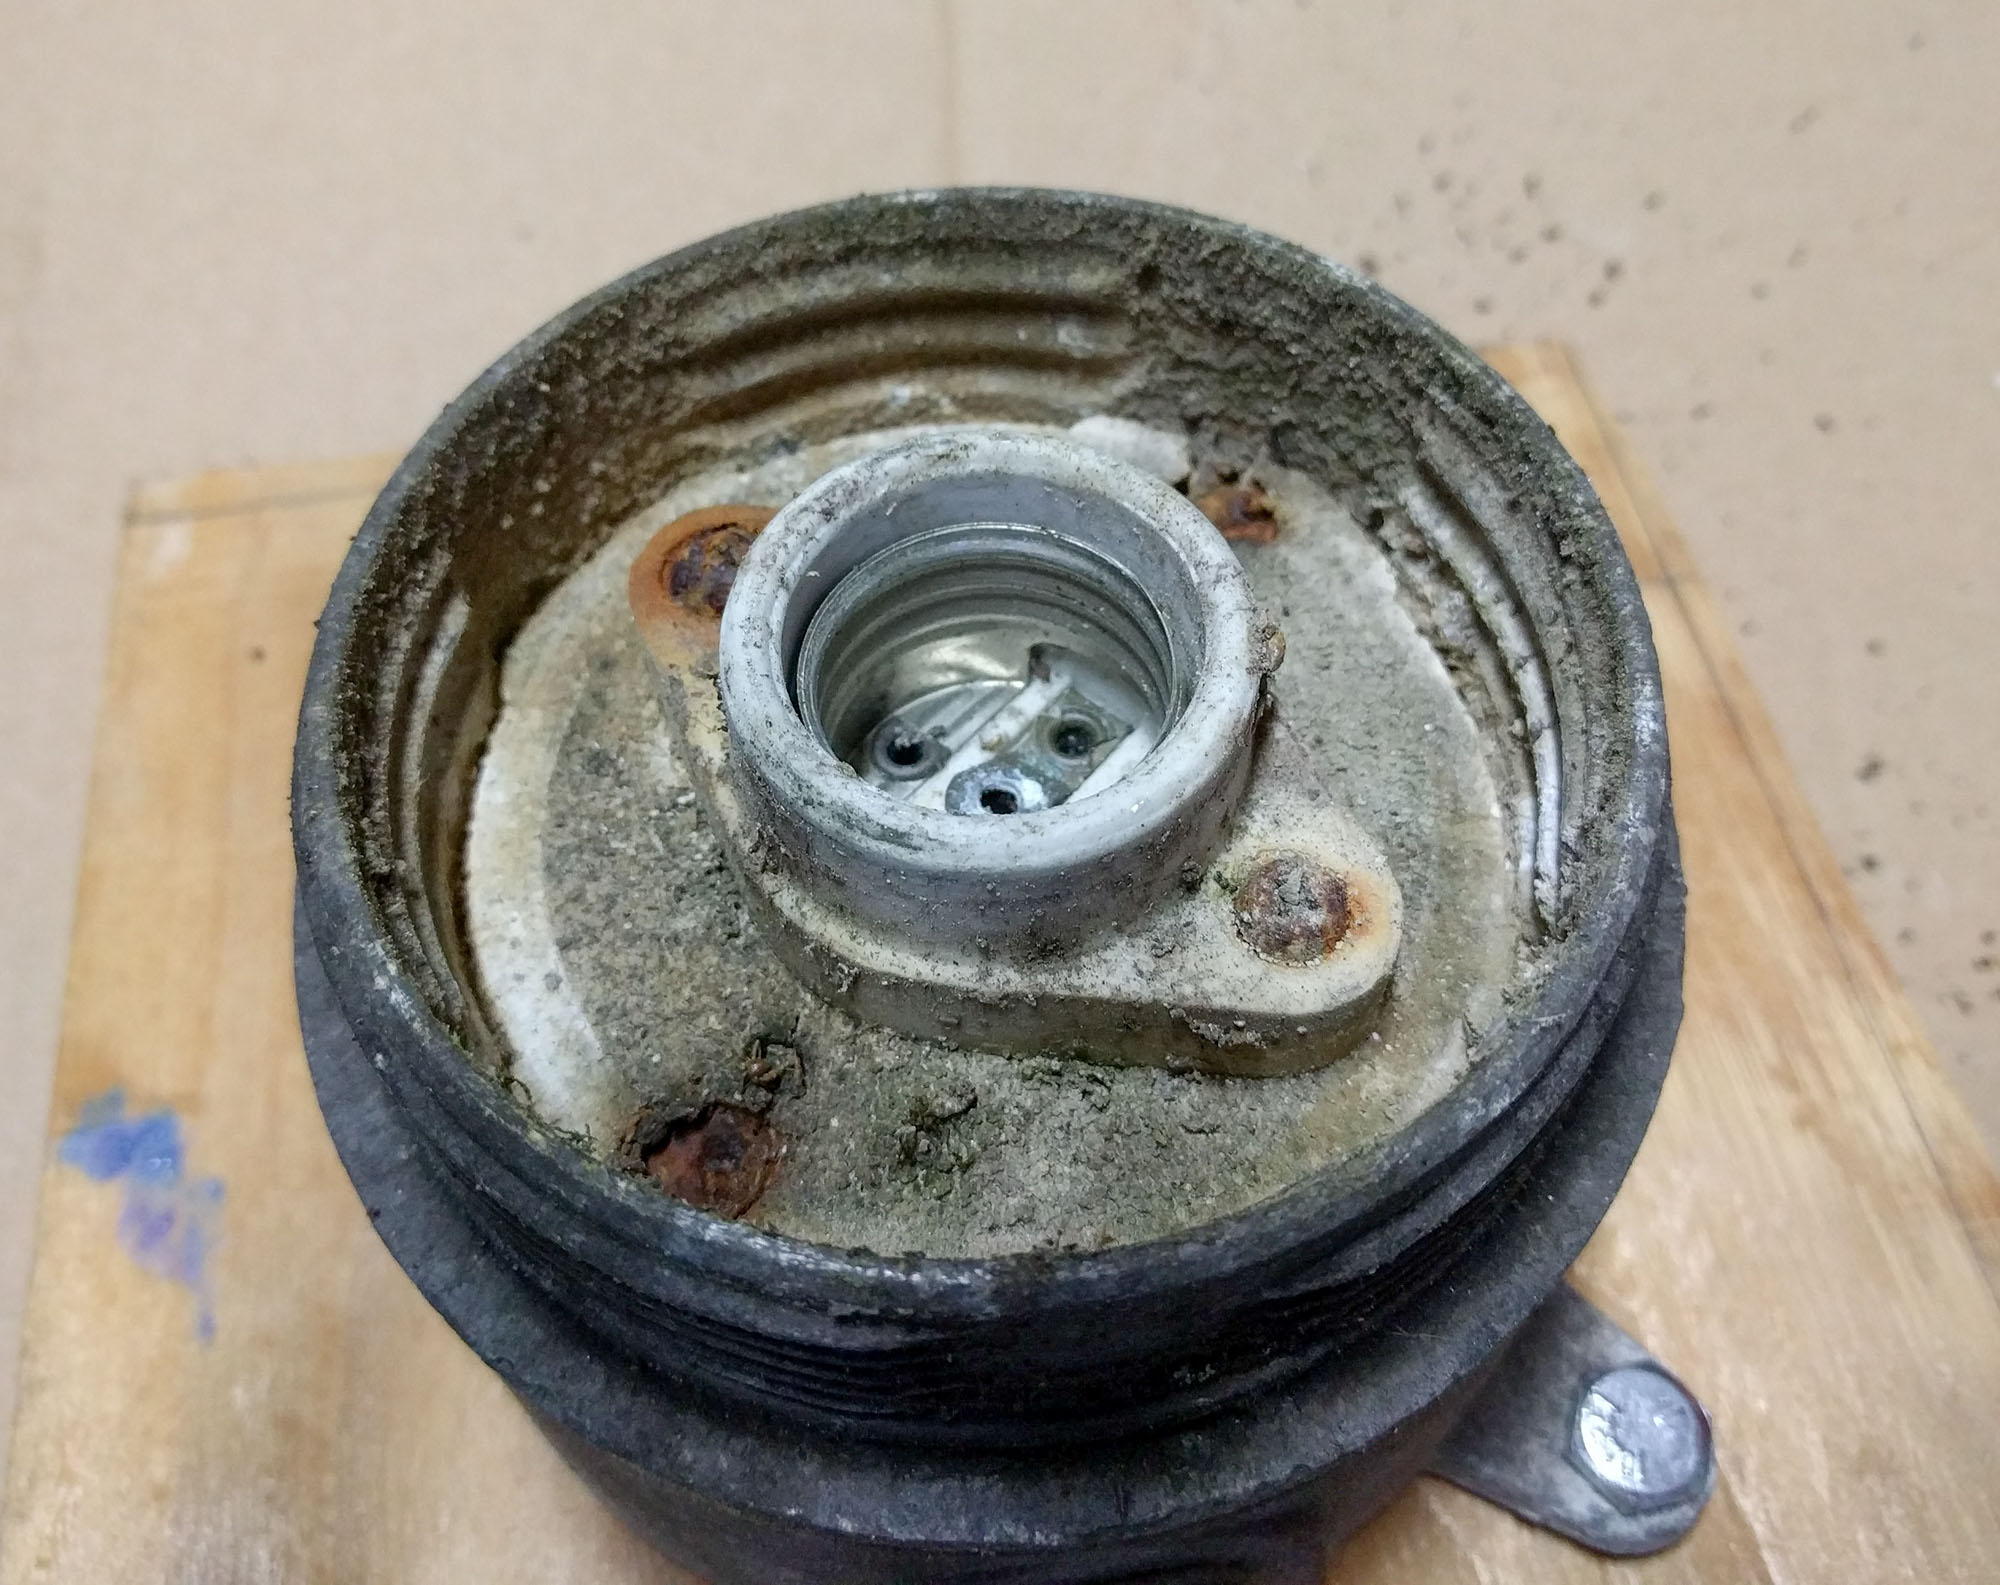
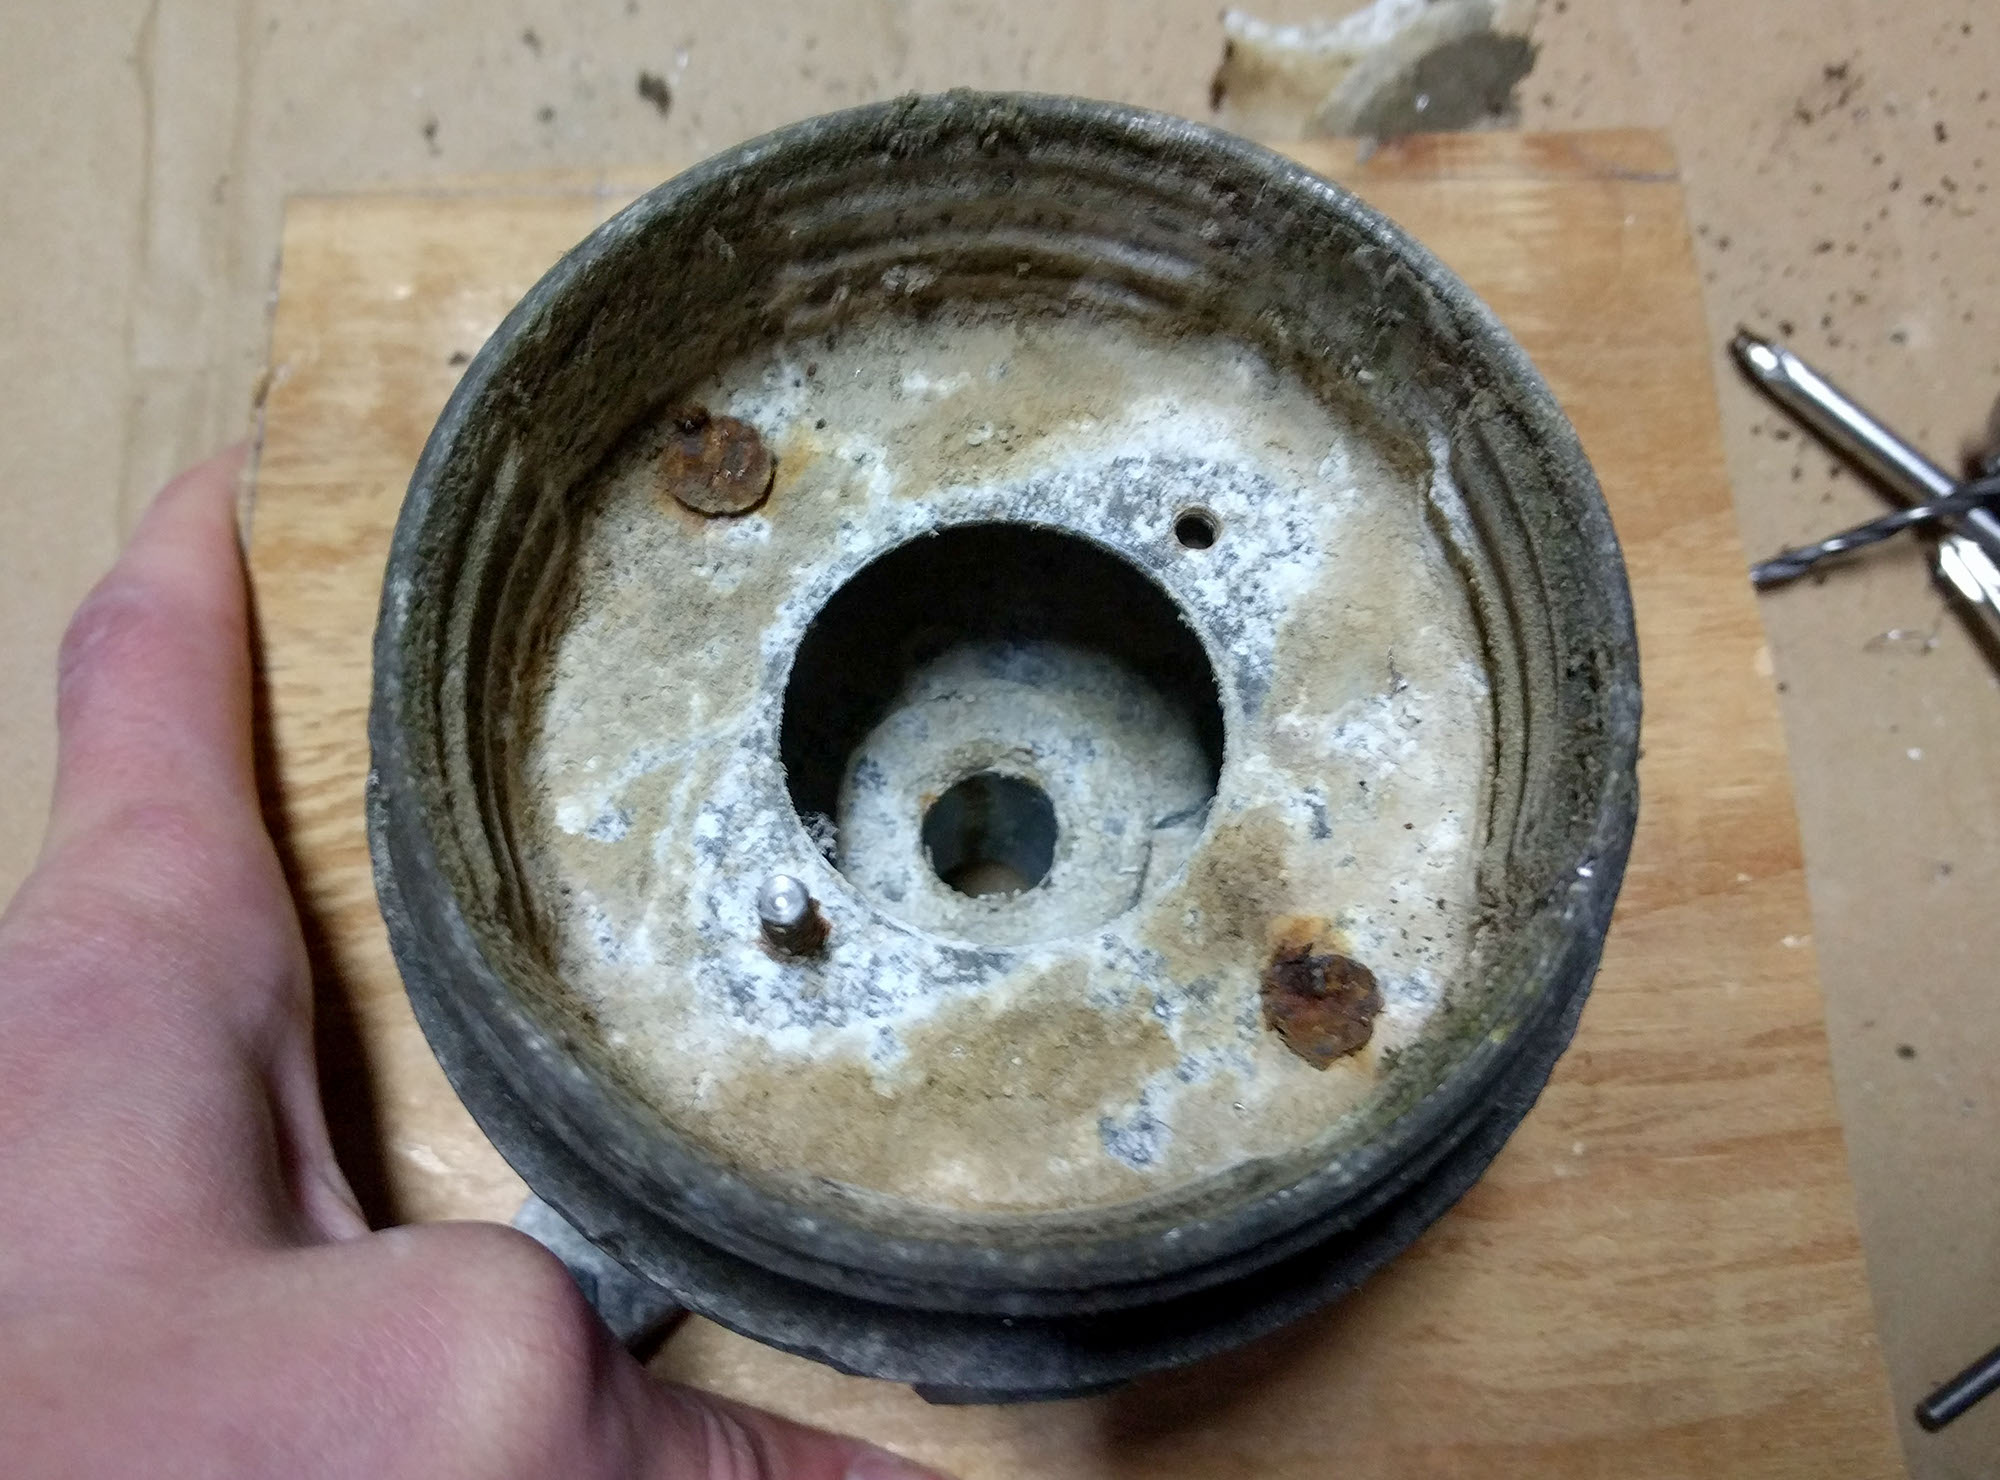
Below are the parts from the second lamp ready to go in a Simple Green bath. After soaking overnight, I used a nylon brush to scrub the gunk off.
Then I wet-Dremelled the corroded aluminum using stainless steel cup, wheel, and end brushes. Here’s what it looked like about halfway through:
It was quite effective. The surfaces are polished but have an interesting cloudy pattern.
New screws
I made a shitty drawing (below) of the components and set out to replace the screws. Mercifully everything is standard US threads. The drawing is for the first lamp, but the second lamp uses the same screws.
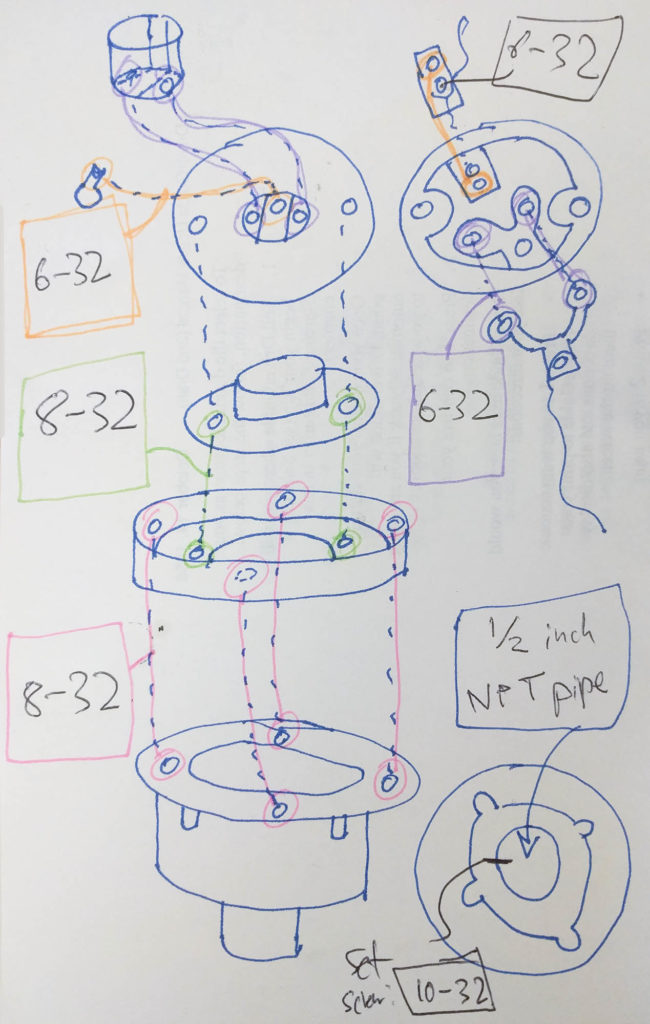
I had to look at a few stores to find loose fasteners in reasonable lengths. I don’t have pictures of the new screws yet.
Light bulb
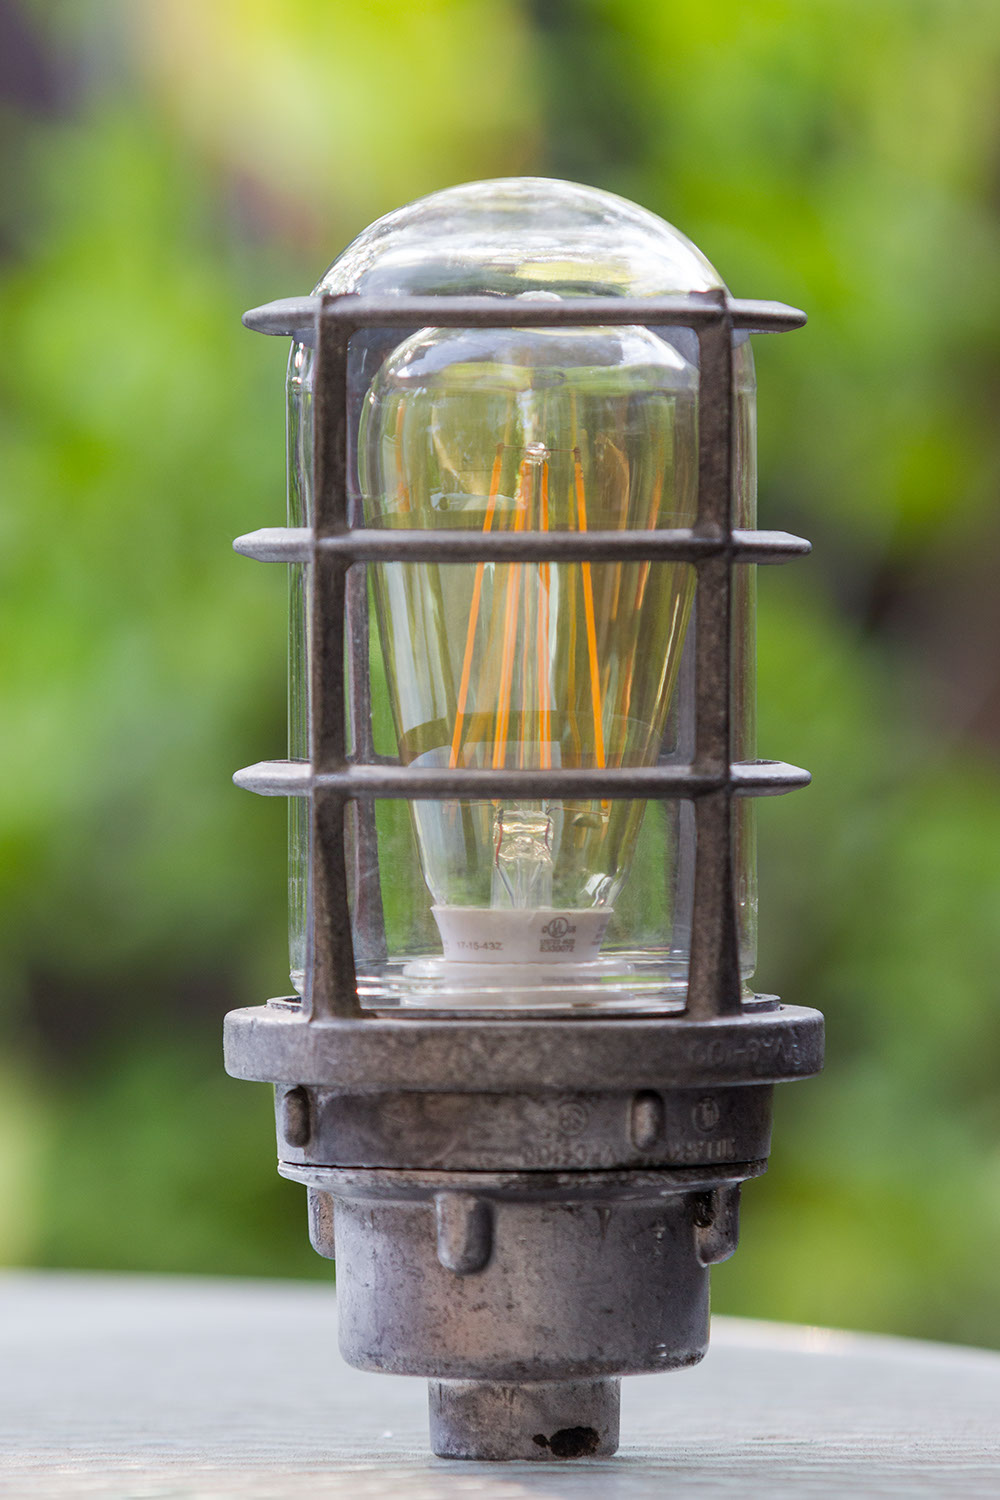
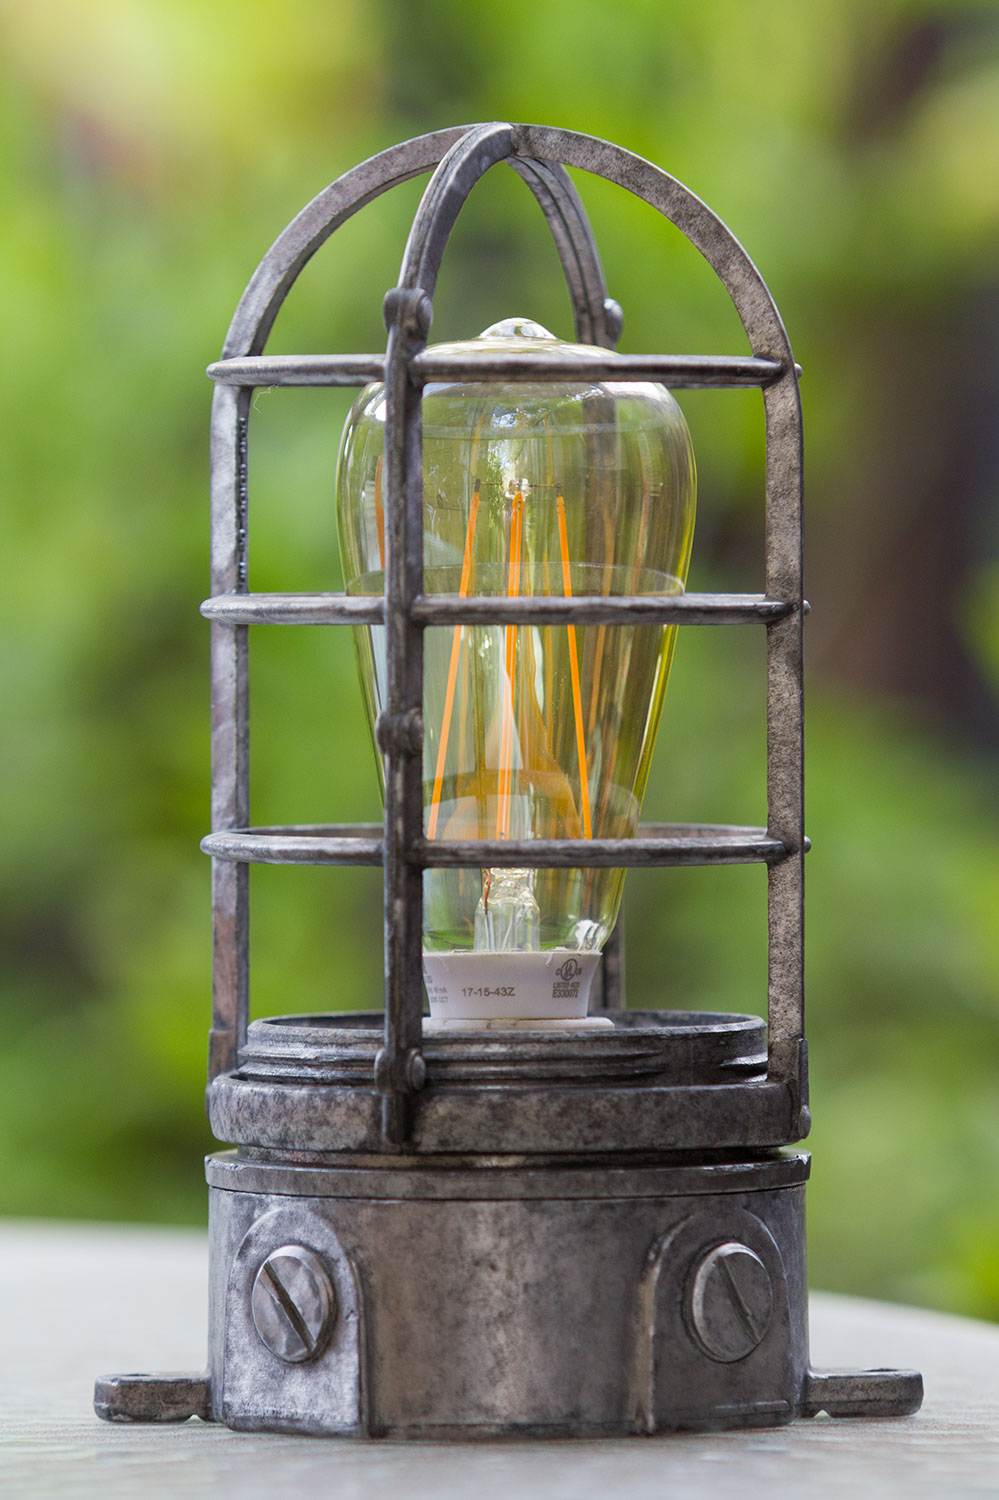
An Edison-style bulb—long, exposed filaments in a spiral or cage shape—was the only option to complement the fixture’s industrial look. Since incandescent bulbs are heat lamps, the only option was an LED filament bulb.
Feit Electric manufactures these and has their products at both Lowe’s and Home Depot. I have one of Feit’s ST19 bulbs. Below are two photos of the bulb in action.
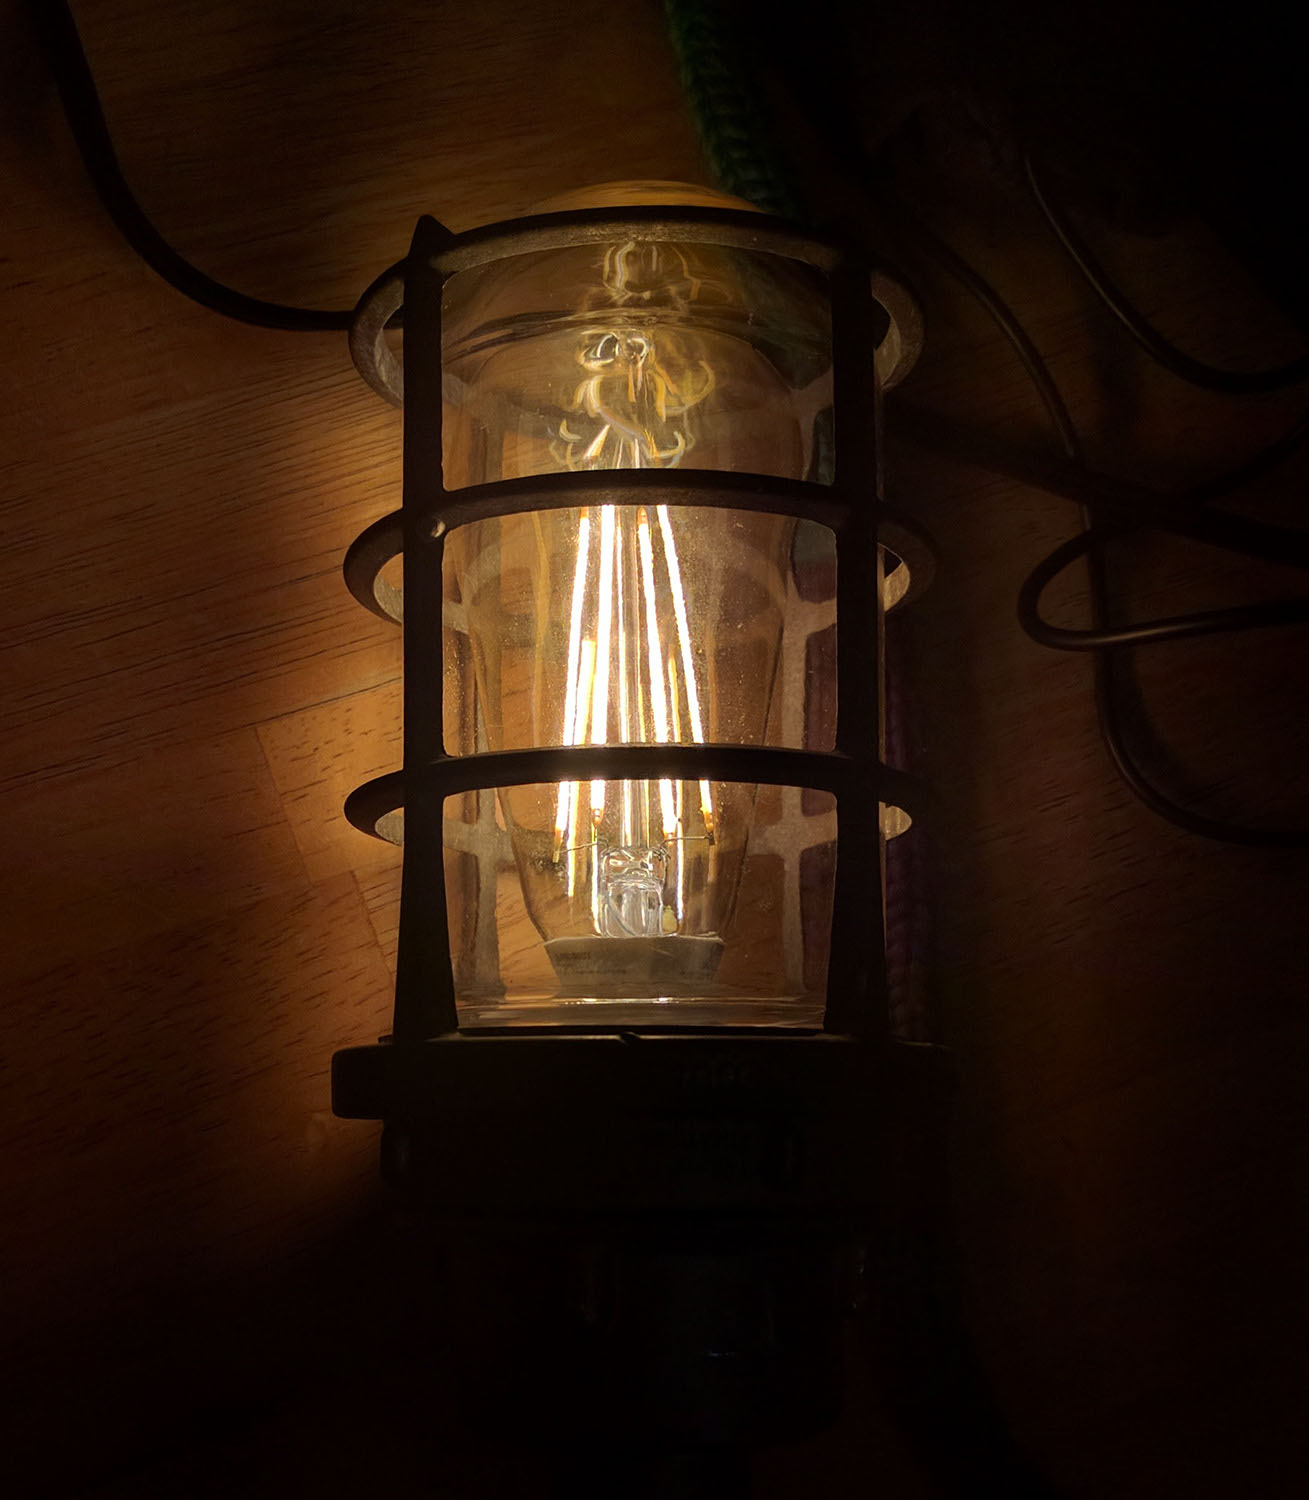
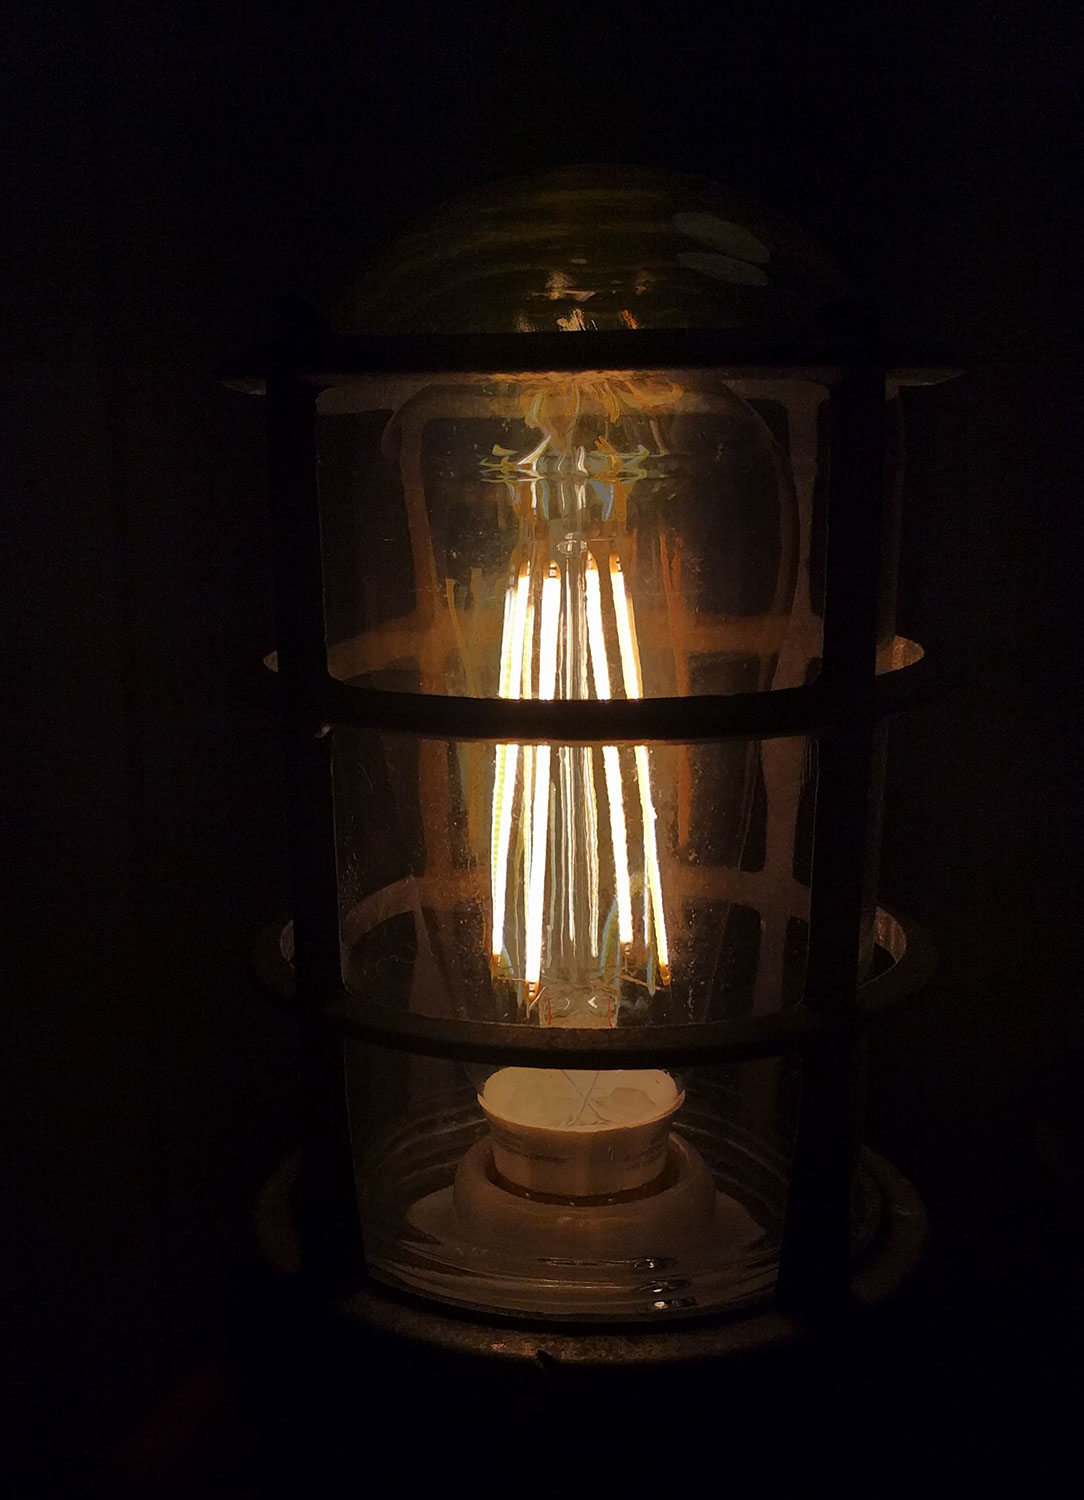
Trivia: the ST in ST19 stands for straight-tubular (bottom center in that picture) and 19 is the maximum diameter in eighths of an inch.
Future work
Neither lamp has a base so neither is currently usable.
My vision for the base is a slab of black slate with chipped edges, in the same style as some slate cheese or cutting boards. This edge style seems to be called natural or riven edge. I could’ve just bought a cutting board, but I predicted that getting slate as a building material would be cheaper.
I had a hard time finding slate anywhere, and then had a hard time finding somewhere to buy single tiles (not in boxes of ten). I got two 12 x 12 inch Jet Black slate tiles at Otto Marble in San Jose for $5.95 each.

I thought it would be very hard to work with slate because it is rock, but this YouTube video by Fixmyroof shows it’s really easy. Making the lamp bases will probably wait until summer 2017.
Last updated May 2021