Motivation
When my hands were on the bar ends on my old mountain bike, I couldn’t reach the brake handles. This was very slightly inconvenient so I looked into doing something about it.
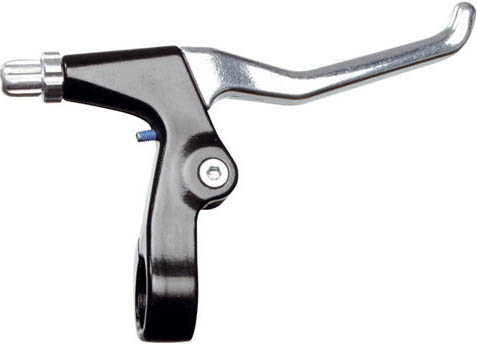
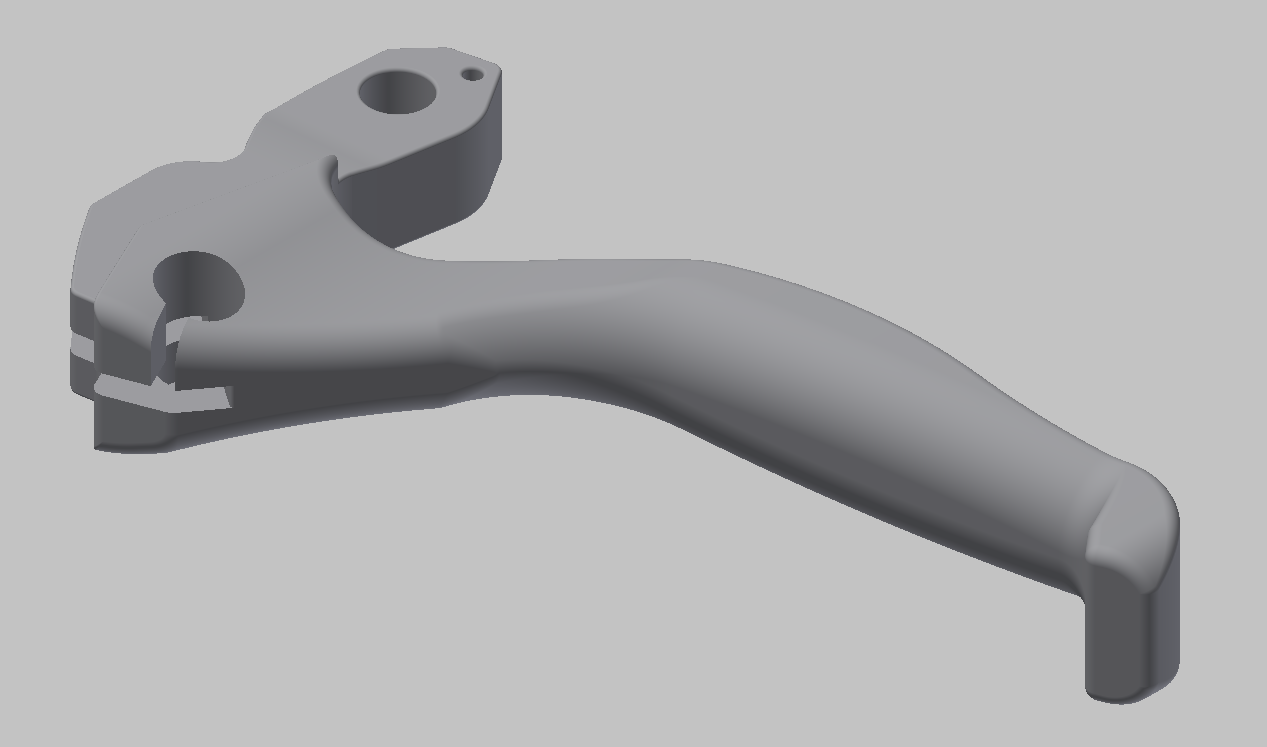
In 2013, set out to make longer brake handles with a TechShop membership. The cable-pull levers (example at right) were easy to disassemble, so I 3D scanned the old handle and reverse-engineered a solid model. I did not end up making a longer handle because of time constraints, and then I got a new bike.
Scanning
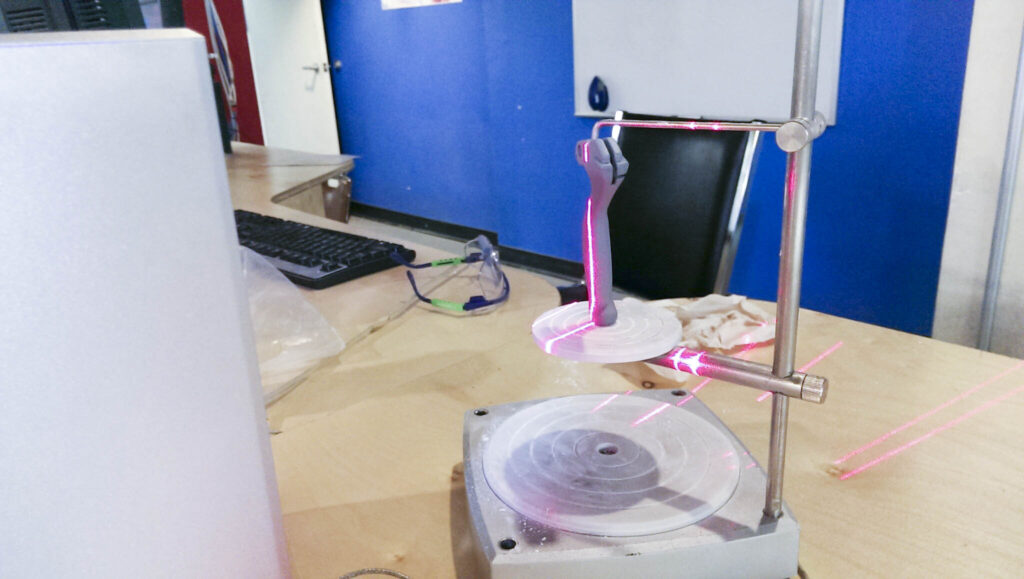
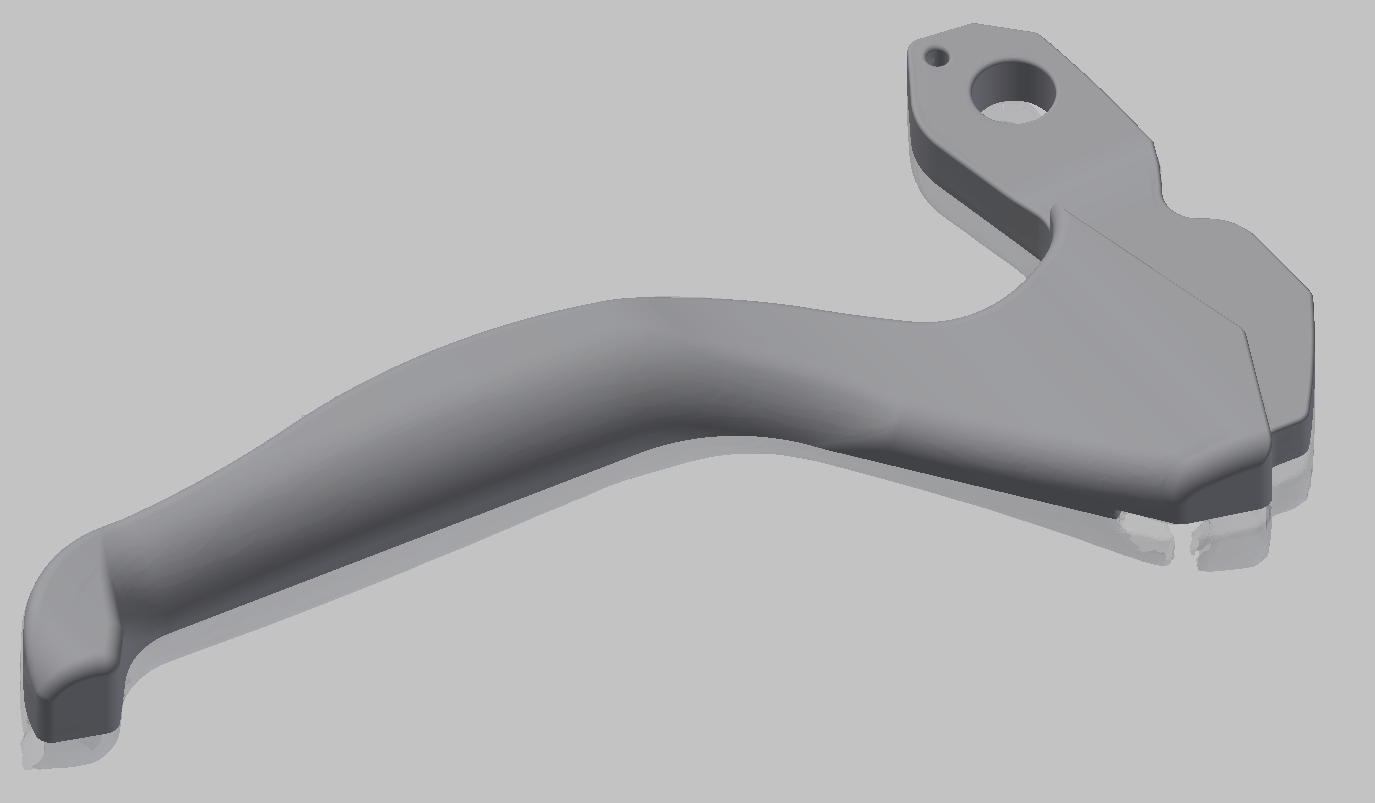
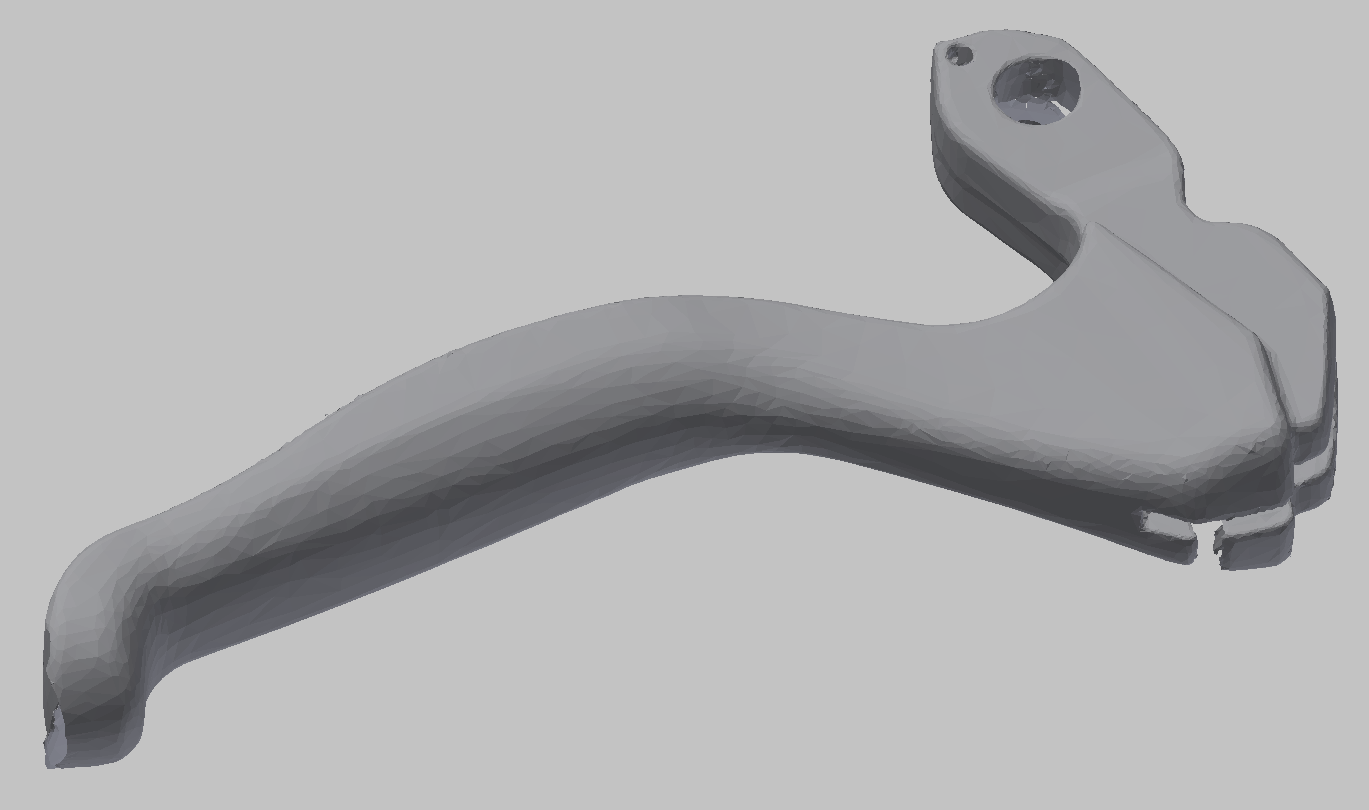
I spray painted the handle matte gray then used TechShop’s NextEngine 3D scanner:
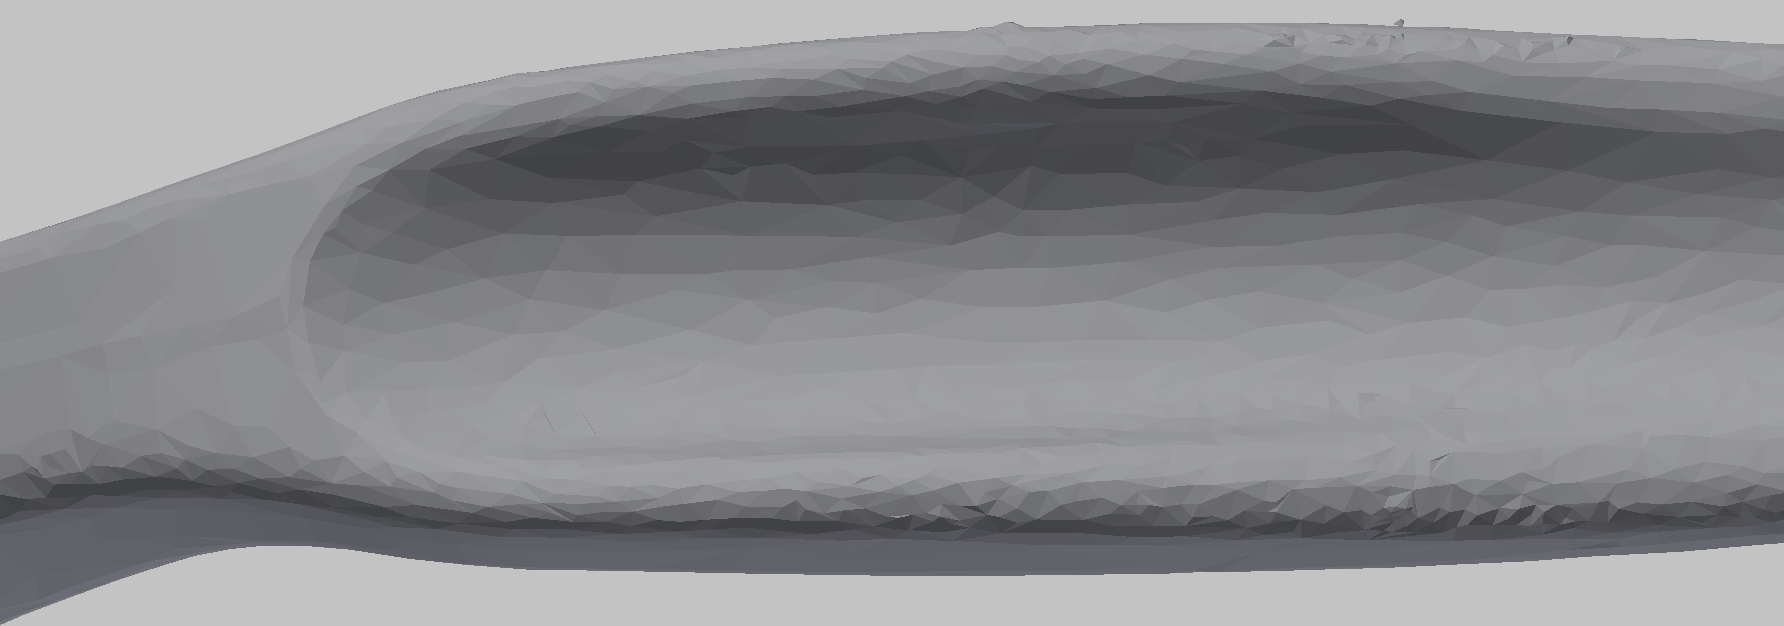
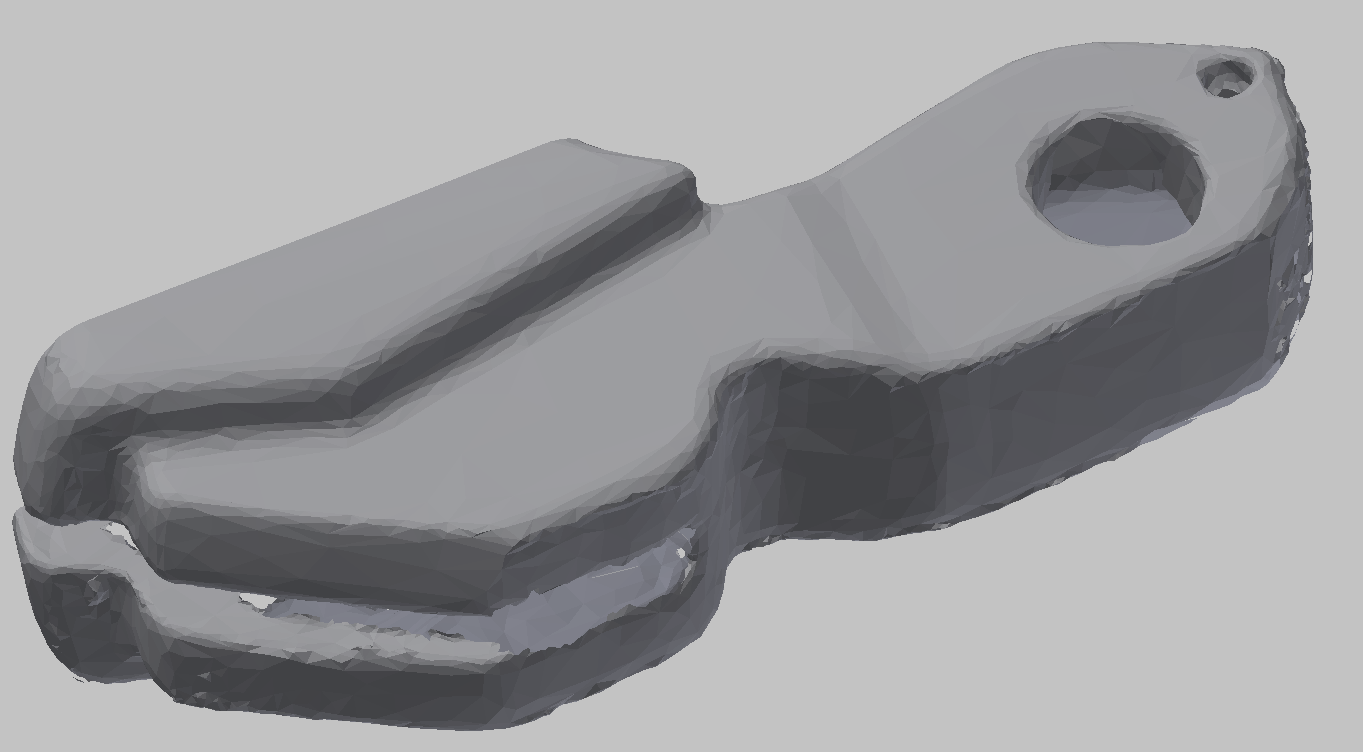
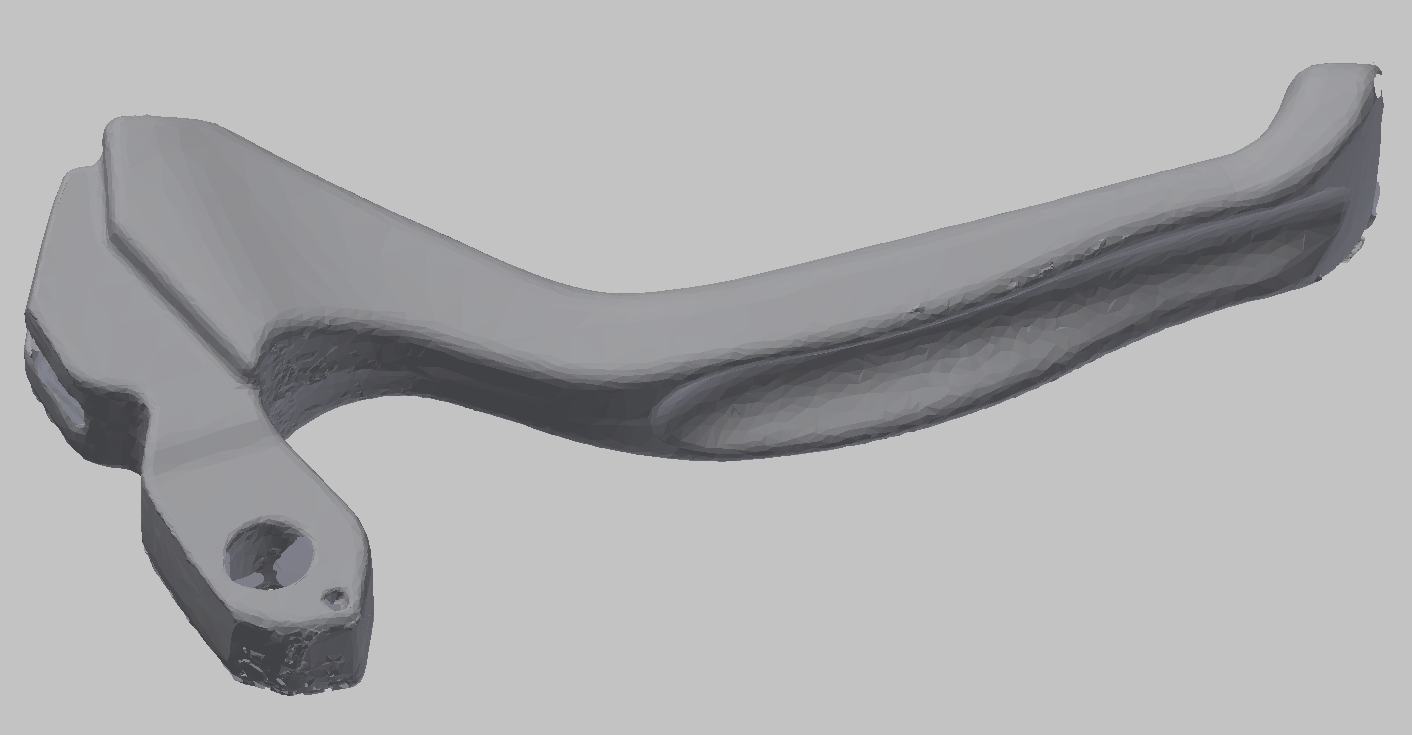
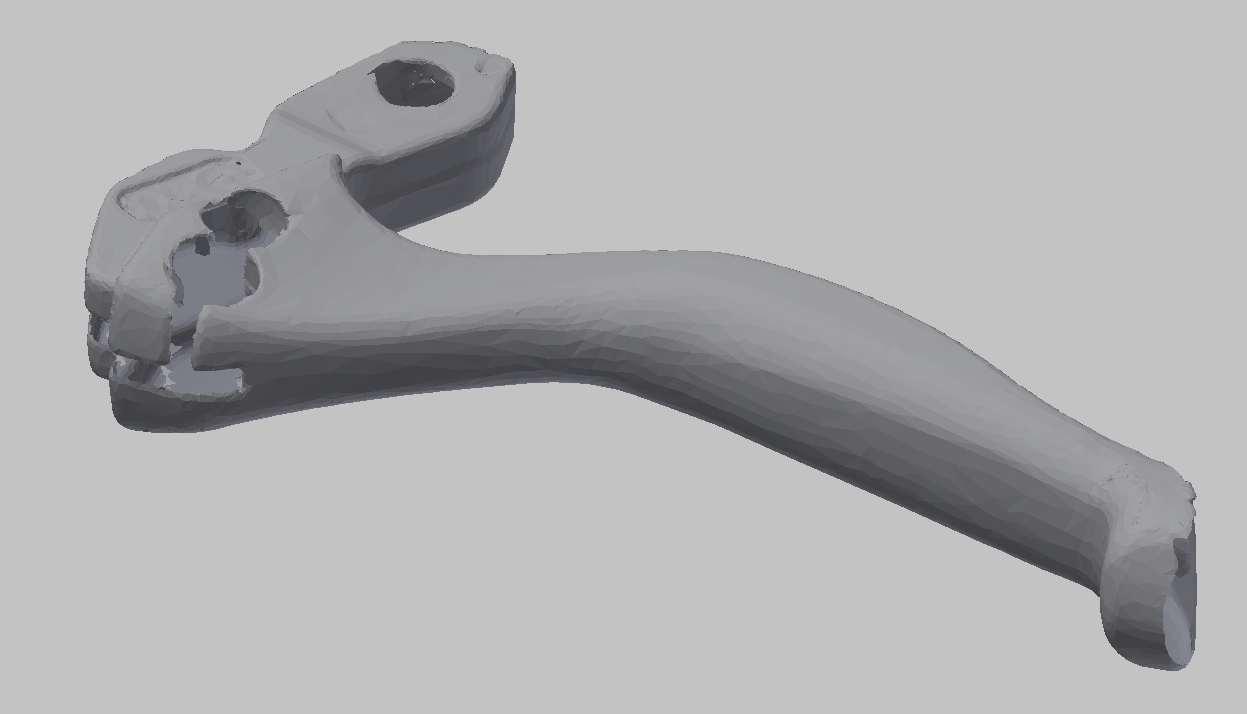
After aligning scans and some correction in NextEngine’s software, I got this mesh:

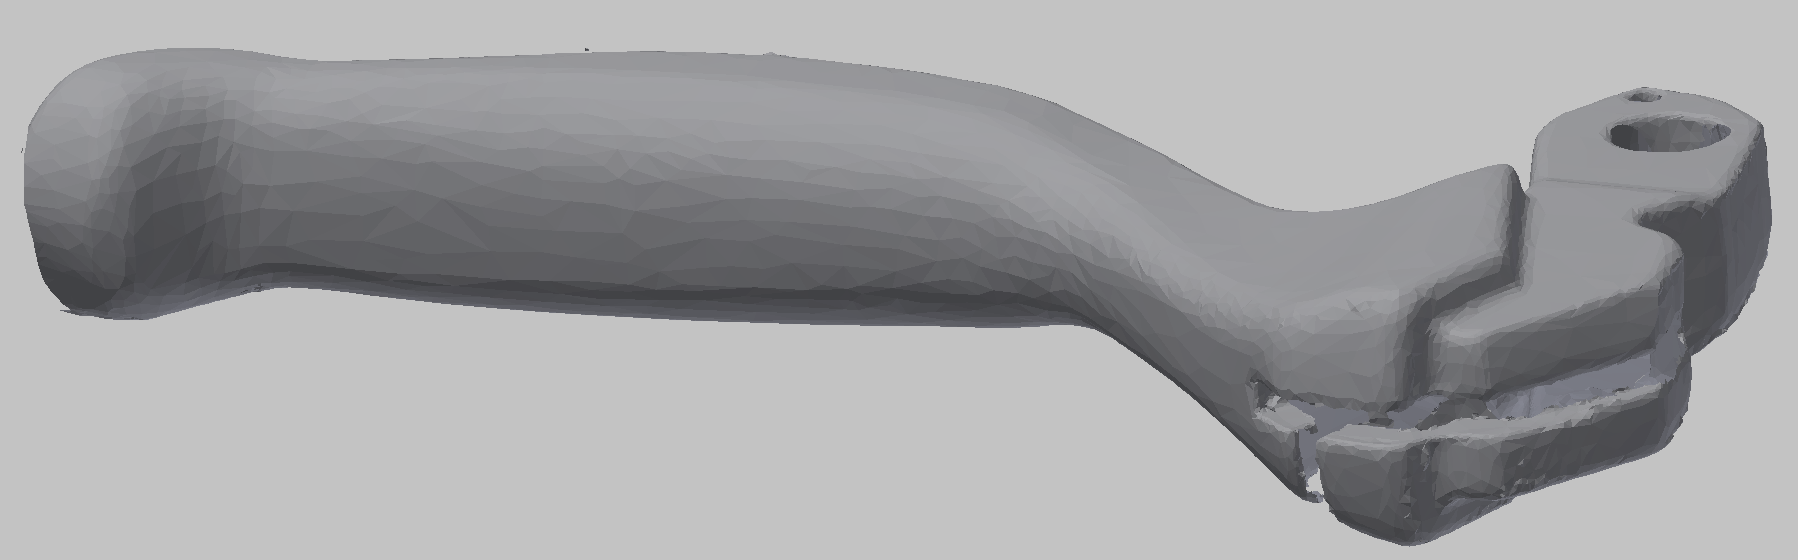
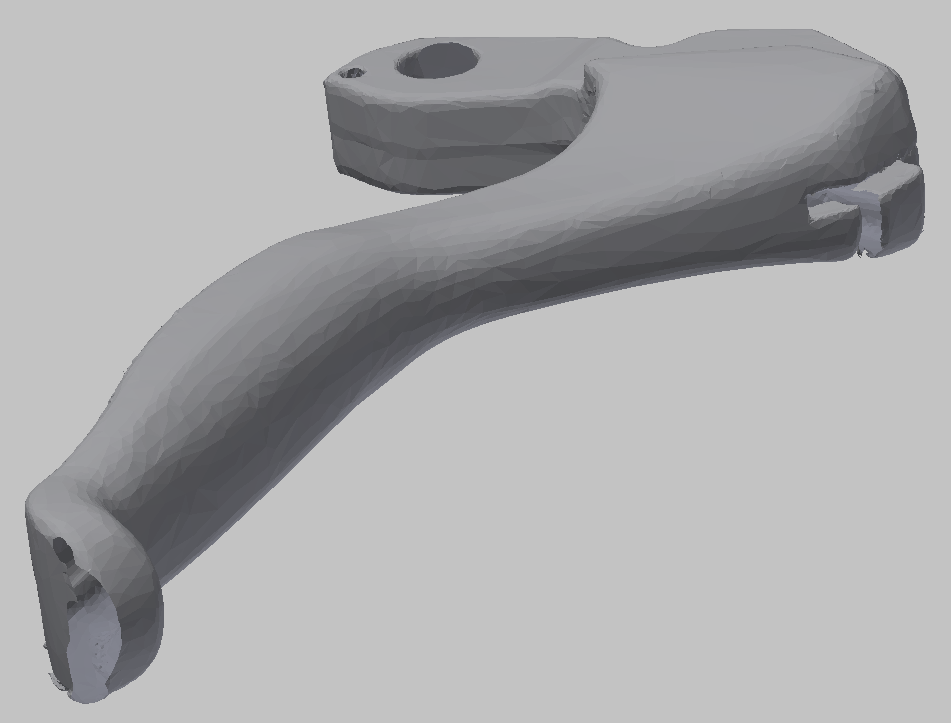
Overall, the scanner did a good job. Most of the surfaces were smooth.

Solid model construction
We need a solid model, not a mesh, to modify the handle and 3D print it. I used Autodesk Inventor because I knew how to use it and the Mesh Enabler extension was free at the time.
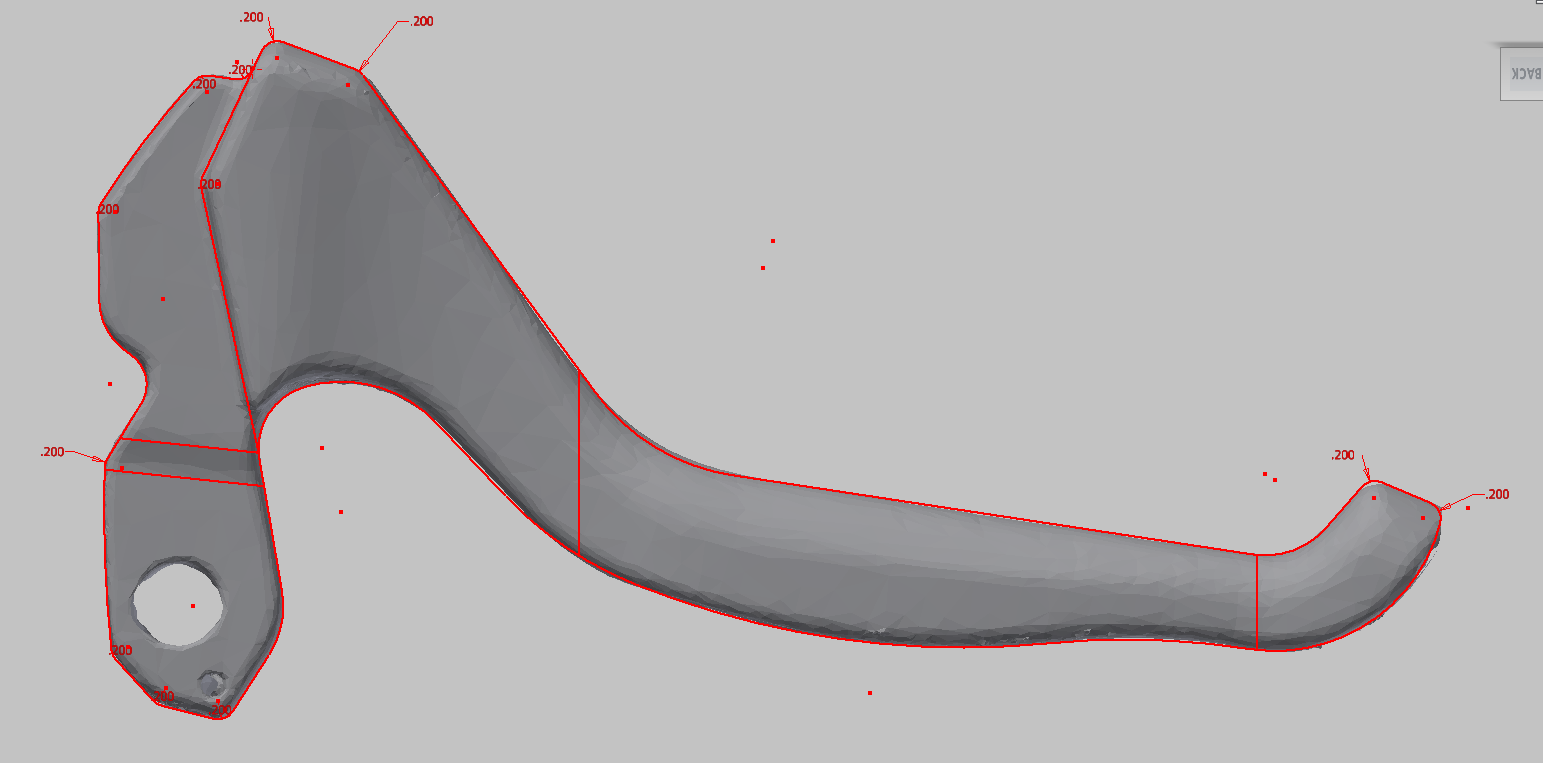
I started with the outline and midplane of the mesh:

Head & neck
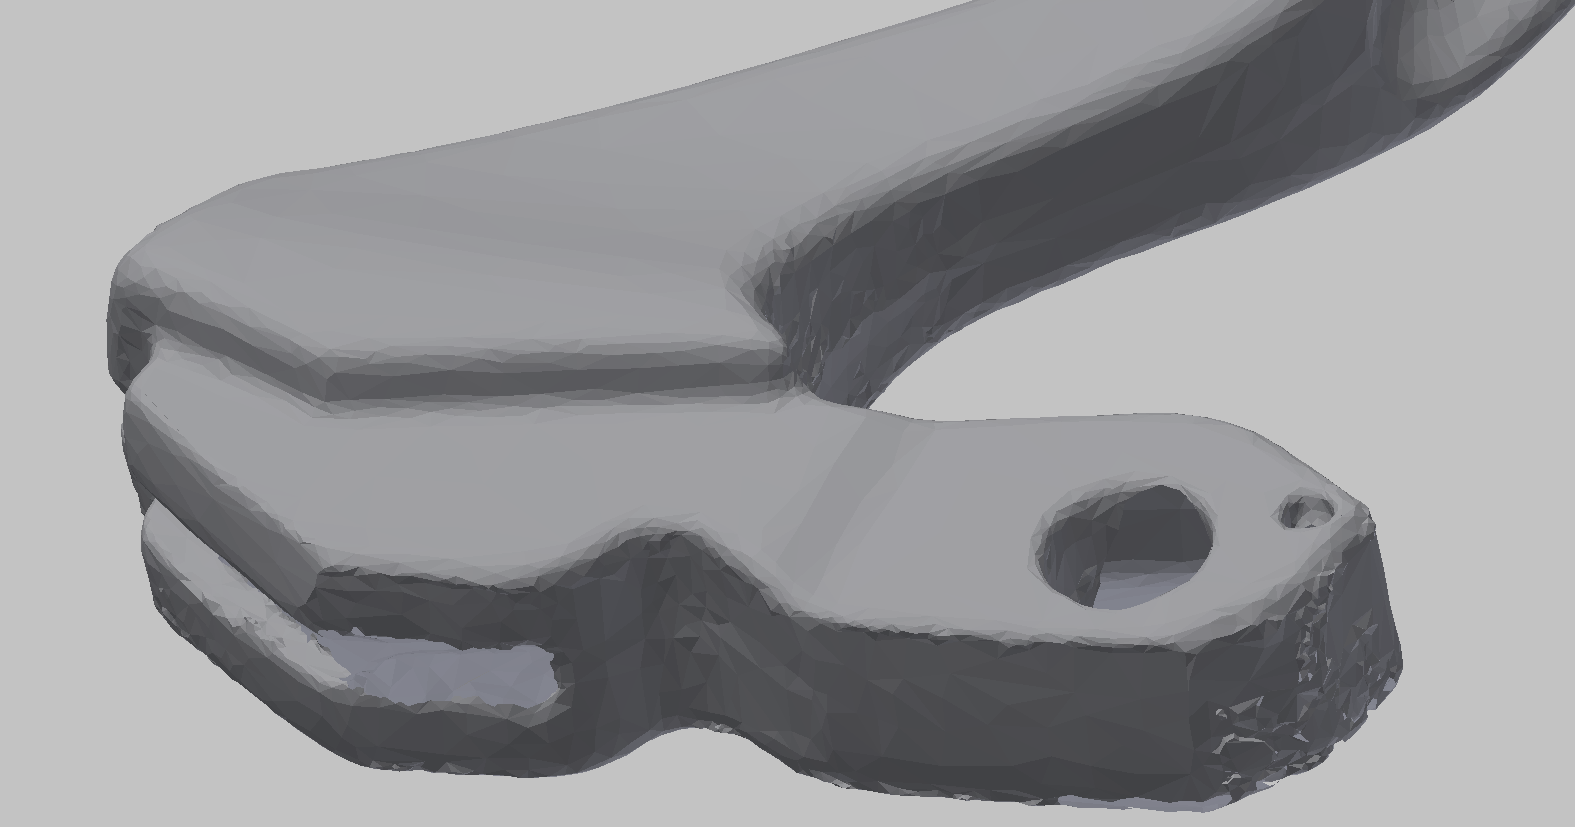
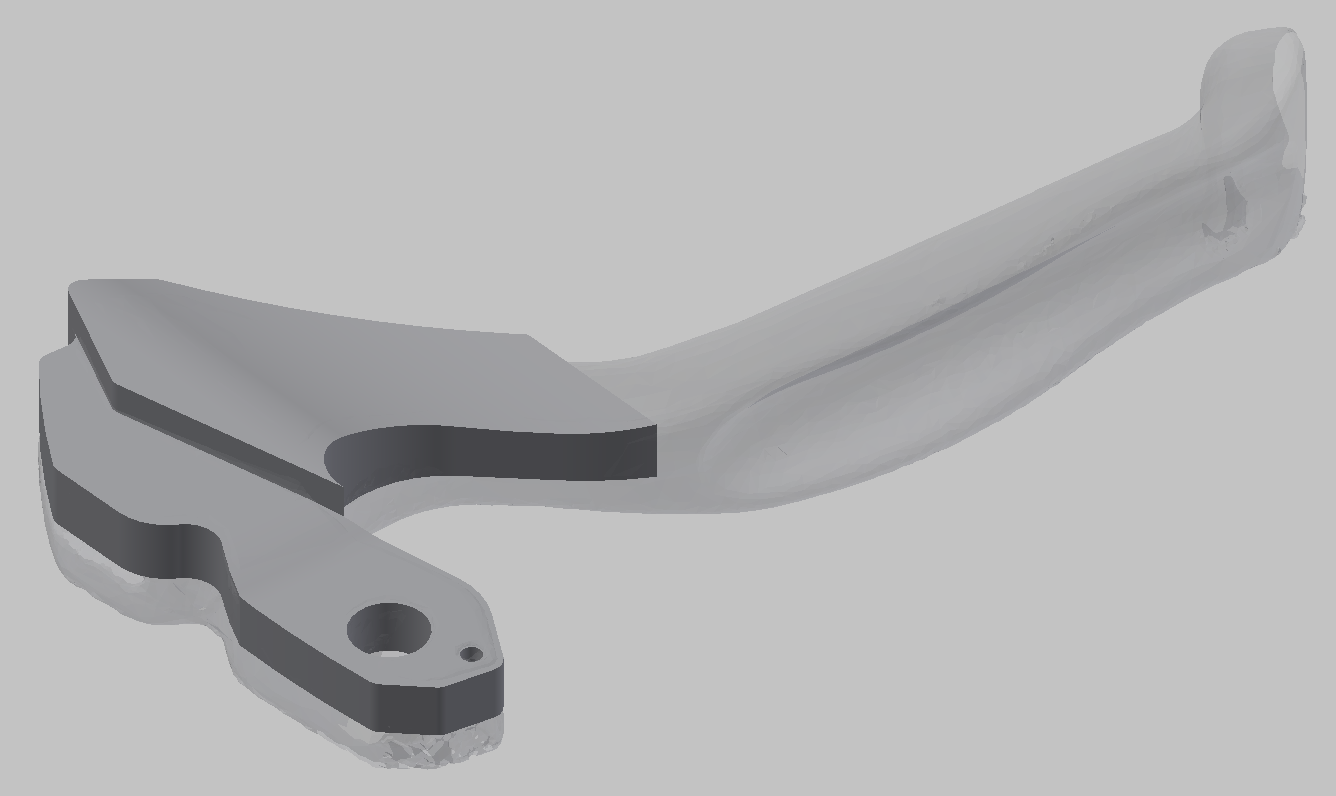
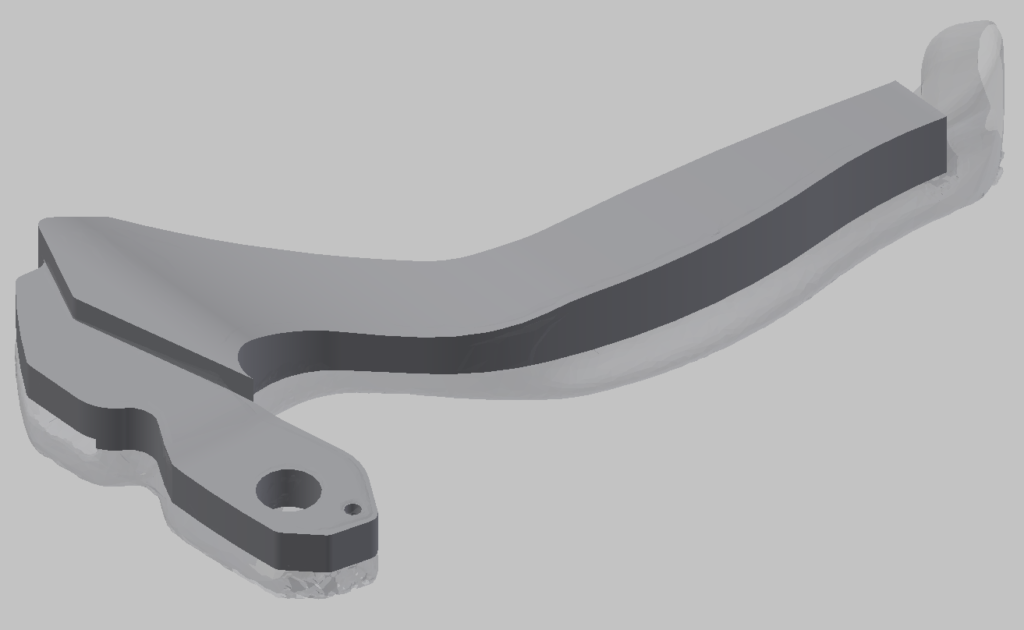
To begin modelling the handle, I extruded regions of the outline out from the midplane.
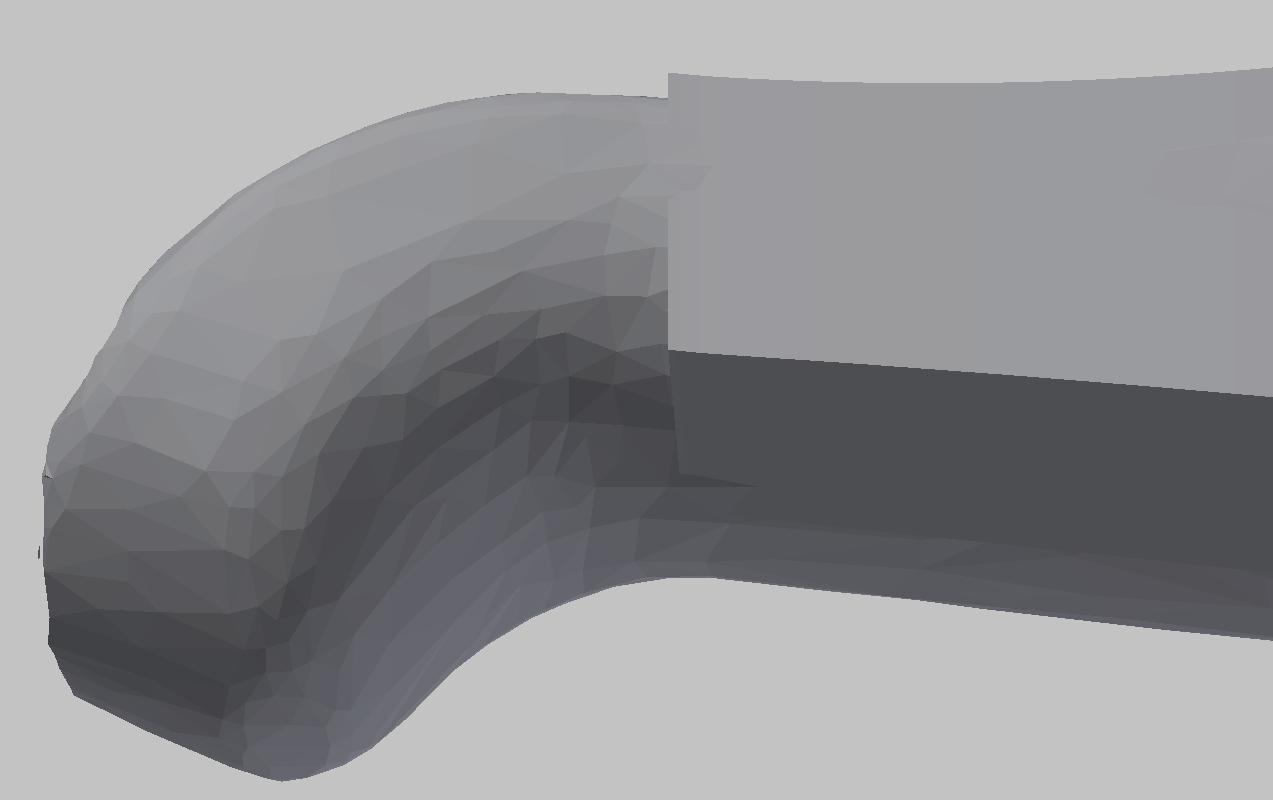
In these screenshots, the solid model’s progress is on the left and the original scanned mesh is on the right.
The head and neck look great.
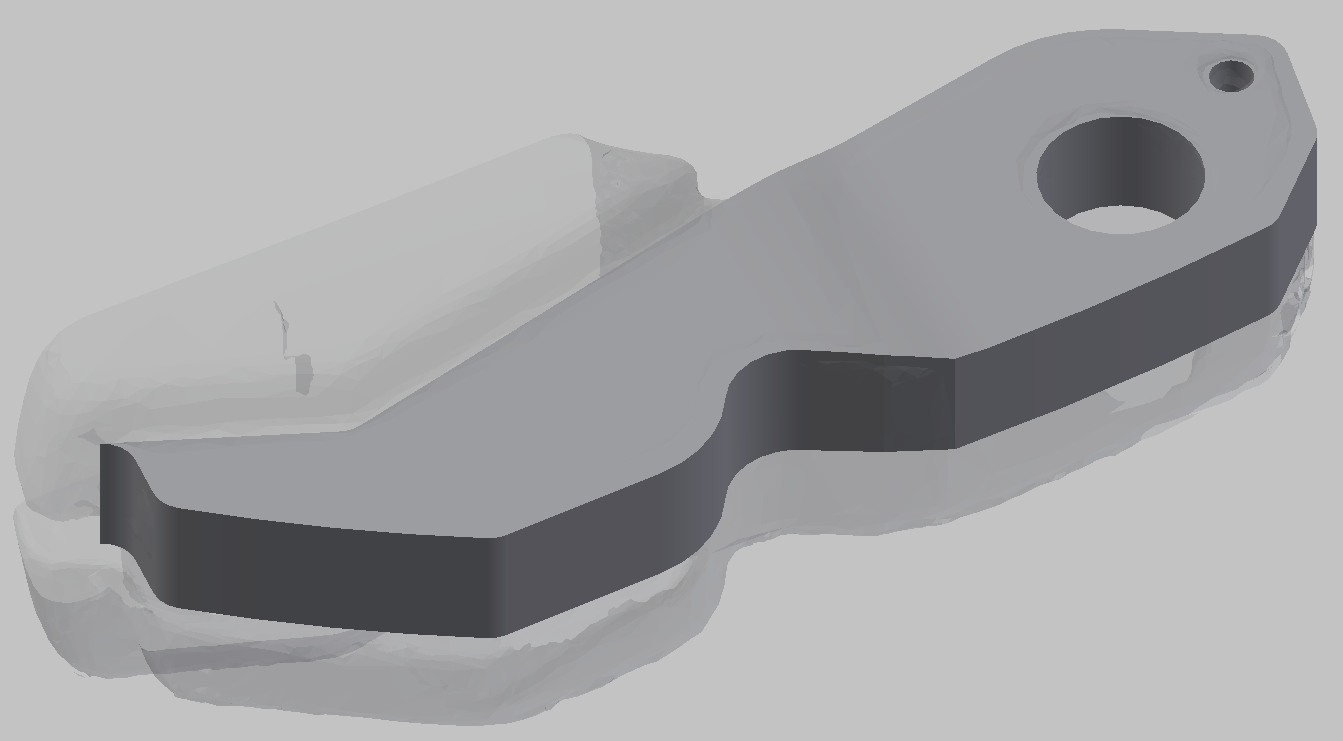
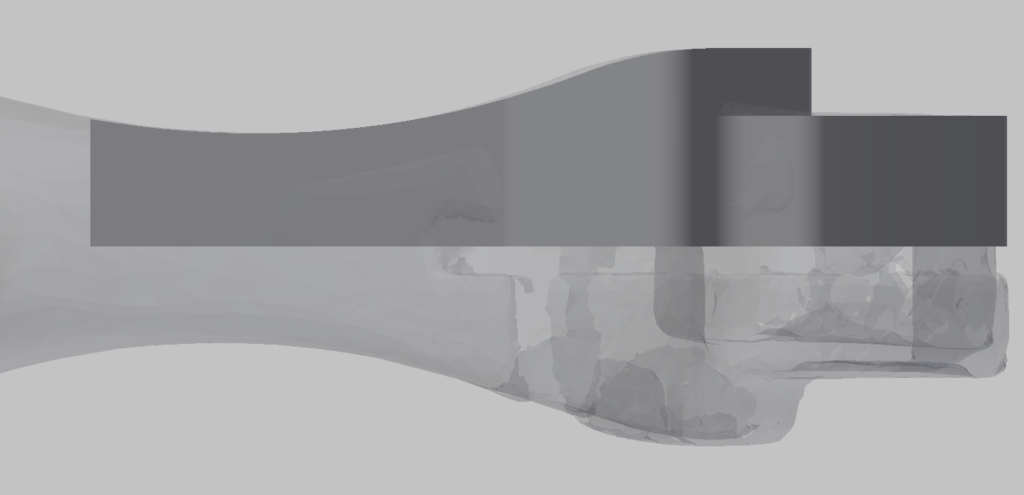
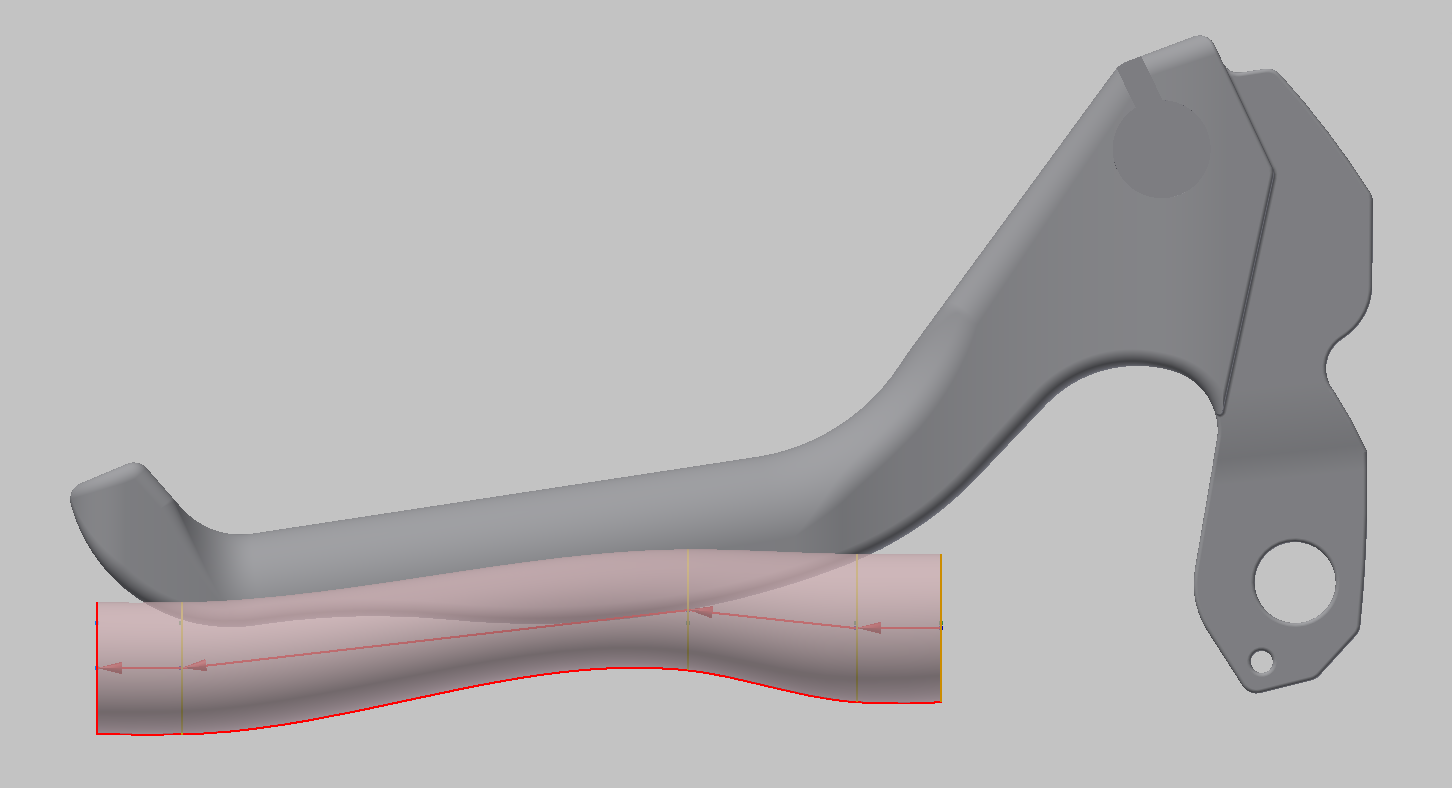
For curved geometry, I extruded from the midplane with a silhouette curve as the terminator:
Body & tail
I continued down the handle using the same methods.
The last part is the tail.
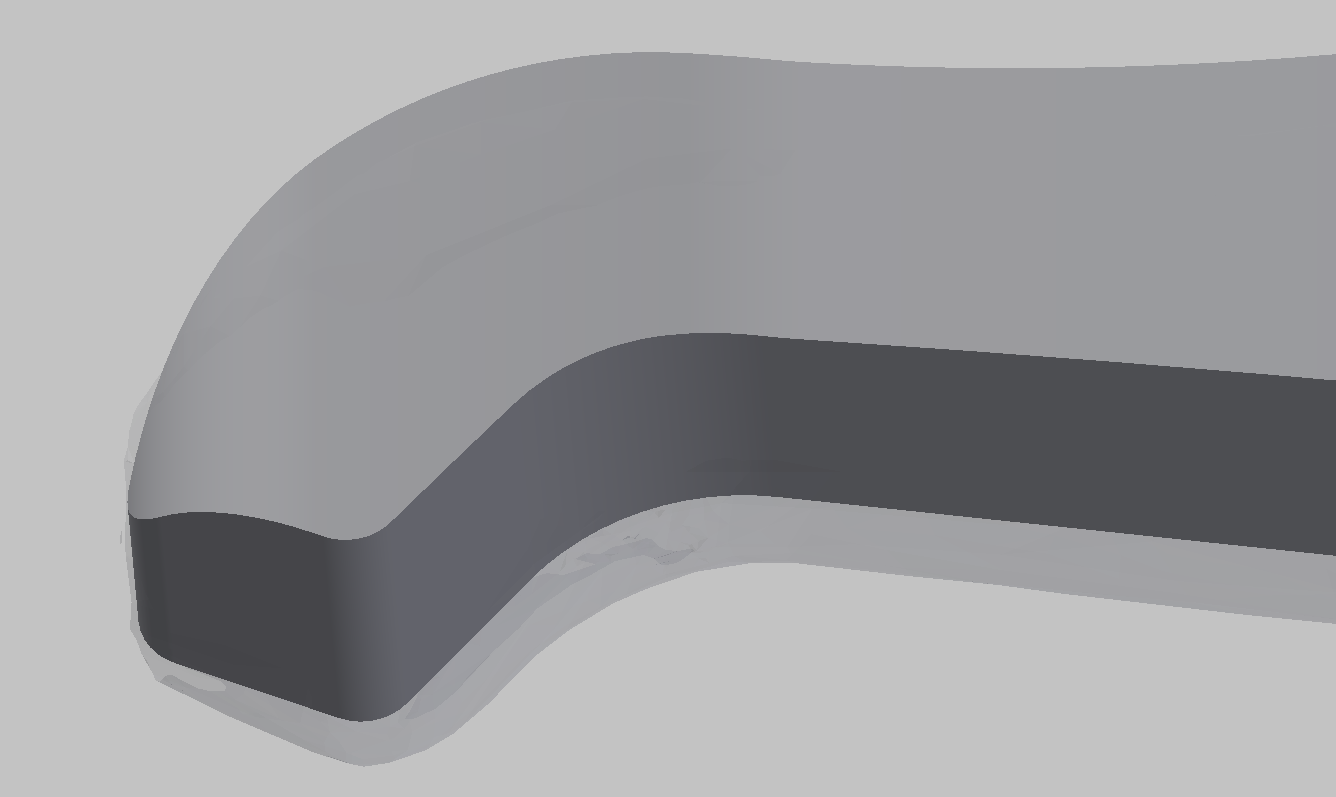
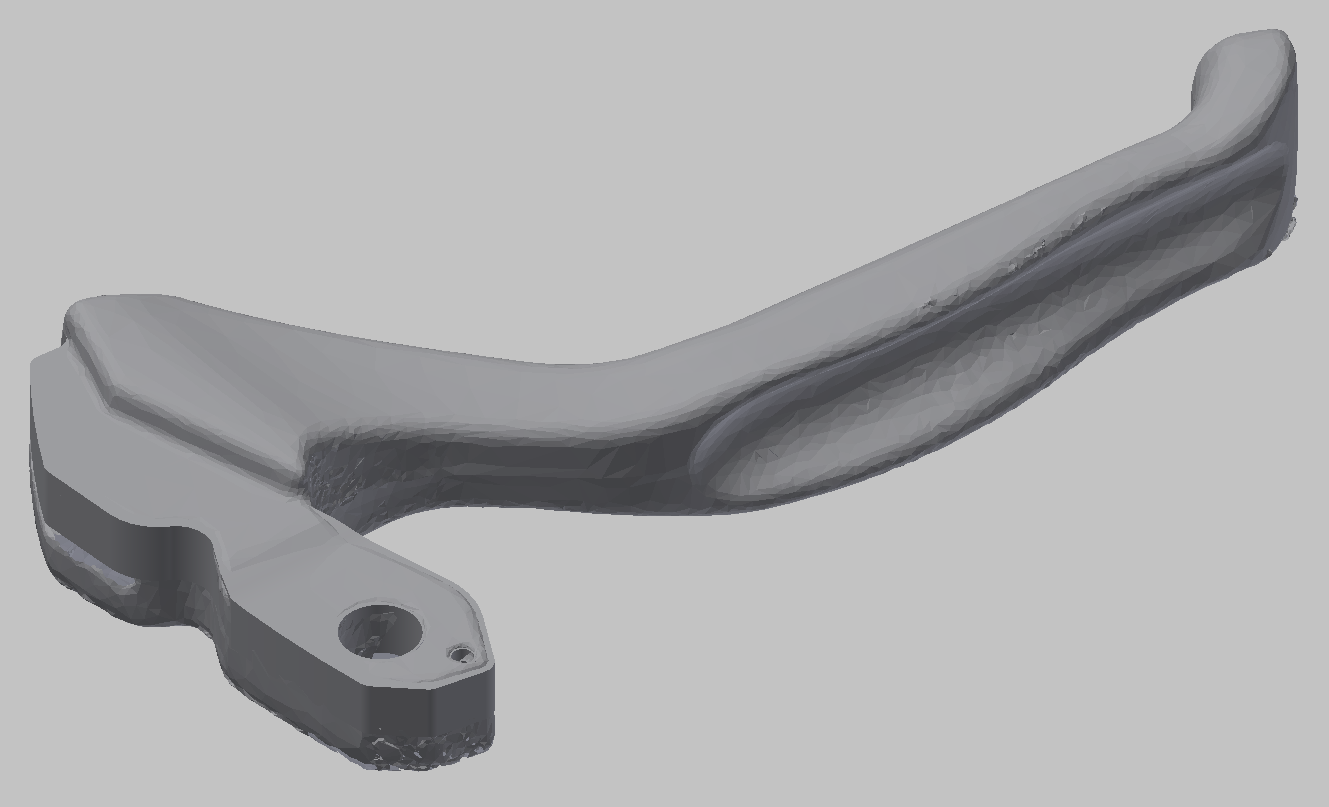
Rounding
The model had sharp edges everywhere at this stage. Nine carefully-chosen fillet (edge rounding) operations made the handle look organic.
The two galleries below show the following from left to right, from two angles:
- solid model without fillet
- solid model with fillet
- scanned mesh for comparison
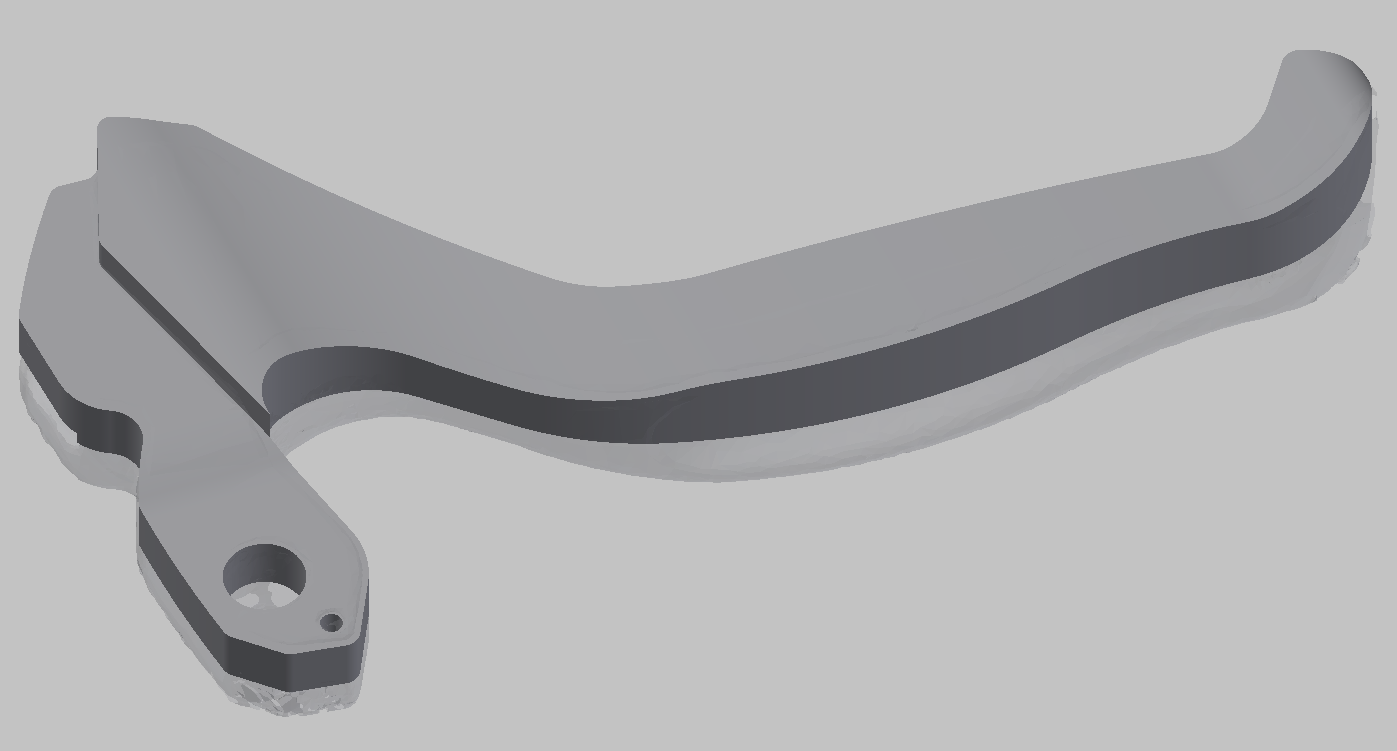
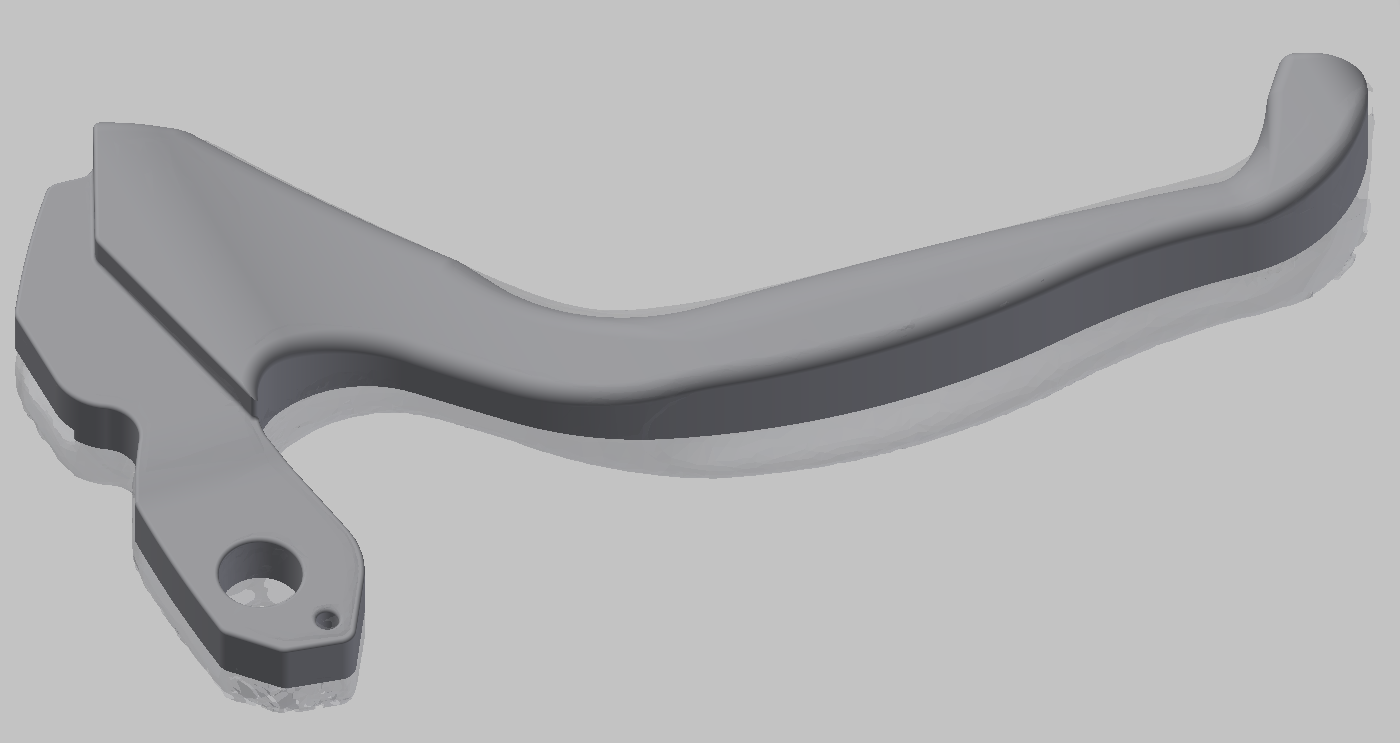
It took a really long time but looks great.
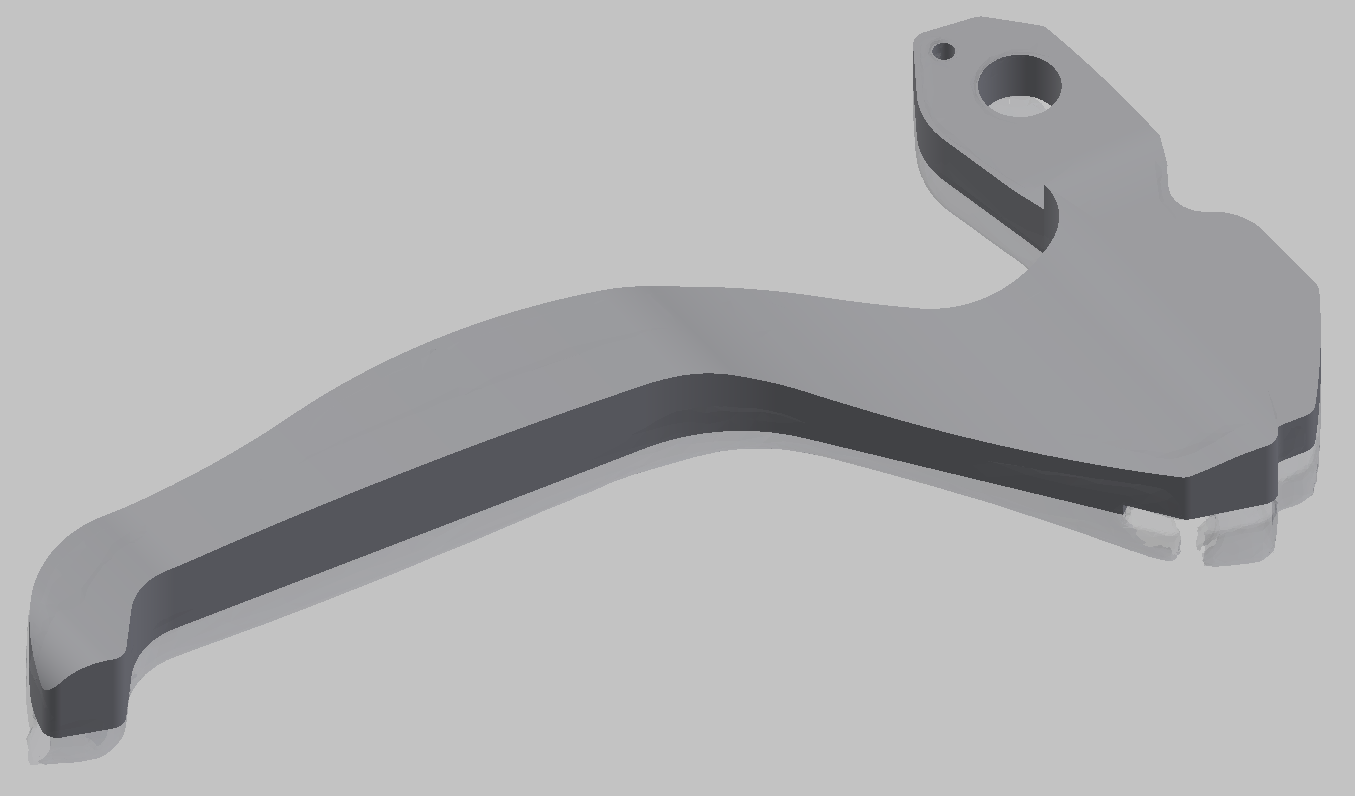
Cutout
I mirrored the handle over its midplane to complete the basic shape. The next step was to make the cut down the handle. For clarity, all the screenshots in this section show progress on the already completed model.
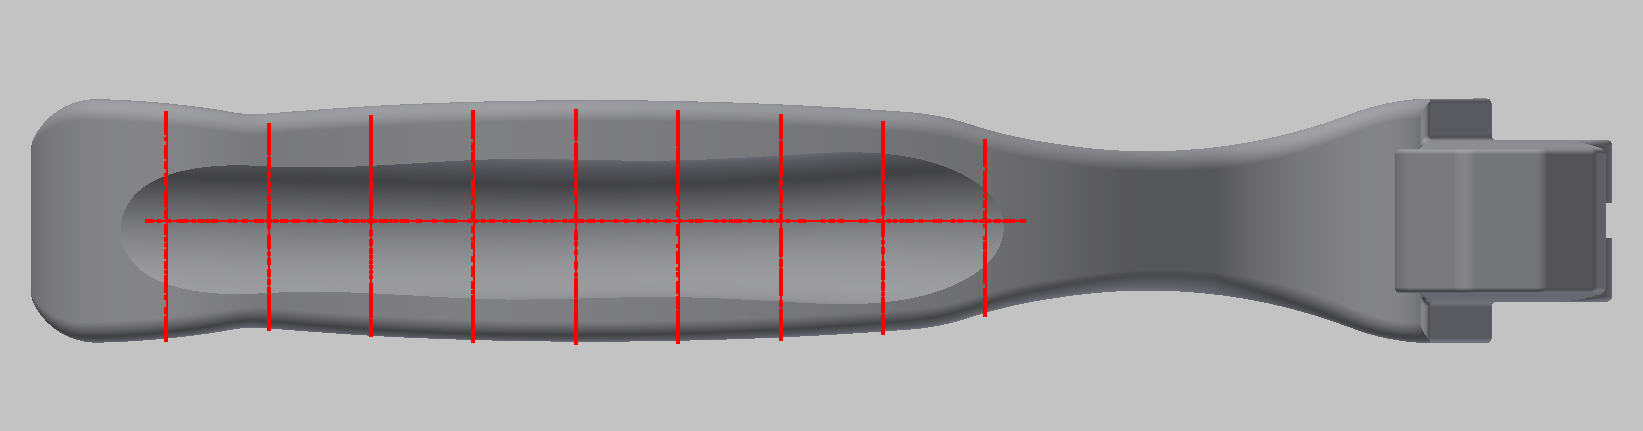
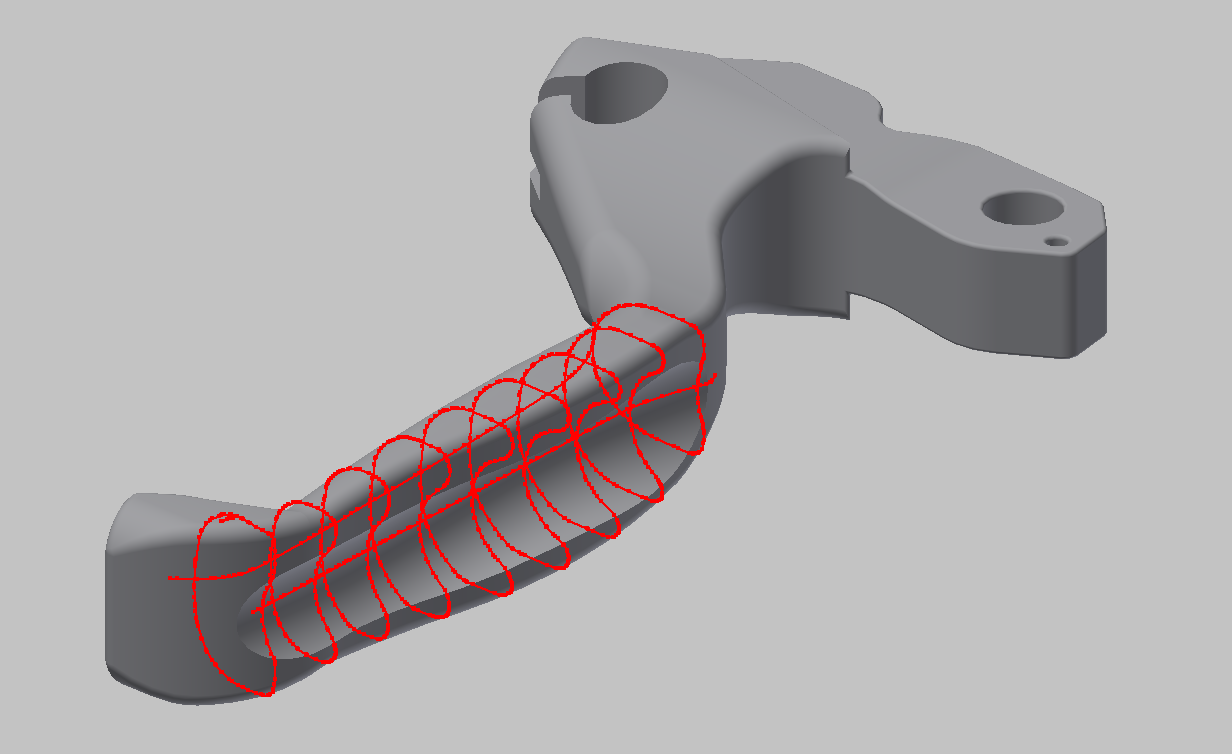
I added several intersection curves, shown in red, on parallel planes:
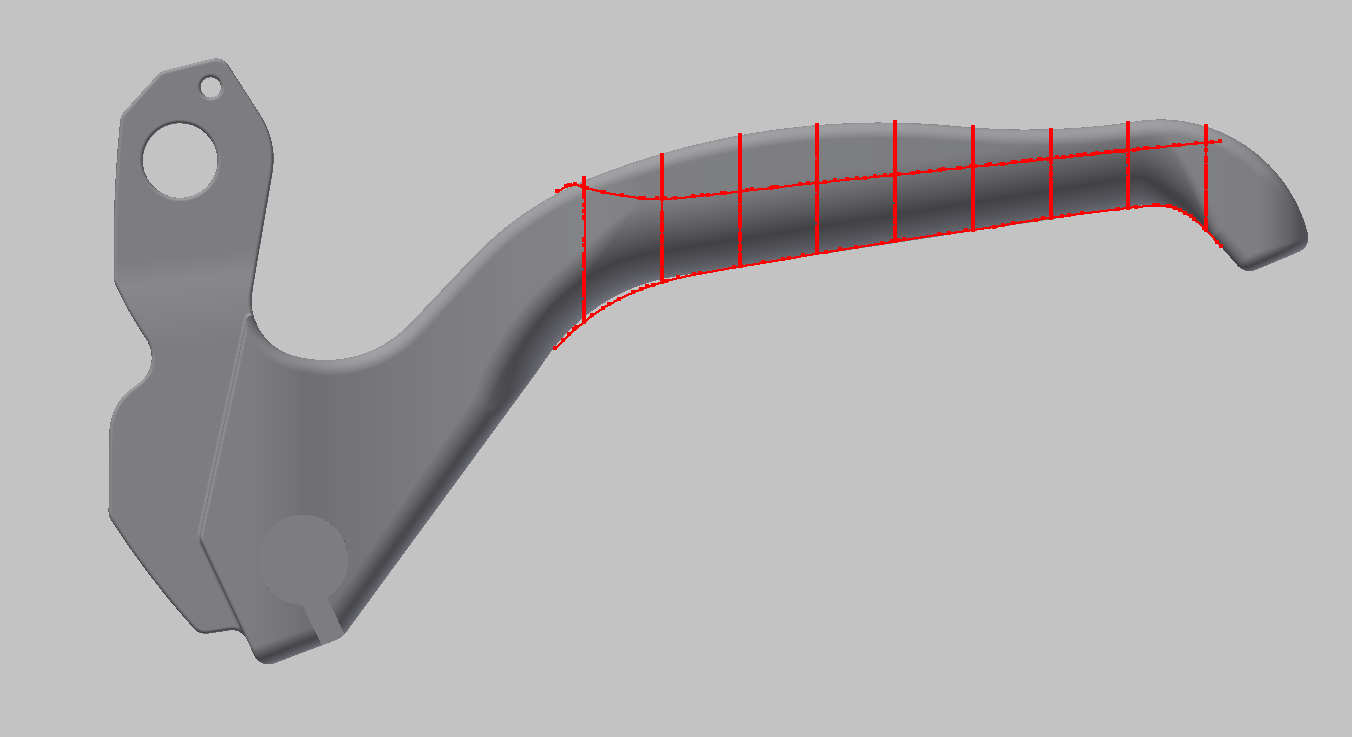

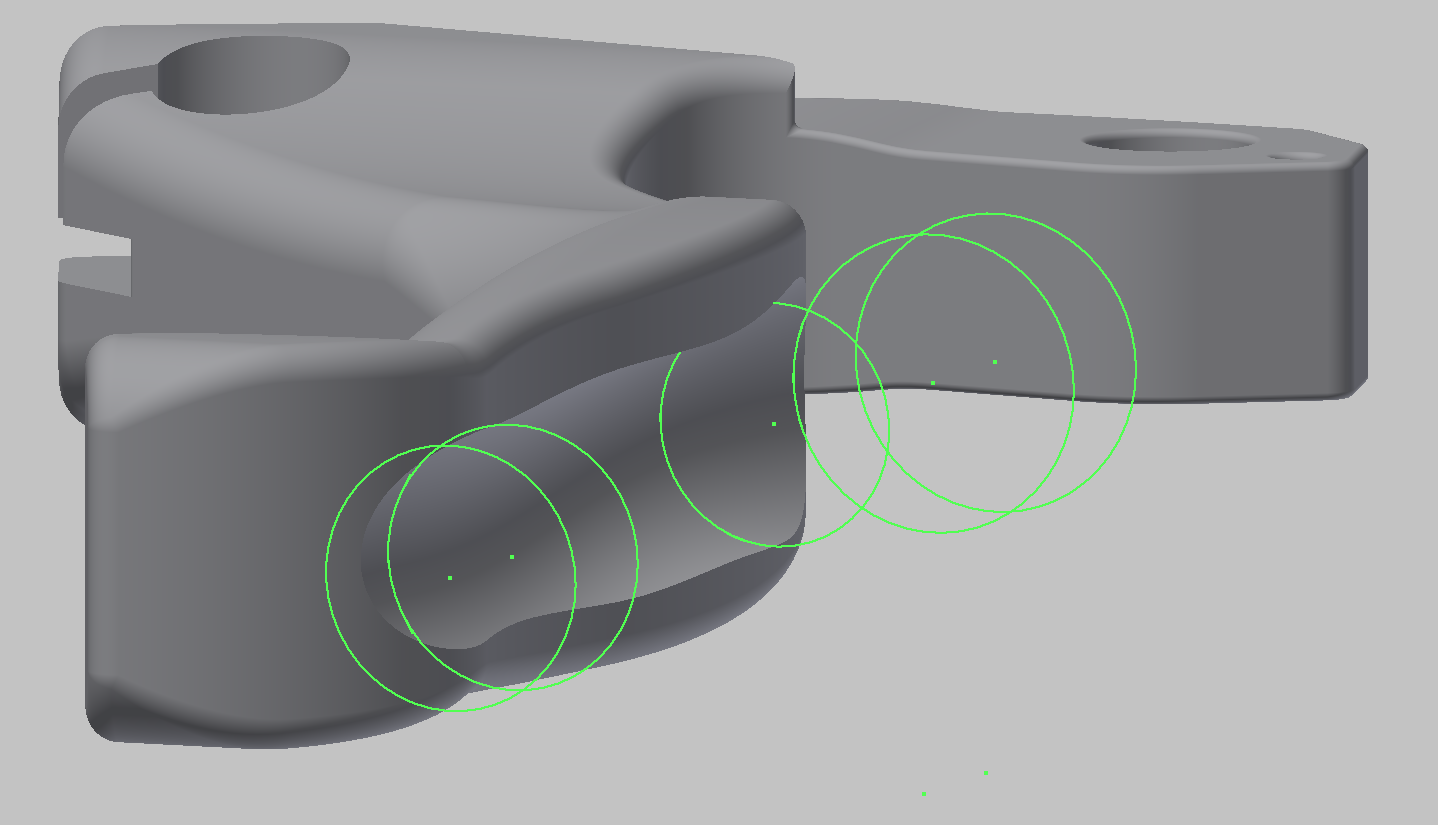
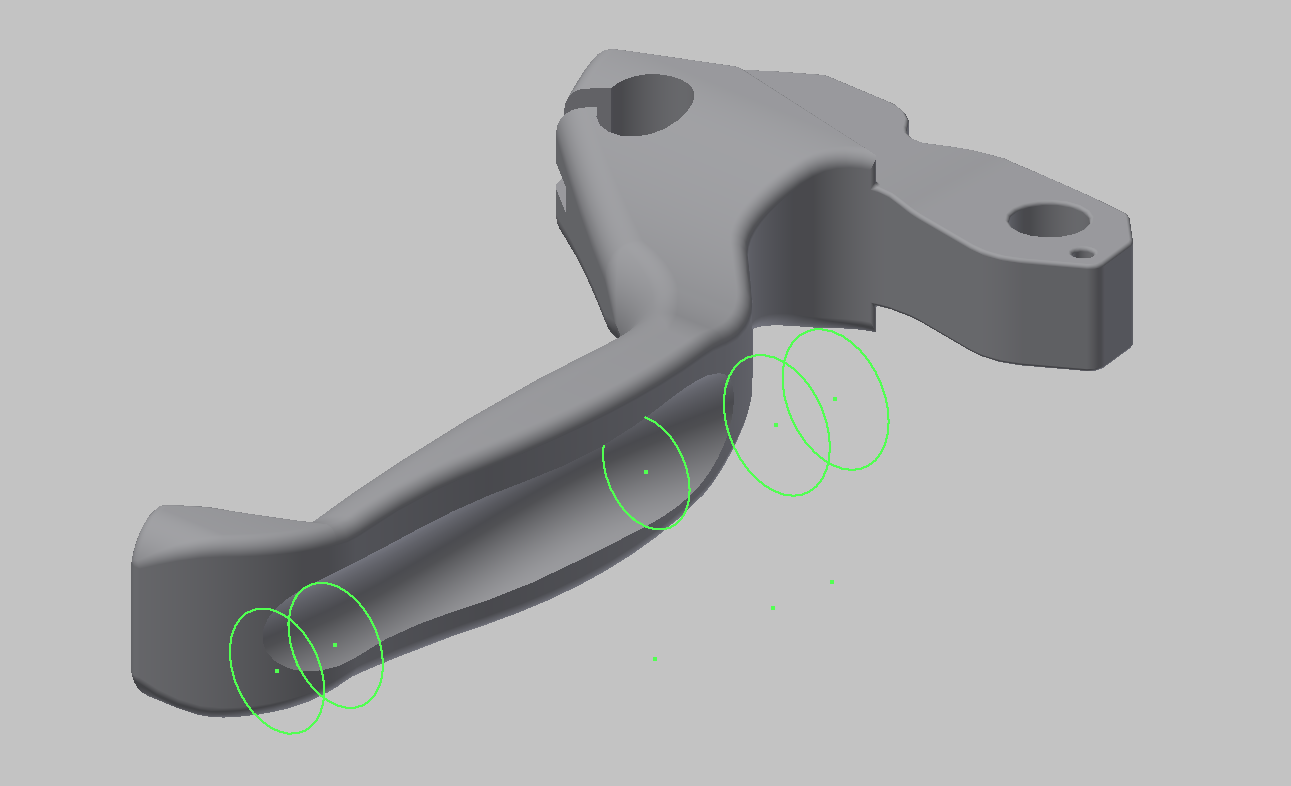
Next, I chose a the most promising intersection curves and added tangent circles, shown in green:

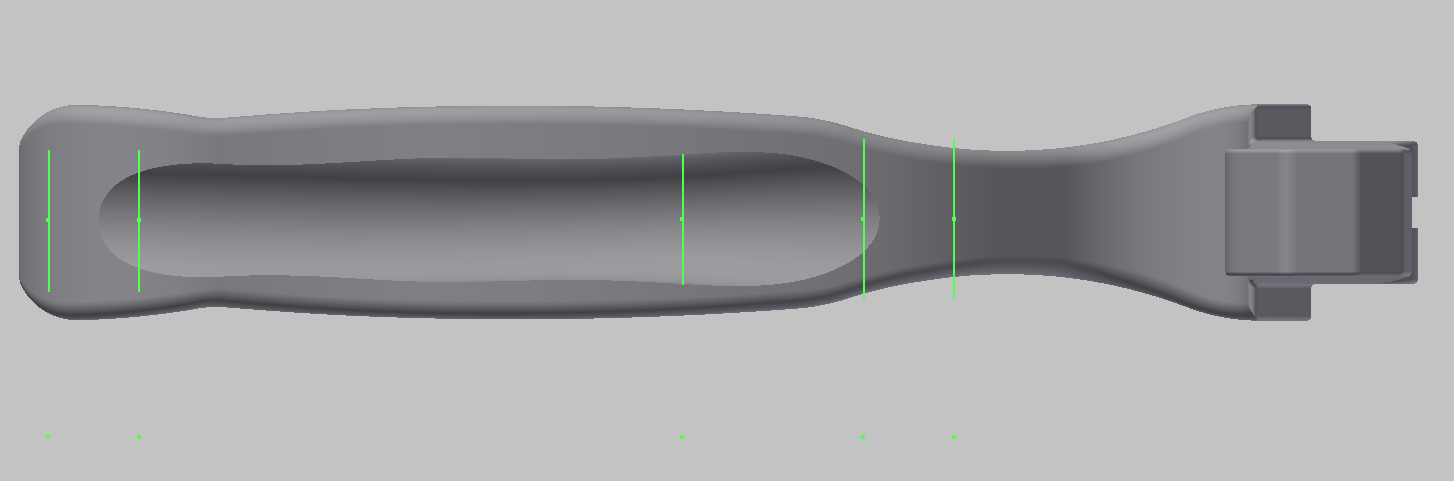
Finally, I added a loft (geometry interpolation) cut:

Here’s each step aligned to the same view:
Results
The solid model looks a lot like the scanned model, which looks a lot like the real brake handle. Success!
You can download the model here:
3D Printing
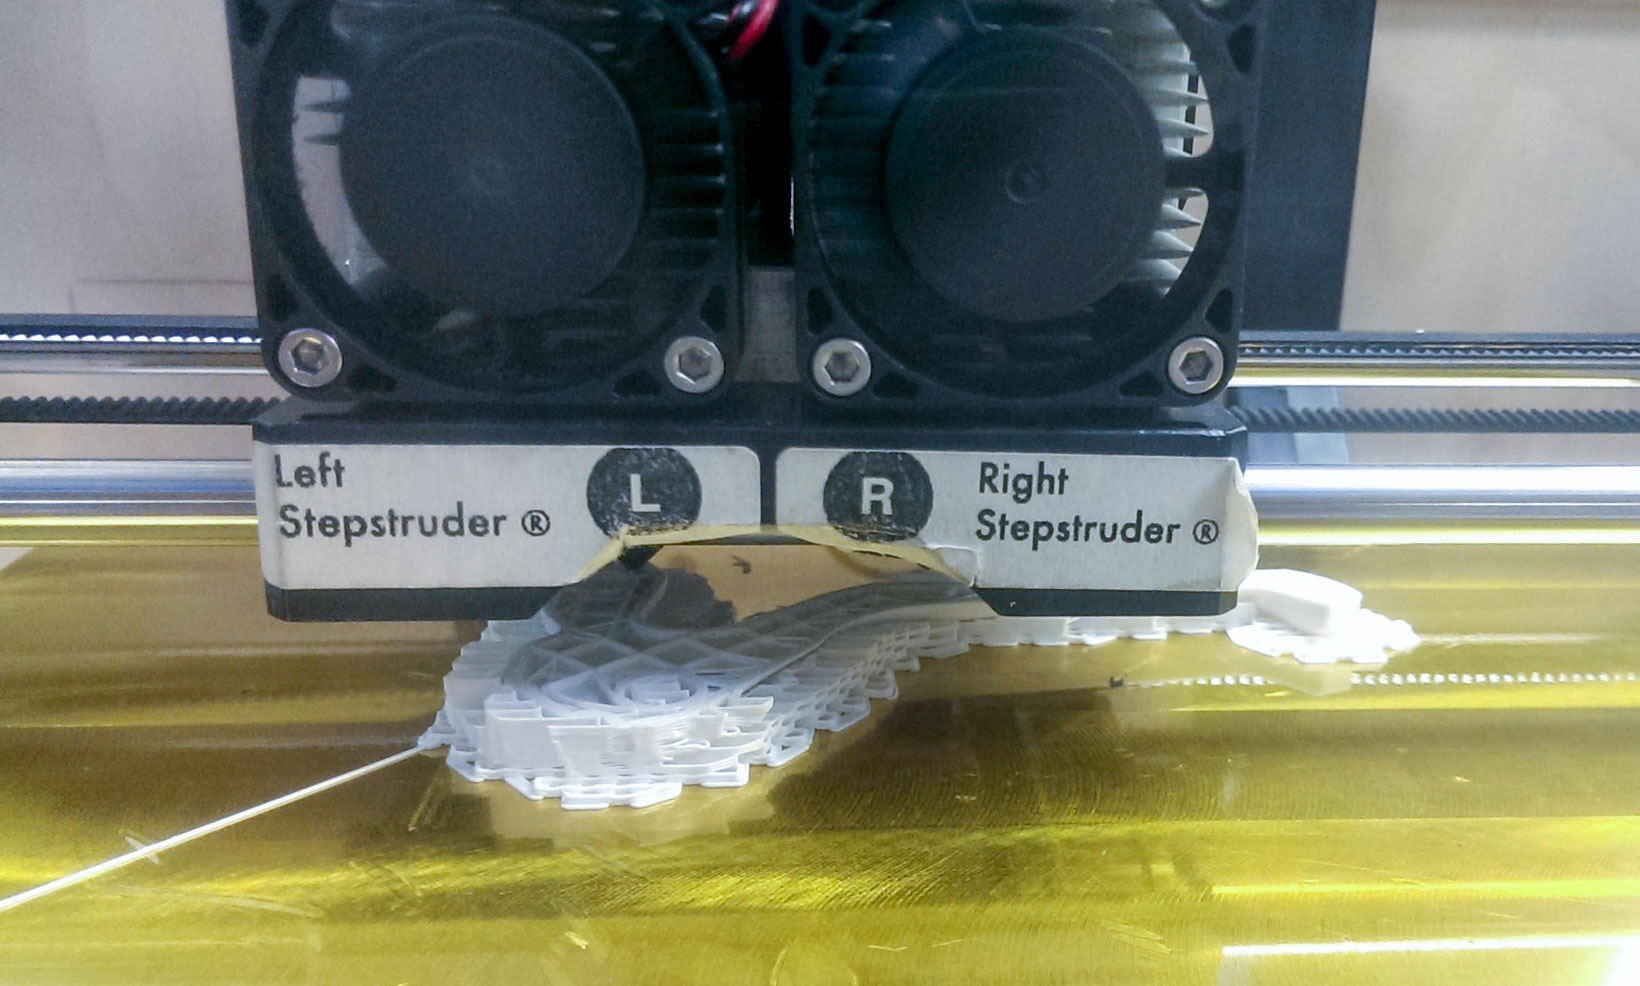
I 3D printed the handle at TechShop:
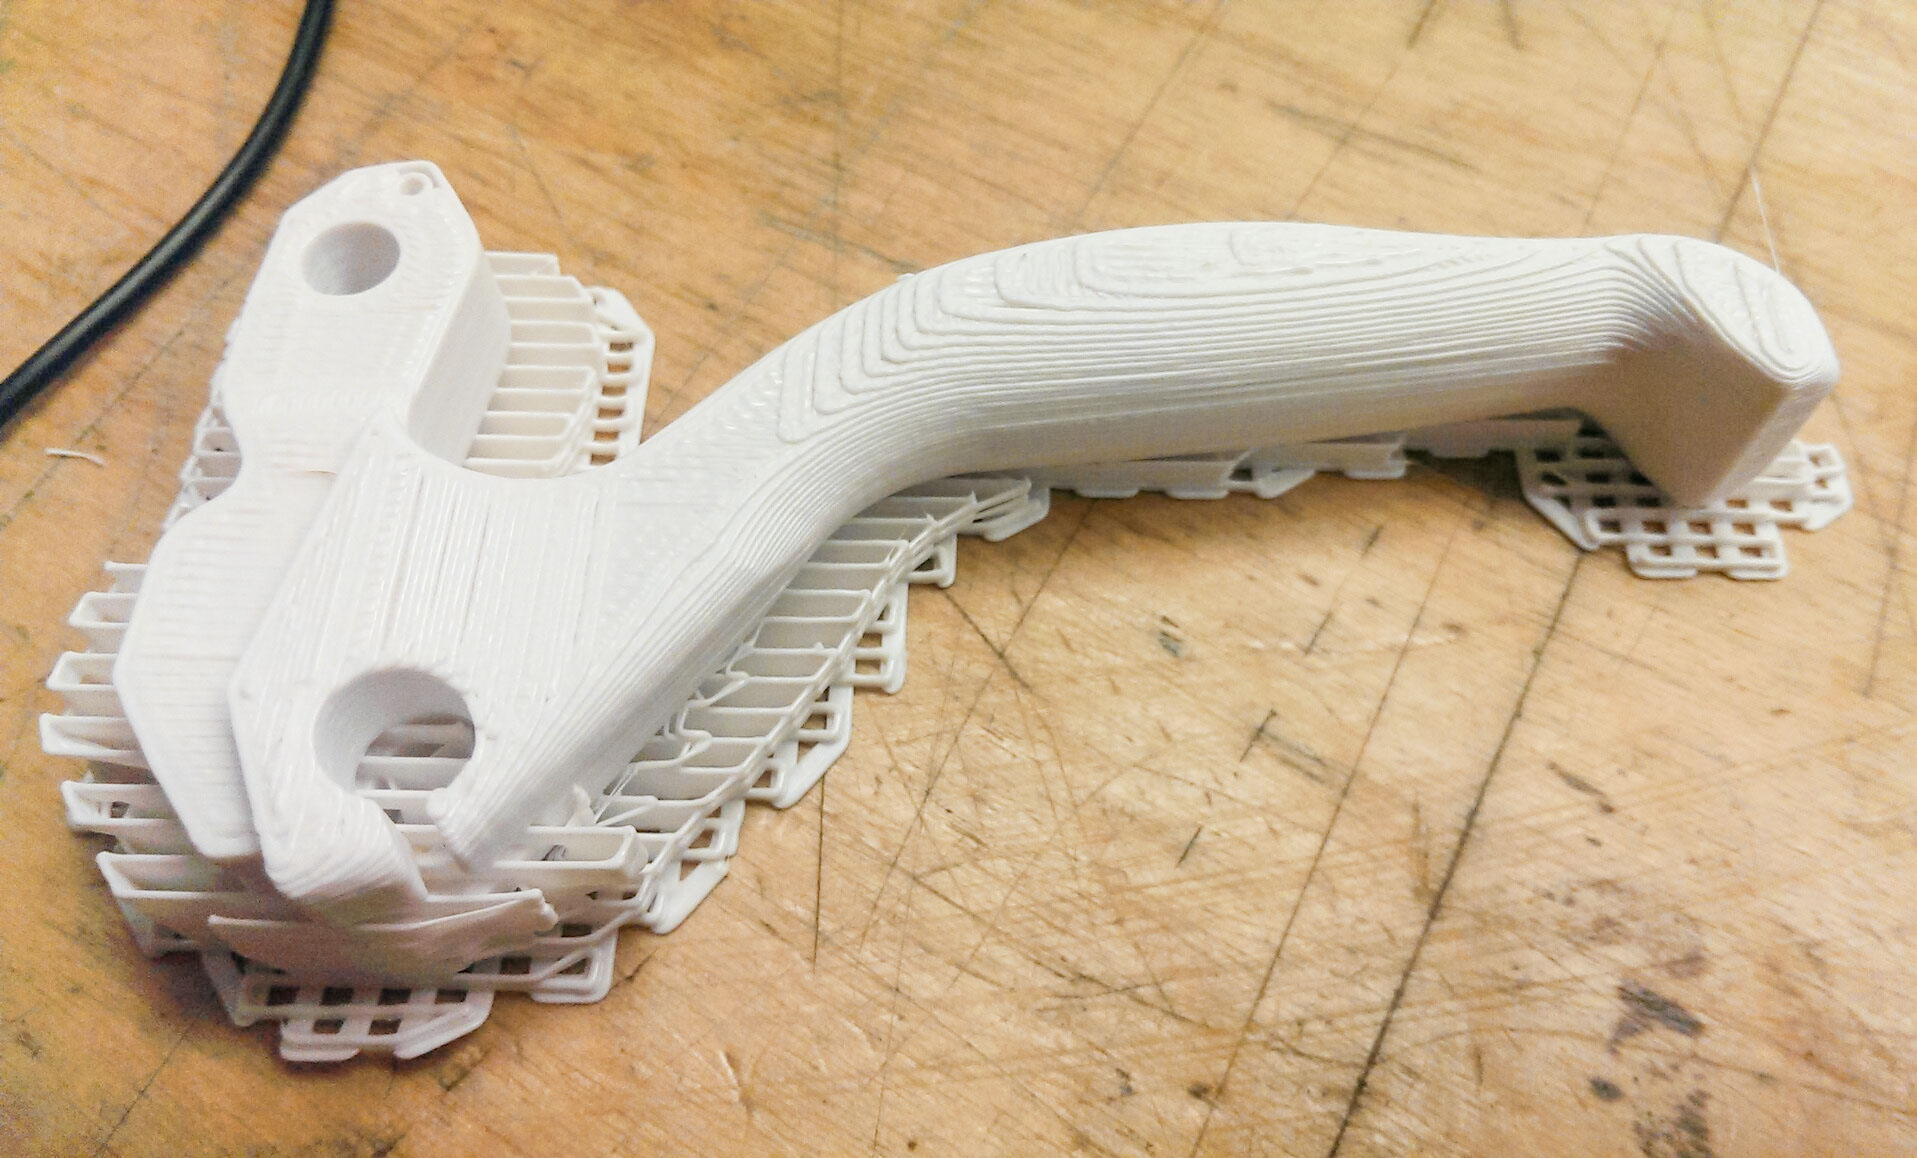
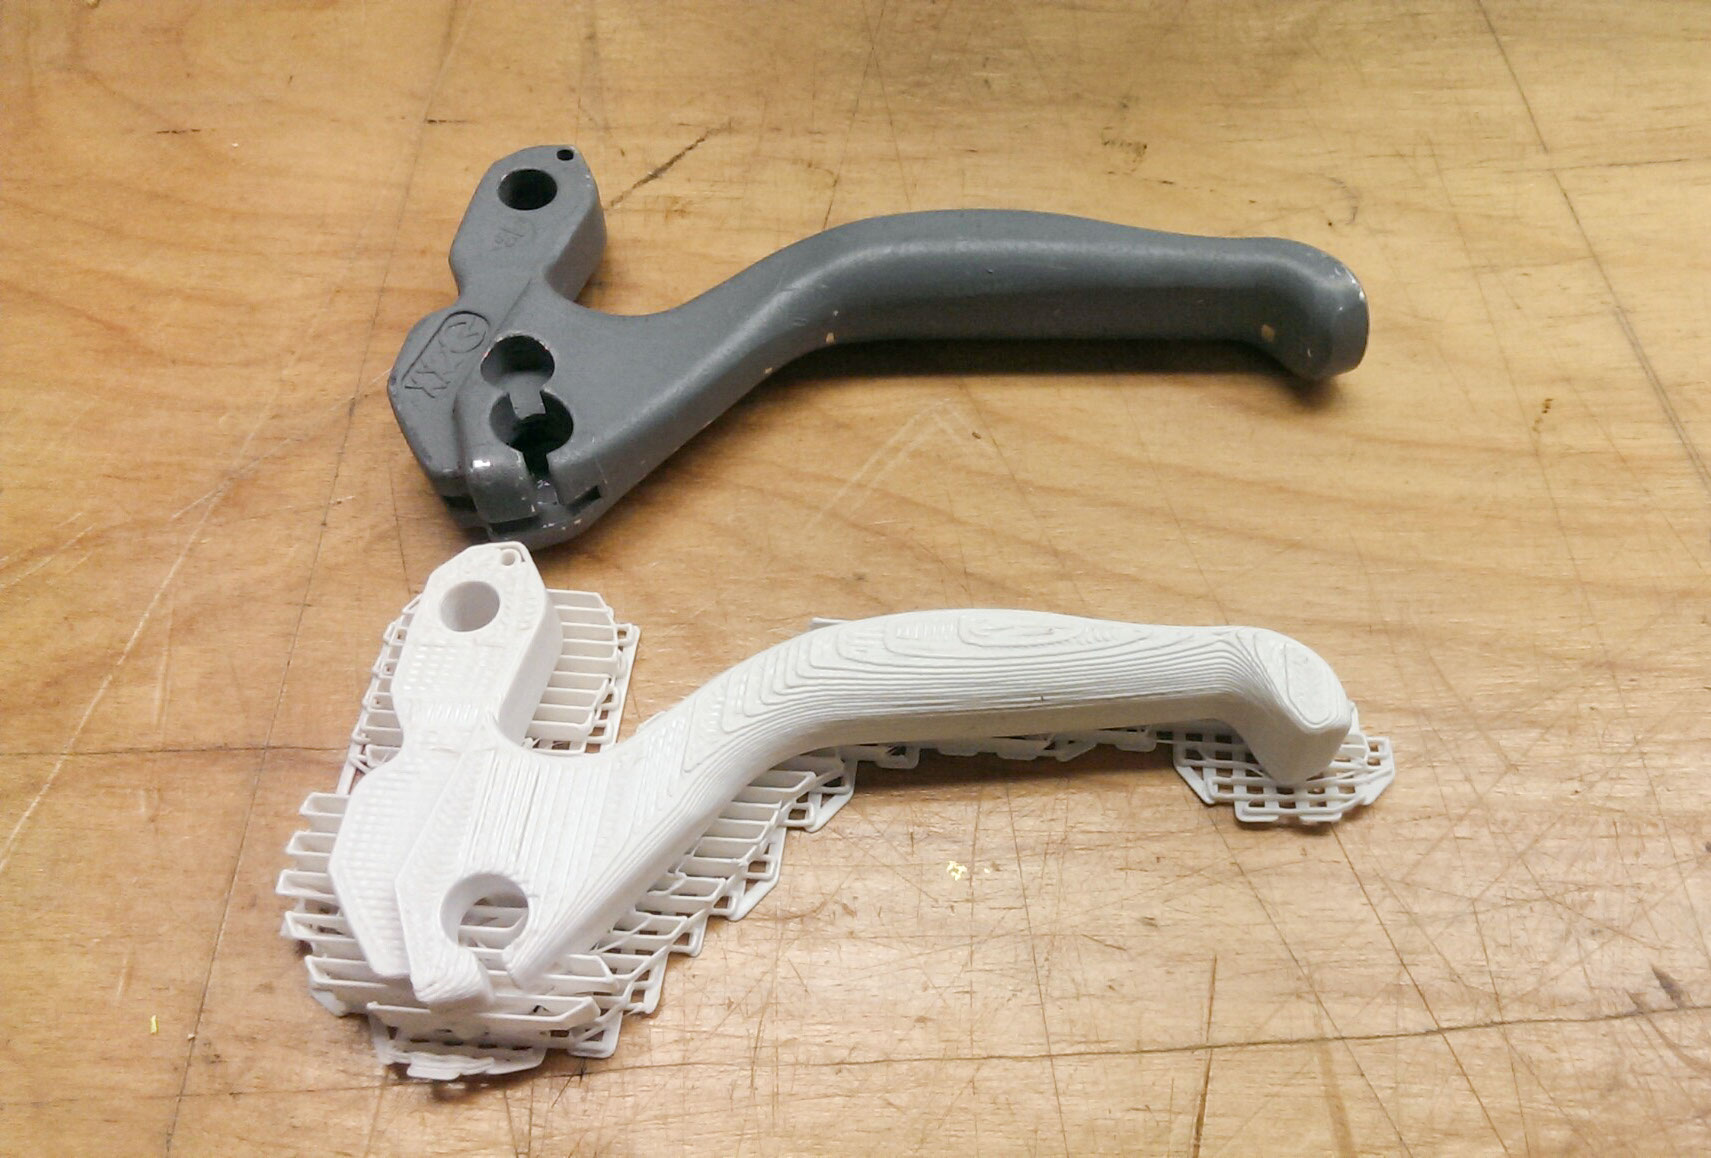
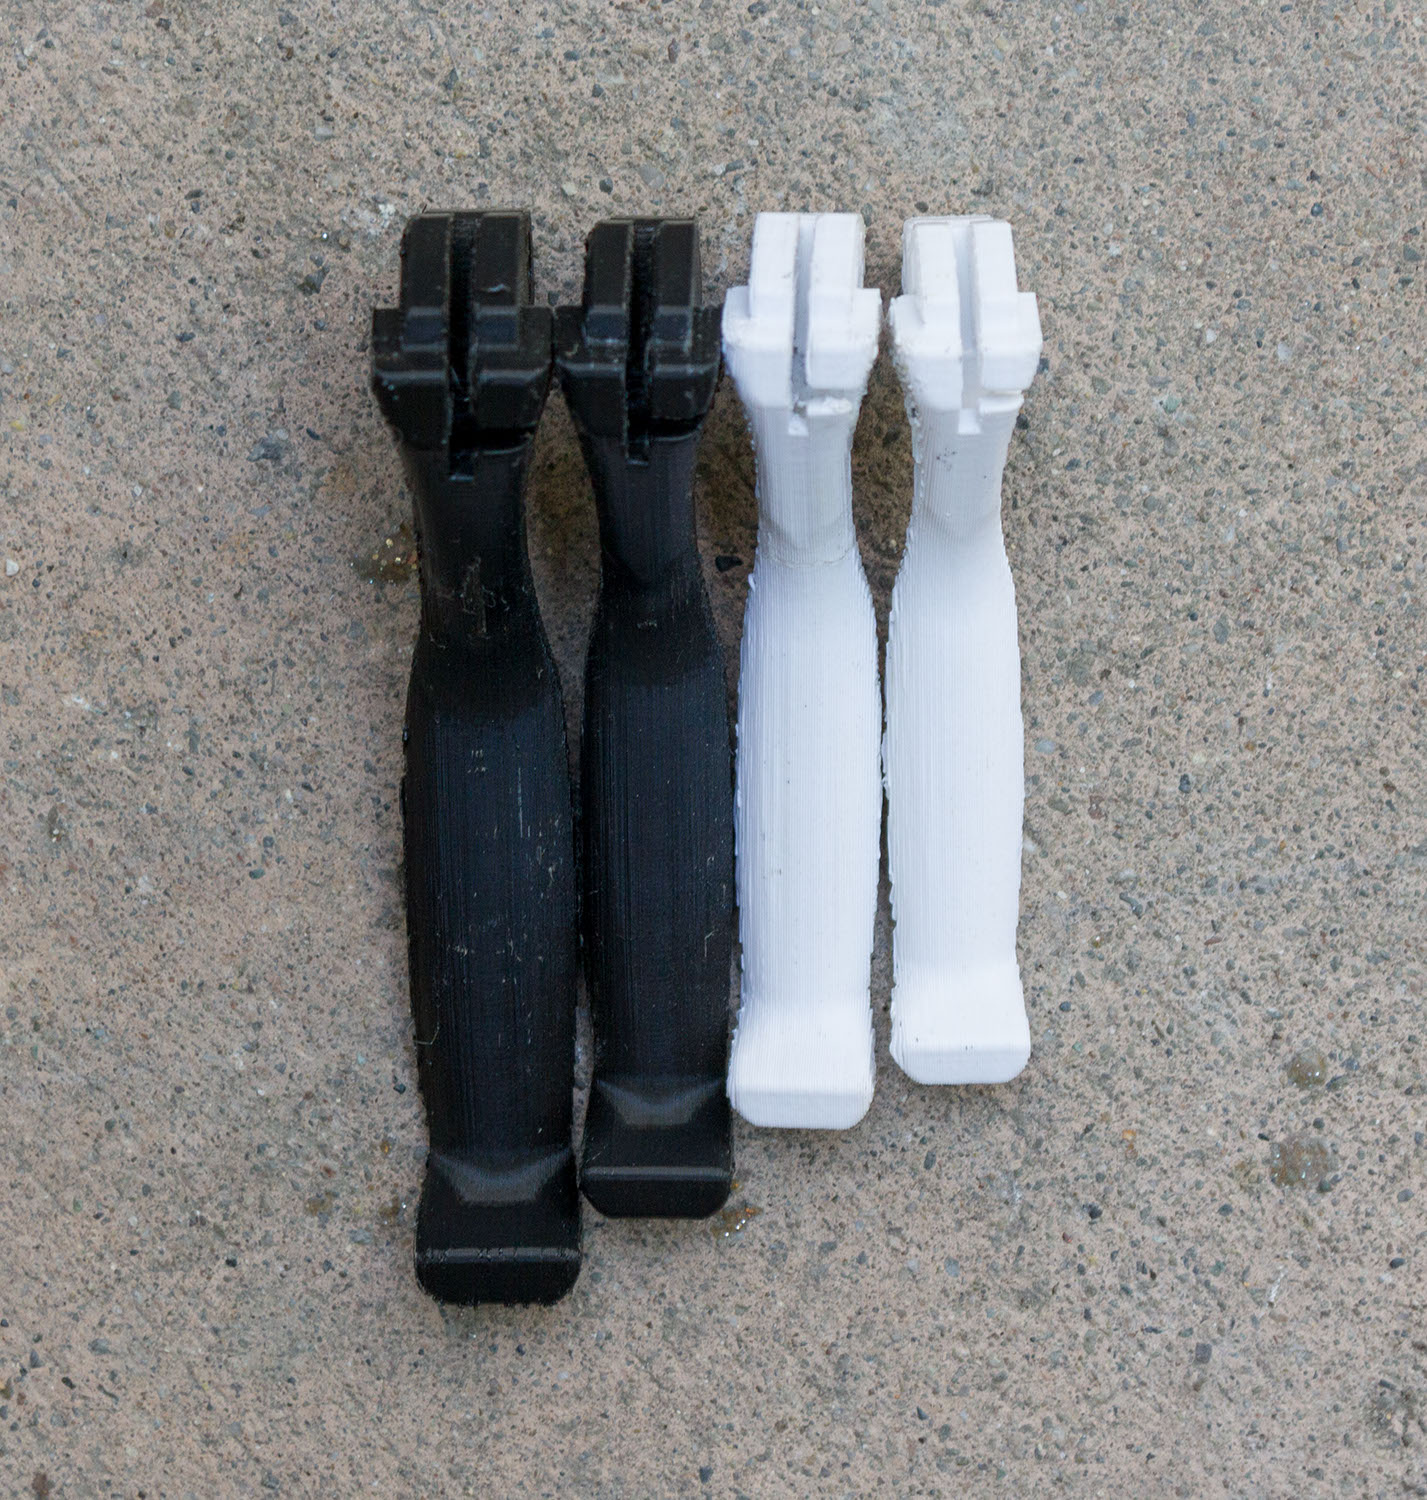
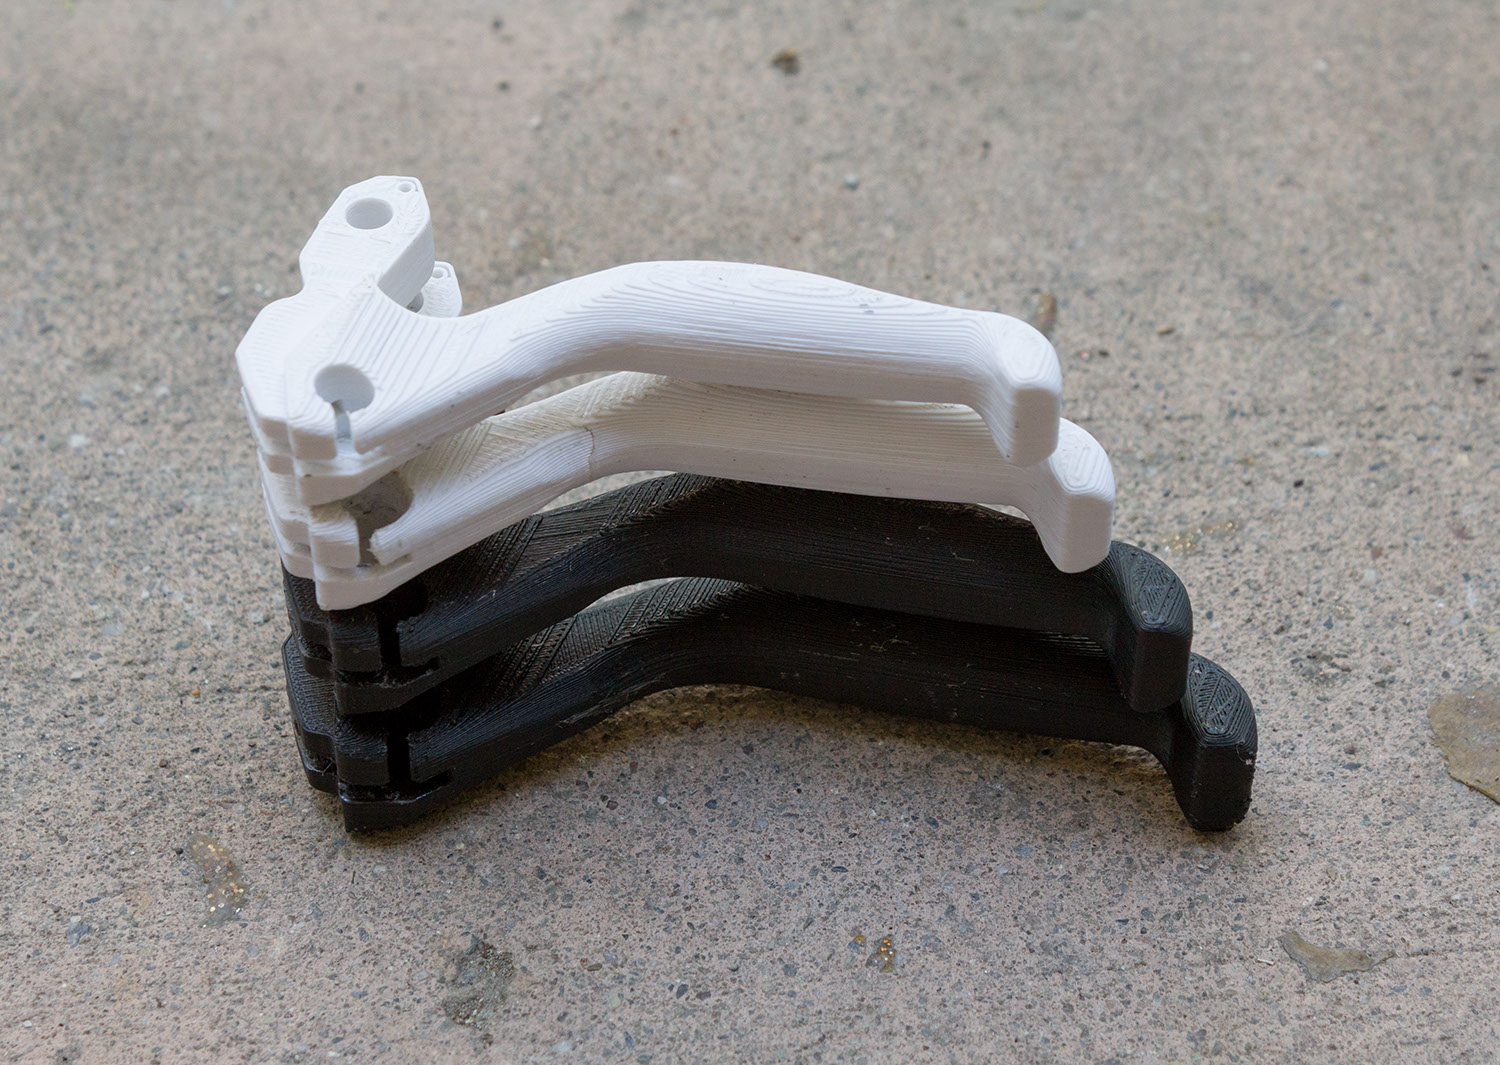
I made four prints with slightly different scaling to get the right fit. The white ones were printed at TechShop, and the black ones by the UCSC IEEE chapter.

I didn’t end up making a longer version of the bike handle.
Last updated May 2021